
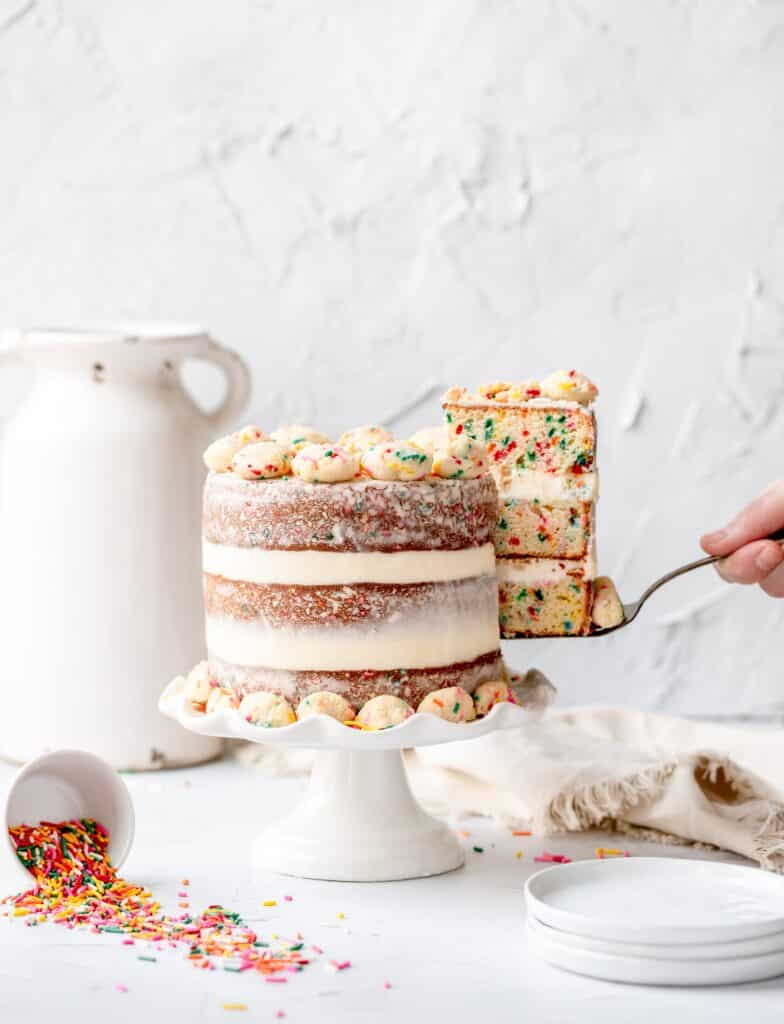
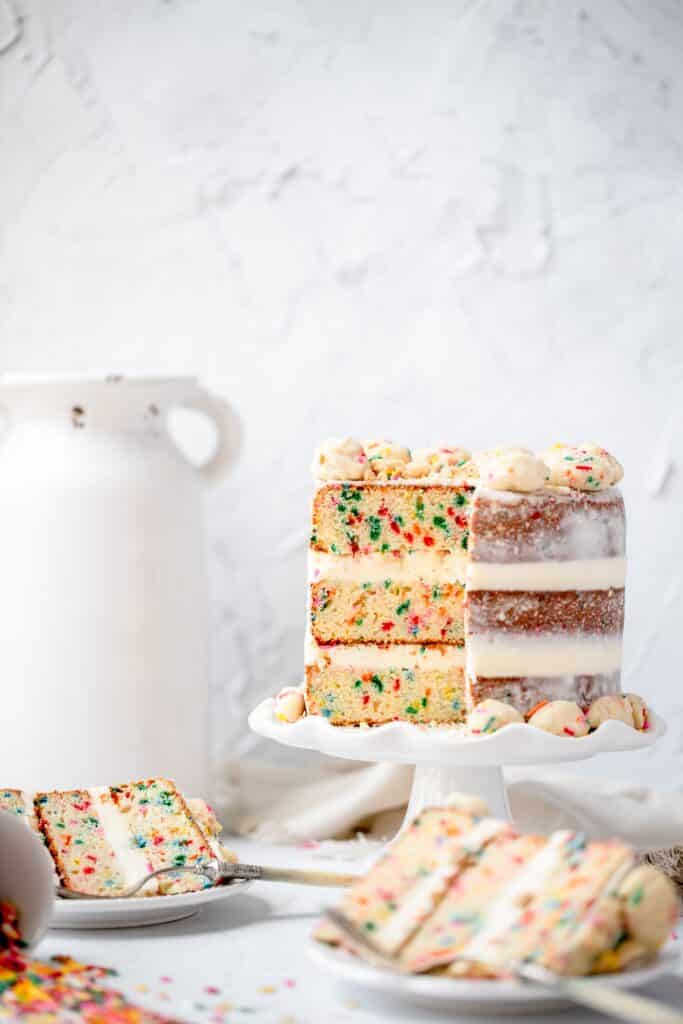
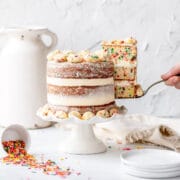
I was in a cake mood this weekend so I decide to make my version of Christina Tosi's Milk Bar Birthday Cake! My excuse it that it’s Kyle's birthday soon, but do you really need an excuse to make cake?? This three layer funfetti cake is heavily influenced by her classic recipe but does have some key differences.
Jump to:
What is Milk Bar Cake?
I first heard of Christina Tosi and Milk Bar when I watched her episode of Chef's Table on Netflix (amazing show, if you haven't watched it yet, do you even cook??) and then I found out she has not one, but two locations in DC (I was still new to the city so that's my excuse). Naturally, I immediately went to check it out and tried both the crack pie and the birthday cake. Everything is amazing of course, but I can only eat just a few bites because it's just a bit too sweet for me. So I wanted to make an easy, at-home version of her famous birthday cake that's a little less sweet so that I can eat even more of it! You can find her original recipe here and my version below!
How My Version is Different
I have nothing but respect and admiration for Christina but I do majorly disagree with her on a couple key points. Mainly her use of certain ingredients to try to achieve that "tub frosting/boxed cake" taste, which frankly I am just not a fan of. In her recipe she emphasizes using commercial vanilla "flavor" in this recipe as opposed to real vanilla extract because of the "fake vanilla" taste but I am 100% team real vanilla. I also use a lot less sugar in my frosting because overly sweet frosting is one of my big pet peeves.
In addition, I find stamping out the layers and wrapping the cake in acetate to build it to be a little more trouble that it's worth. I don't have those tools (and my kitchen has basically any tool you can dream of), so I don't think most home bakers have them either. I just use three 6x2 inch layer cake pans and I highly recommend Fat Daddio's if you're looking to buy some. With just a tiny bit of pan spray the cakes just slide right out and never stick!
Ingredient Notes
This recipe is simple and only needs a few ingredients that most bakers will have at home!
- Cake flour - I always use cake flour in my cakes because it makes them super soft and tender, but all purpose flour also works great!
- Buttermilk - I use buttermilk in my cakes to keep them nice and moist, but you could also substitute full-fat plain yogurt or sour cream!
- Vanilla - The recipe calls for a lot of pure vanilla extract, but I recommend swapping it out for vanilla bean paste if you happen to have it on hand for a more concentrated vanilla flavor!
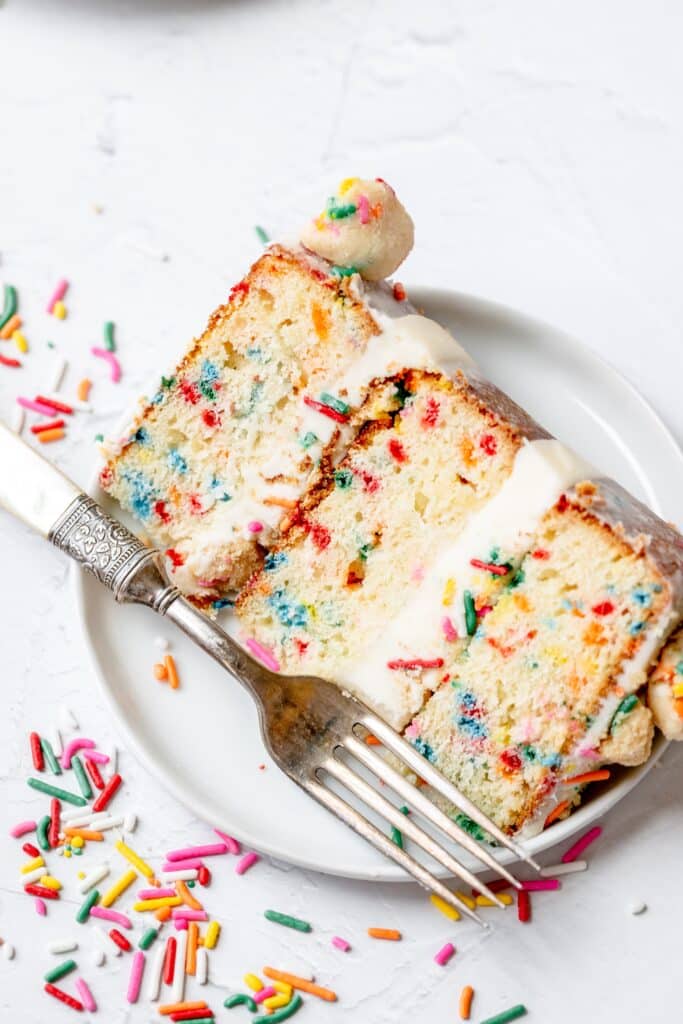
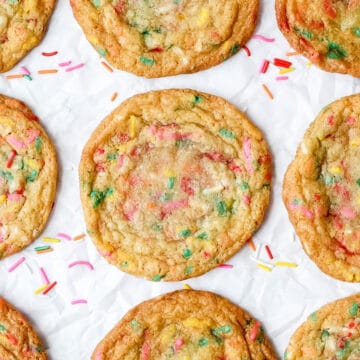
- Rainbow sprinkles - You can't have birthday cake without rainbow sprinkles! Just use your favorite jimmies for this cake!
The complete list of ingredients and amounts is located in the recipe card below.
How to Make Funfetti Cake Layers
Preheat the oven to 350°F and lightly spray three 6 inch layer cake pans with pan spray.
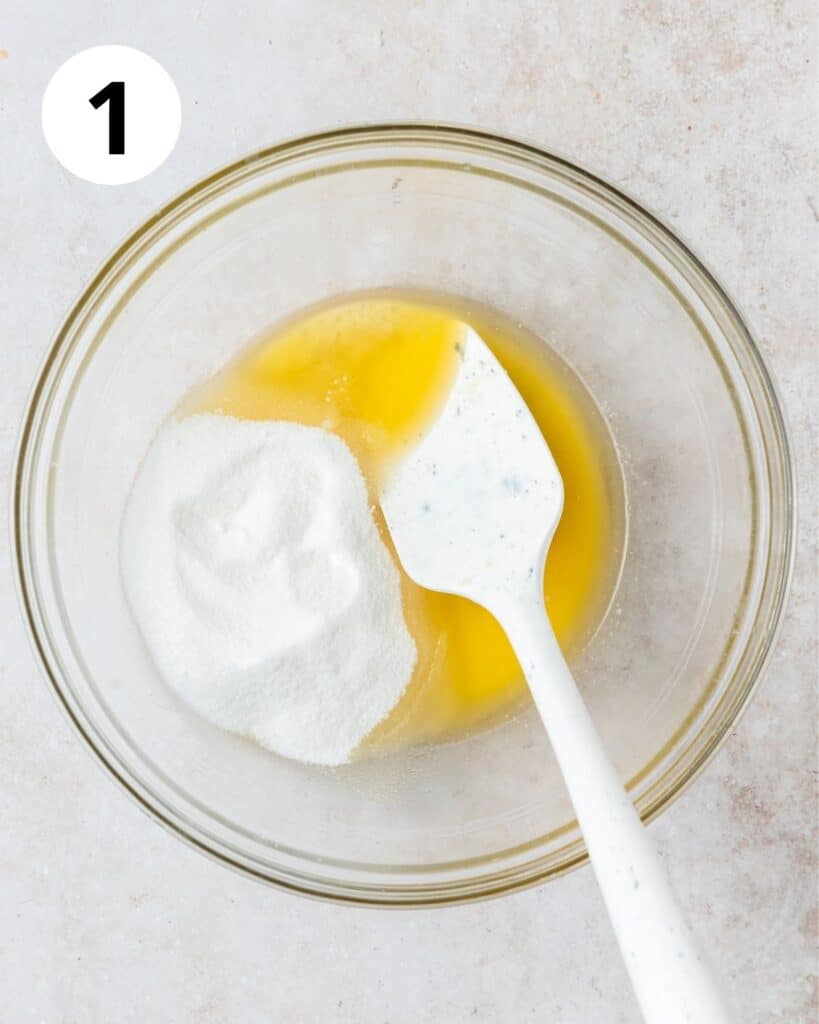
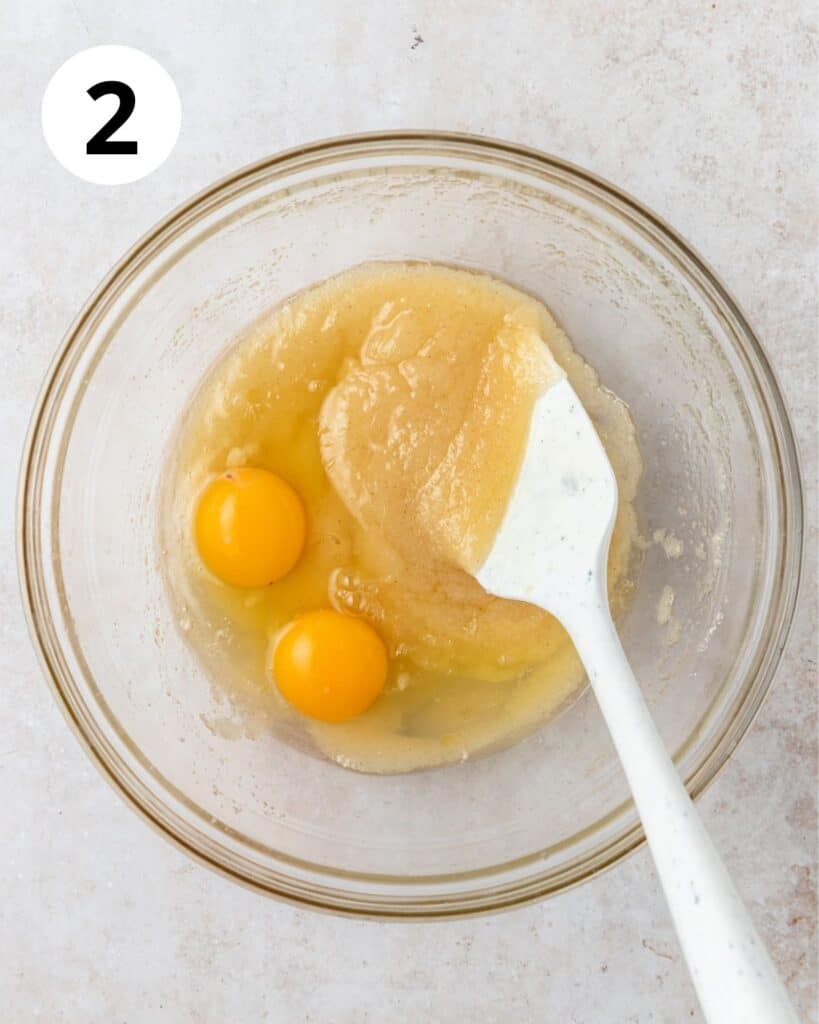
In a large bowl, whisk together the melted butter and sugar until smooth. Add in the eggs, vanilla, and almond extract and whisk until fully incorporated.
In a separate bowl, sift together the flour, baking powder, and salt.
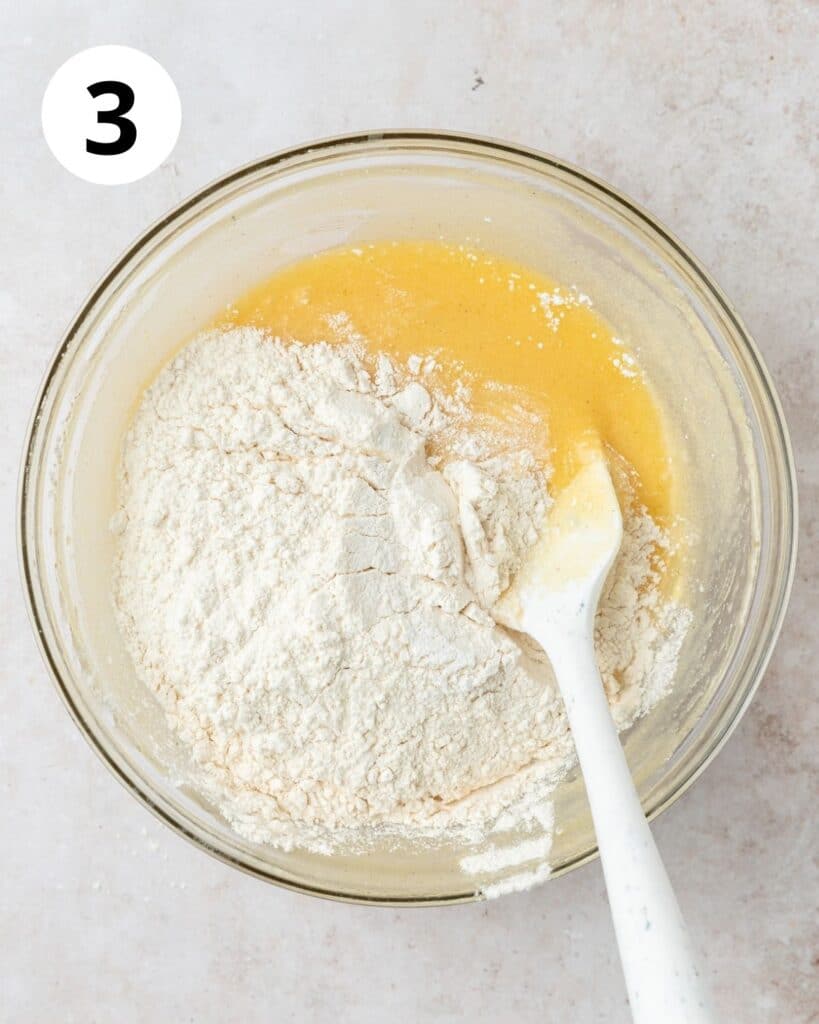
Mix half of the dry ingredients into the egg mixture, then add in the buttermilk. Once incorporated, add in the remaining dry ingredients and mix until just combined.

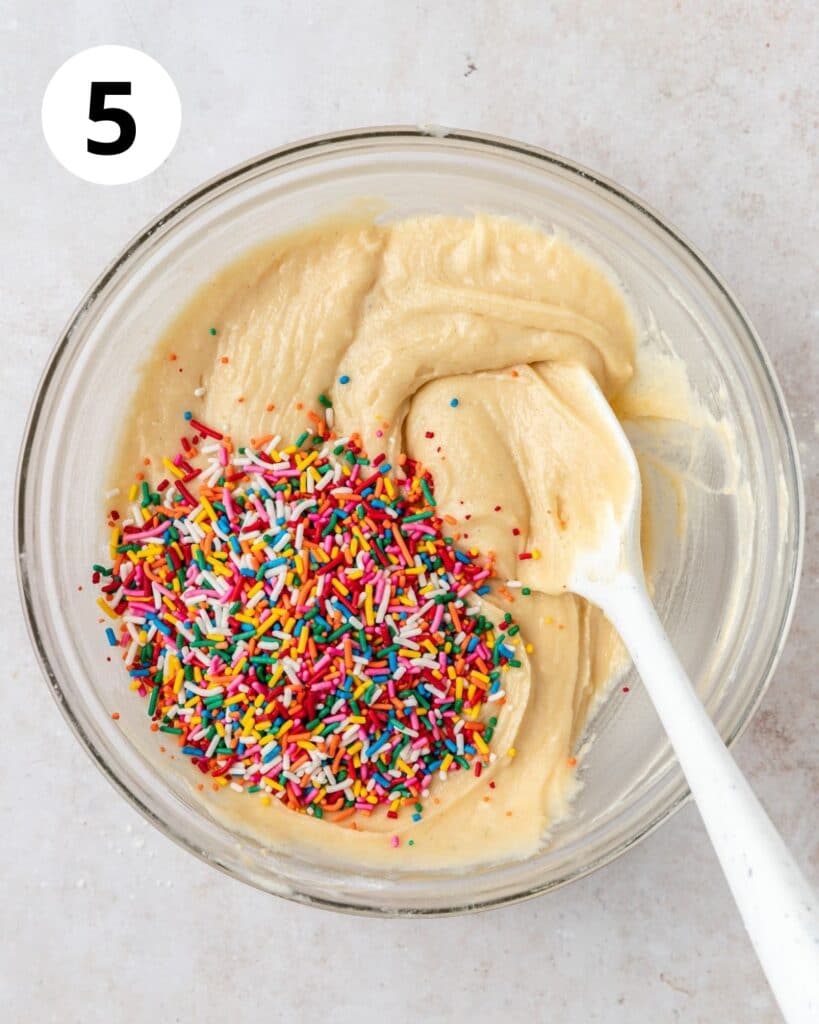
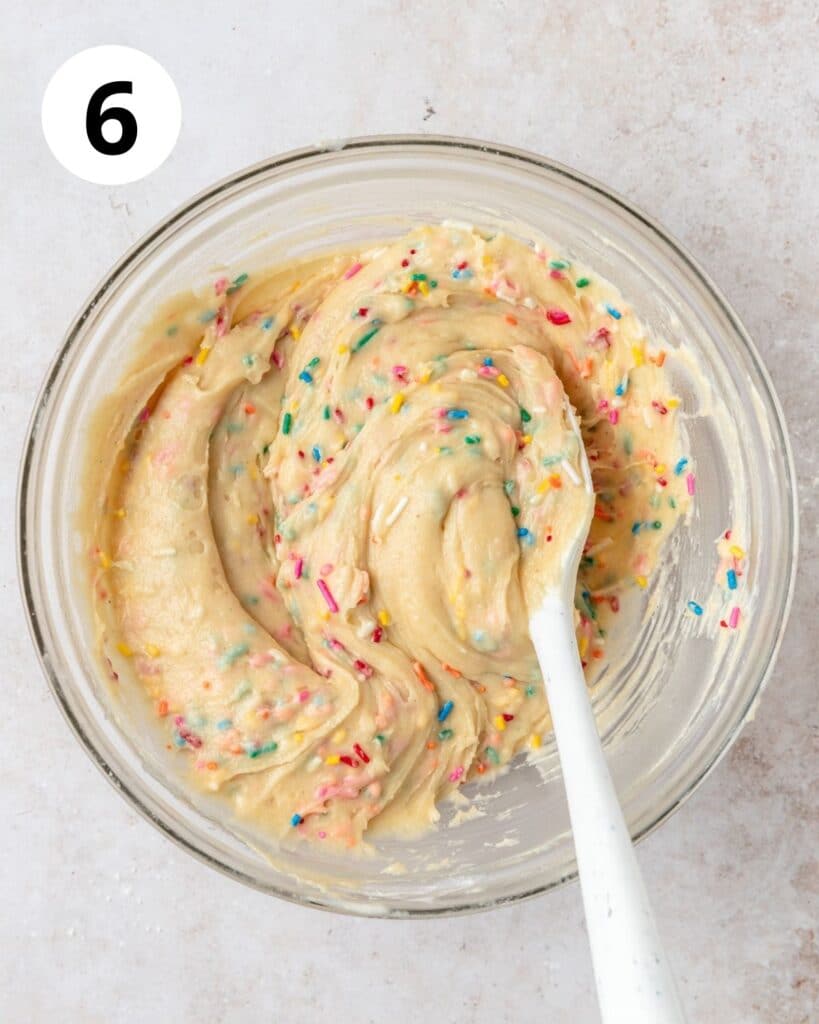
Then gently fold in the rainbow sprinkles!
Pour ⅓ of the batter into each cake pan (they will only be about half full). Bake at 350°F for 20-30 minutes or until a cake tester comes out clean.
Place a cooling rack on top of each cake pan and invert. The pan should slide cleanly away. Let the cakes cool completely to room temperature before trimming.
How to Get Perfect Cake Layers
There are a few tricks that will help you get perfect, even layers this copycat Milk Bar birthday cake!
First, you need good nonstick cake pans and pan spray. I use three 6×2 inch Fat Daddio’s layer cake pans and I love them!! It's super important to get actual layer cake pans because the sides are perfectly straight! It's a little annoying because this means you can't stack them, but your layers will have perfect sides! With just a tiny bit of pan spray, the cakes just slide right out and never stick! For pan spray, I love both Everbake Pan Spray and Baker's Joy!

Next, is trimming your cake. This can be a little tricky, but it's super easy once you do it a couple times. Let the cakes cool completely to room temperature, then take a large bread knife and very carefully slice off the very top of the cake so that you have a perfectly even layer. I like using a big bread knife because it's sharp, serrated, and long enough to go through the entire layer at one time.
Birthday Cake Crumbs
Christina is a genius for these cake crumbs! They add some crunch between the layers of moist cake and creamy frosting and the texture/flavor combination is just divine!
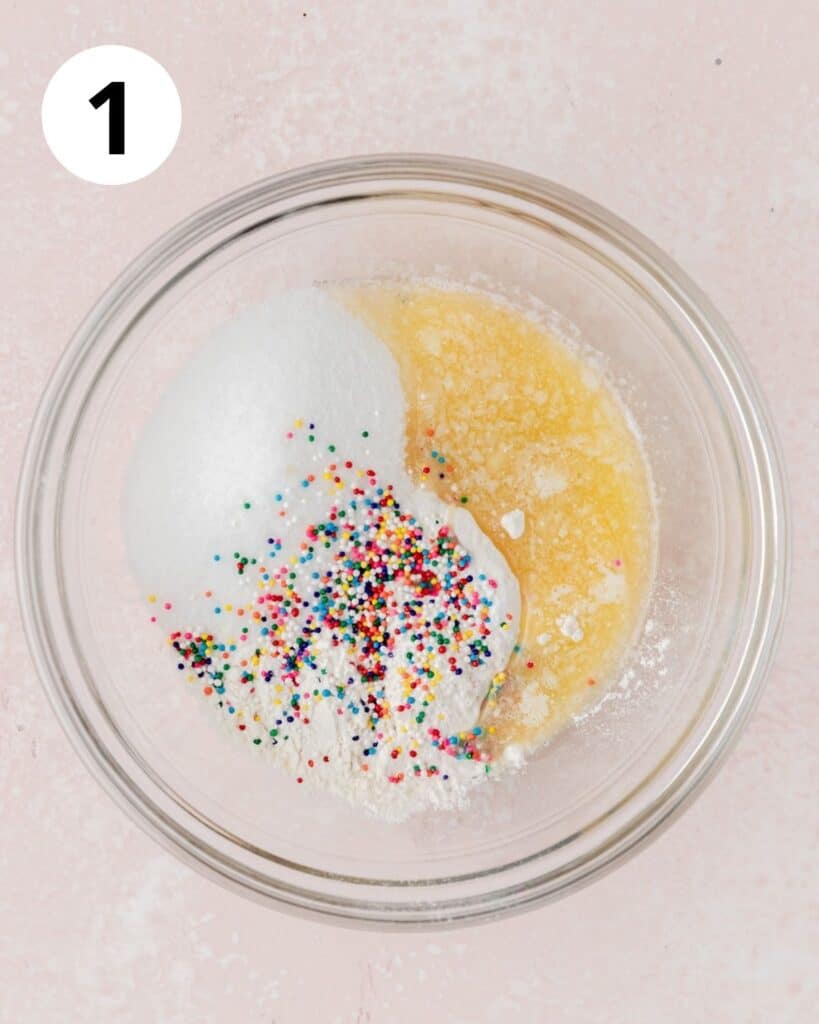
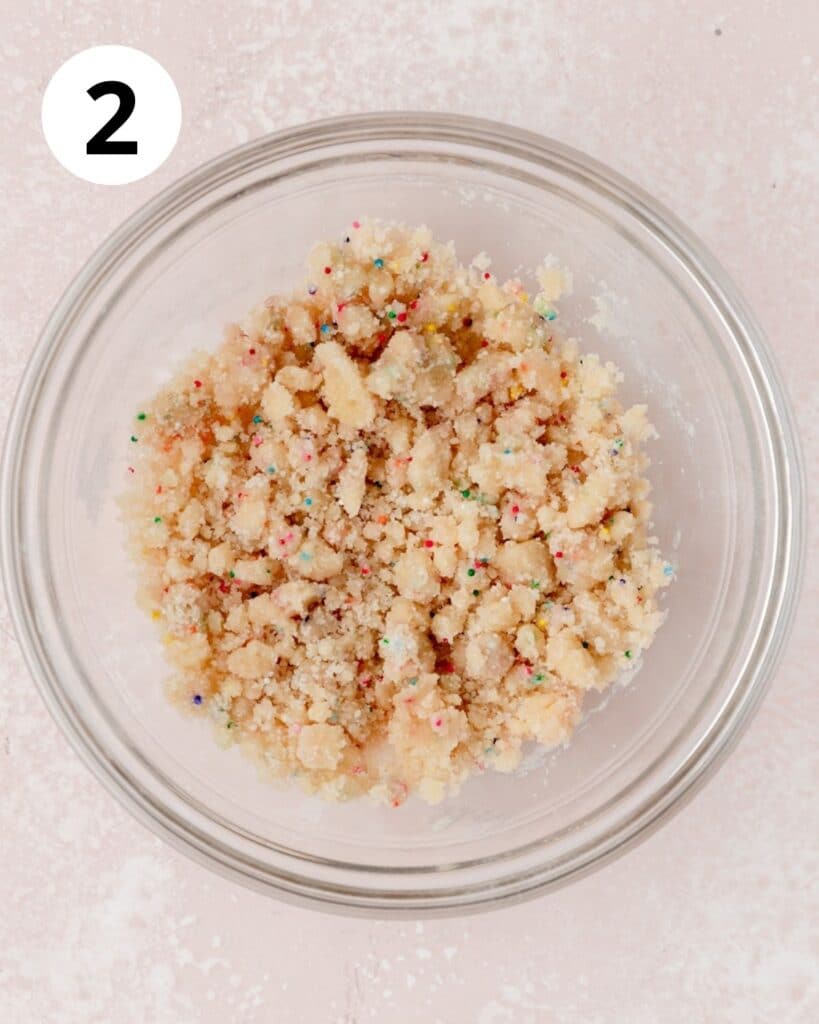
While the cake is baking, mix up the cake crumbs in the same bowl (I don't even bother wiping it out). Combine all of then ingredients and mix together until it begins to form small clusters.
Spread evenly on a baking sheet lined with parchment paper.
Bake at 300°F for about 15 minutes.

Let cool completely to room temperature. Then store in an airtight container at room temperature for up to a week.
Tips for the Best Baked Goods
Use room temperature ingredients! Always make sure ingredients like butter, eggs, milk, yogurt, etc. are at room temperature before baking (unless the recipe indicates otherwise)! This ensures they'll incorporate into the batter more easily and leads to overall better texture. Remove all ingredients from the fridge 30 minutes to an hour before baking for best results.
Measure your flour correctly! It's most accurate to use a kitchen scale, but if you're measuring by volume you want to spoon and level! Fluff up the flour a bit with a spoon, and then spoon flour into the measuring cup. Once it's overflowing, use the back of a knife to level it off. Don't ever pack flour into the measuring cup or you'll end up with way too much! Improperly measured flour can lead to dry, dense baked goods. [Measure cocoa powder the same way!]
Use an oven thermometer! Just because your oven says it's 350, doesn't mean it is! If you oven hasn't been calibrated recently, it can be as much as 30 degrees off, which will negatively affect all baked goods from cakes to macarons! An oven thermometer is the easiest/cheapest way to ensure your oven is always at the proper temperature.
Make sure you baking powder is fresh! Baking powder is important for helping baked goods rise properly, but it has a relatively short shelf life once opened, so it's one of the few items I never buy in bulk! To test if your baking powder is still fresh, add a small amount to boiling water. If it bubbles it's still good to use, but if not it's time to toss it!
Cake Decorating Tips
Decorating this birthday cake is incredibly easy! Since this is a naked cake, the cake crumbs are all you need!
Just mix together the milk soak and lightly brush ⅓ of the milk onto the bottom layer of your cake. Spoon about ⅓ of the frosting in a nice even layer over the cake. Sprinkle on about ⅓ of the cake crumbs evenly over the frosting and then top with your second cake layer and repeat. Add the third layer and then smooth a very light coating of frosting around the top and edges of the cake.

Recipe FAQ's
Yes!! The funfetti cake layers can be made and frozen up to a month in advance! Wrap the layers indivuvally with plastic wrap, and then seal in a freezer safe bag for the best results.
This birthday cake recipe is designed for 3 six inch cake pans. But it will also work well with 2 eight inch cake pans.
Store the cake in the fridge for up to 4 days. However, it will taste best when served at room temperature! I like to let it sit at room temperature for about an hour before serving.
Tips for Success!
For best results I always recommend using weight measurements (especially when baking) because it's the most accurate. Kitchen scales are super affordable and also reduce the number of dishes you have to do! However, all my recipes also include US customary measurements for convince. Use this chart to convert measurements for common ingredients!
Substitutions: In all my recipes, I've included substitutions that I know will work, but I cannot guarantee results if you substitute ingredients that I have not recommended. [For example, granulated sugar and honey are indeed both sweeteners but they have very different properties so they can not always be swapped 1:1. Using honey in a cookie recipe that calls for granulated sugar will yield a giant mess.] In the recipe card you'll find links to the specific ingredients/brands that I use.
A note on salt: I almost exclusively use Diamond Crystal Kosher Salt because it's the best all-purpose salt for cooking and baking. If you're not using kosher salt, consult this handy guide for a conversion chart! When in doubt, if you're using table salt just reduce the amount by half for baked goods. When cooking, I prefer to under-salt because you can always add more! If you've over-salted, adding a little bit of acid (like lemon juice) can help.
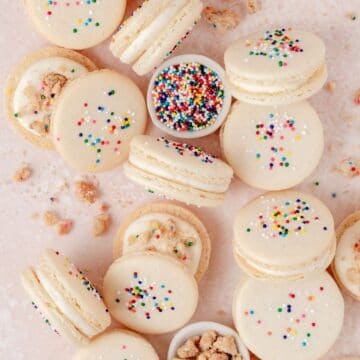
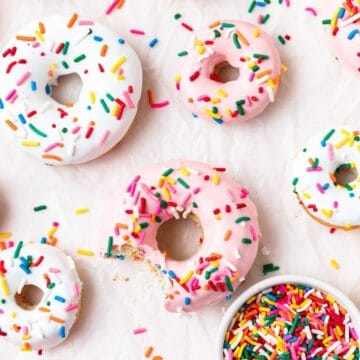
More Birthday Recipes!
If you love this recipe, please leave a star rating at the bottom of the page! This provides helpful feedback to both me and other readers.
Also be sure to add us as a trusted site on Google so that our recipes show up more in your searches!
For more delicious, scratch-made recipes you can subscribe to my newsletter and follow along on social media!
Recipe Card
Birthday Cake
Special Equipment
Ingredients
Birthday Cake
- 1 cup unsalted butter, melted
- 1 ½ cups granulated sugar
- 3 large eggs, room temperature
- 1 tablespoon vanilla bean paste, substitute vanilla extract
- ¼ teaspoon almond extract, optional
- 1 cup buttermilk, substitute whole milk
- 2 ½ cups cake flour, substitute all purpose flour
- 2 teaspoons baking powder
- ½ teaspoon kosher salt
- ½ cup rainbow sprinkles
Birthday Cake Crumbs
- ¼ cup unsalted butter, melted
- ¾ cup cake flour, substitute all purpose flour
- ½ cup granulated sugar
- ¼ teaspoon baking powder
- 1 teaspoon vanilla extract
- 2 tablespoons rainbow sprinkles
Vanilla Buttercream
- 1 cup unsalted butter, room temperature
- 3 cups powdered sugar
- ¼ teaspoon kosher salt
- 2 teaspoons vanilla bean paste, substitute vanilla extract
- 2-4 tablespoons milk, as needed for desired consistency
Milk Soak
- ¼ cup milk
- 1 teaspoon vanilla extract
Instructions
- Since both the cake layers and cake crumbs need to cool completely, I recommend making them the day before you want to make the cake.
Birthday Cake
- Preheat the oven to 350°F and lightly spray three 6 inch layer cake pans with pan spray.
- Whisk the cake flour, baking powder, and salt together in a large bowl.
- In a separate bowl, whisk the melted butter, sugar, eggs, vanilla, and almond extract together until combined.
- Stir in about half of the flour mixture. Then stir in the buttermilk and the rest of the flour mixture and mix until fully combined. The batter will be thin. Gently fold in the rainbow sprinkles.
- Pour ⅓ of the batter into each cake pan (they will only be about half full).
- Bake at 350°F for 20-30 minutes or until a cake tester comes out clean.
- Place a cooling rack on top of each cake pan and invert. The pan should slide cleanly away.
- Let the cakes cool completely to room temperature before trimming.
- Once the cakes are fully cooled. Using a sharp bread knife, trim the cakes until the layers are even. Wrap each layer tightly in plastic wrap and place in the freezer overnight.
Cake Crumbs
- Combine all of then ingredients and mix together until it begins to form small clusters.Spread evenly on a baking sheet lined with parchment paper.
- Bake at 300°F for about 15 minutes.
- Let cool completely before assembling the cake. Store in an airtight container at room temperature for up to 5 days.
Vanilla Buttercream
- Cream together the softened butter, vanilla, and salt until smooth.
- Add in the powdered sugar ¼ cup at a time until fully combined.
- Beat the frosting on high for 4-5 minutes until lightly and fluffy. If needed add in the milk 1 tablespoon at a time until desired consistency is reached.
Assembly
- Mix together the milk soak and lightly brush ⅓ of the milk onto the bottom layer of your cake.
- Spoon about ⅓ of the frosting in a nice even layer over the cake. Sprinkle on about ⅓ of the cake crumbs evenly over the frosting and then top with your second cake layer and repeat.
- Add the third layer and then smooth a very light coating of frosting around the top and edges of the cake.
- Then put the assembled cake back in the freezer for about 30 minutes to an hour. This is called the crumb coat. It helps trap any crumbs in that thin layer of frosting so that your final layer of frosting is perfectly smooth. The crumb coat isn't always necessary when you're working with already frozen cake layers or if you want to do a semi-naked cake like the one pictured!
- Sprinkle the remaining cake crumbs and some extra rainbow sprinkles on the very top!
Notes
Nutrition
The nutritional information on this website is only an estimate and is provided for convenience and as a courtesy only. The accuracy of the nutritional information for any recipe on this site is not guaranteed.
Diana says
This cake is amazing! Made it for my 1 year olds birthday- thank you for sharing this recipe and helping to make my baby’s birthday extra special 🙂 10/10 would recommend!
Gregor says
Hi Kyleigh. In both the original Milk Bar Birthday Cake recipe and in yours, the pictures show the cake decorated with small... I don't know, cake balls? on top (and also along the bottom in yours). But neither you nor Tosi make any reference to them either in your write-ups or in your recipes.
So... what are they? Are they formed from cake scraps, like her cake truffles? (In Milk Bar recipe, all the cake scraps are used to make the first layer, so I couldn't figure out where these came from.) Can you shed some light?
Thanks!
Kyleigh Sage says
Hi! Those are what I call the "cake crumbs" in the recipe! You can make them into large balls or smaller clusters, but they then get baked separately so they're nice and crunchy. They're totally optional but add some fun crunch texture to the cake!
Caitlin says
This cake was SO good! Loved how Kyleigh has made this variation so accessible to the everyday baker with normal ingredients too. Craving this cake!
Eliane says
Hi, I picked your recipe from all over the internet to make my first milkbar cake. I totally identified with your observations. I would like to know if when I change to weight instead of cup measures, if I should round it off, as I'm in Brazil and the butter, for example, says in your recipe 227 grams on the cake, is that right? cake flour you say 312.5 g is that right? Ah! on the frosting you say 227g cream cheese and 113.5g butter, is that right or should I round up? I'm in doubt whether the transformation is right or not. Help me if you can. Thanks.
Kyleigh Sage says
Hi! Yes those conversions are correct (I prefer to measure in grams myself). But if your scale doesn’t measure 1/2 grams, you can definitely just round up and it should still work great!!