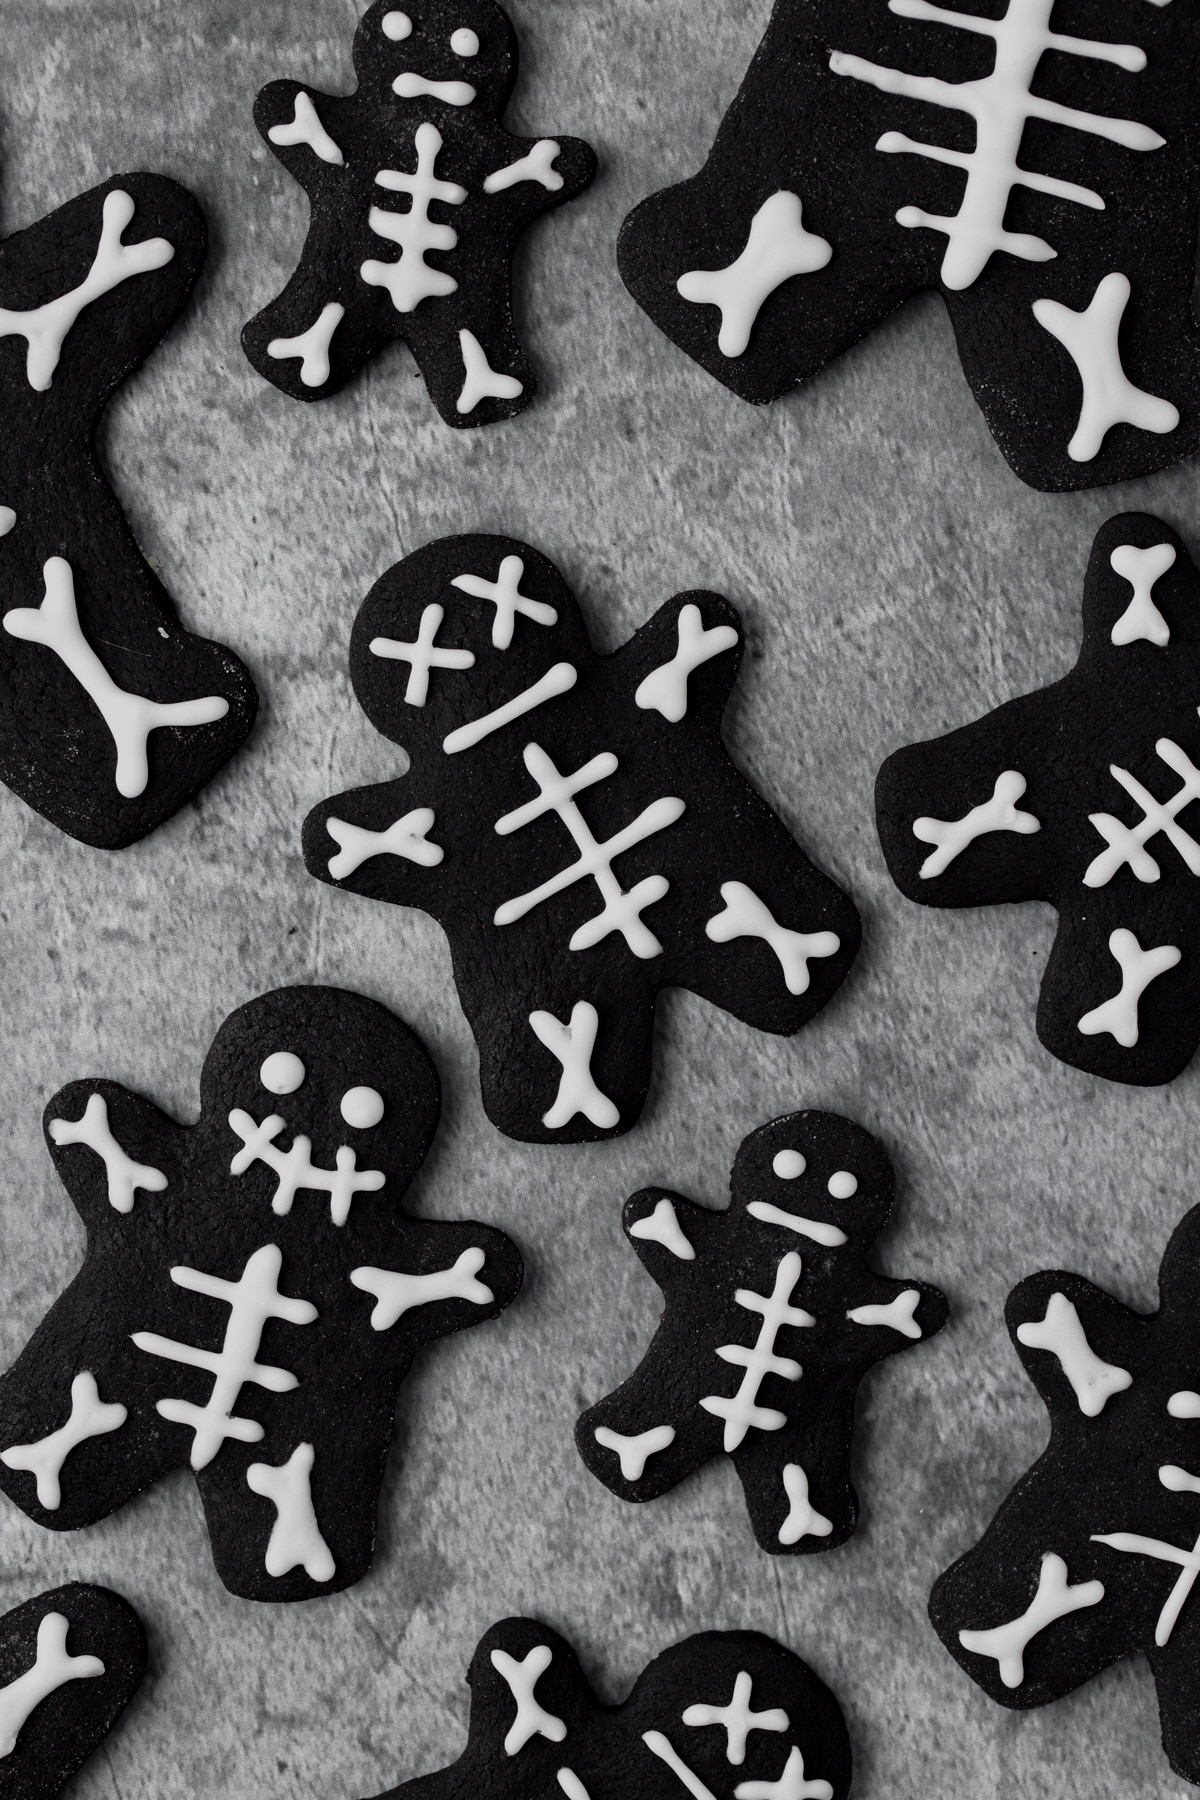
One of my favorite Halloween desserts are these adorable little black cocoa skeleton cookies! They're just chocolate shortbread cookies, but made with black cocoa for the perfect black color!
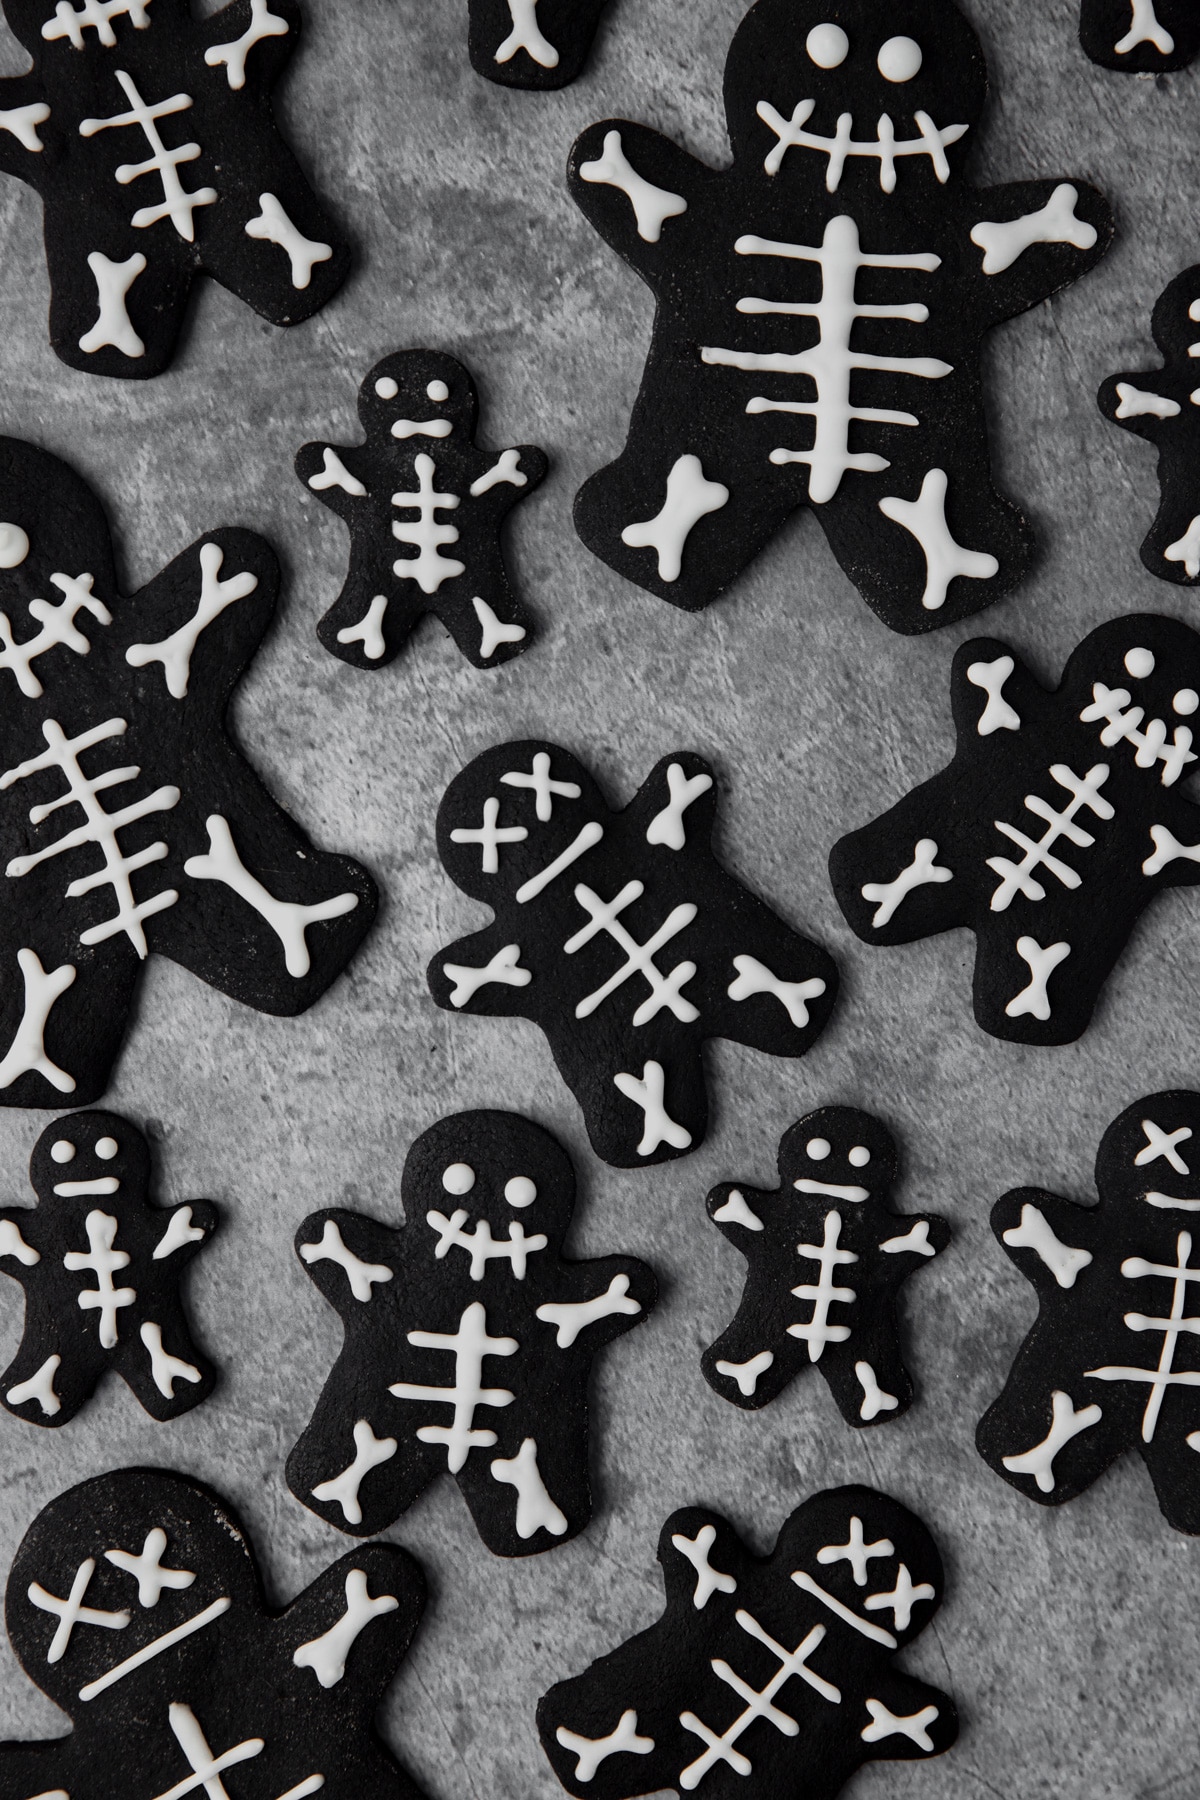
If you haven't jumped on the black cocoa train yet, what are you even doing? It's a super fun, all-natural way to dye food completely black without staining teeth or clothes! Not to mention, nothing says Halloween like spooky black cocoa treats!
Jump to:
Ingredient Notes
You just need a few simple ingredients to make these black cocoa skeleton cookies!
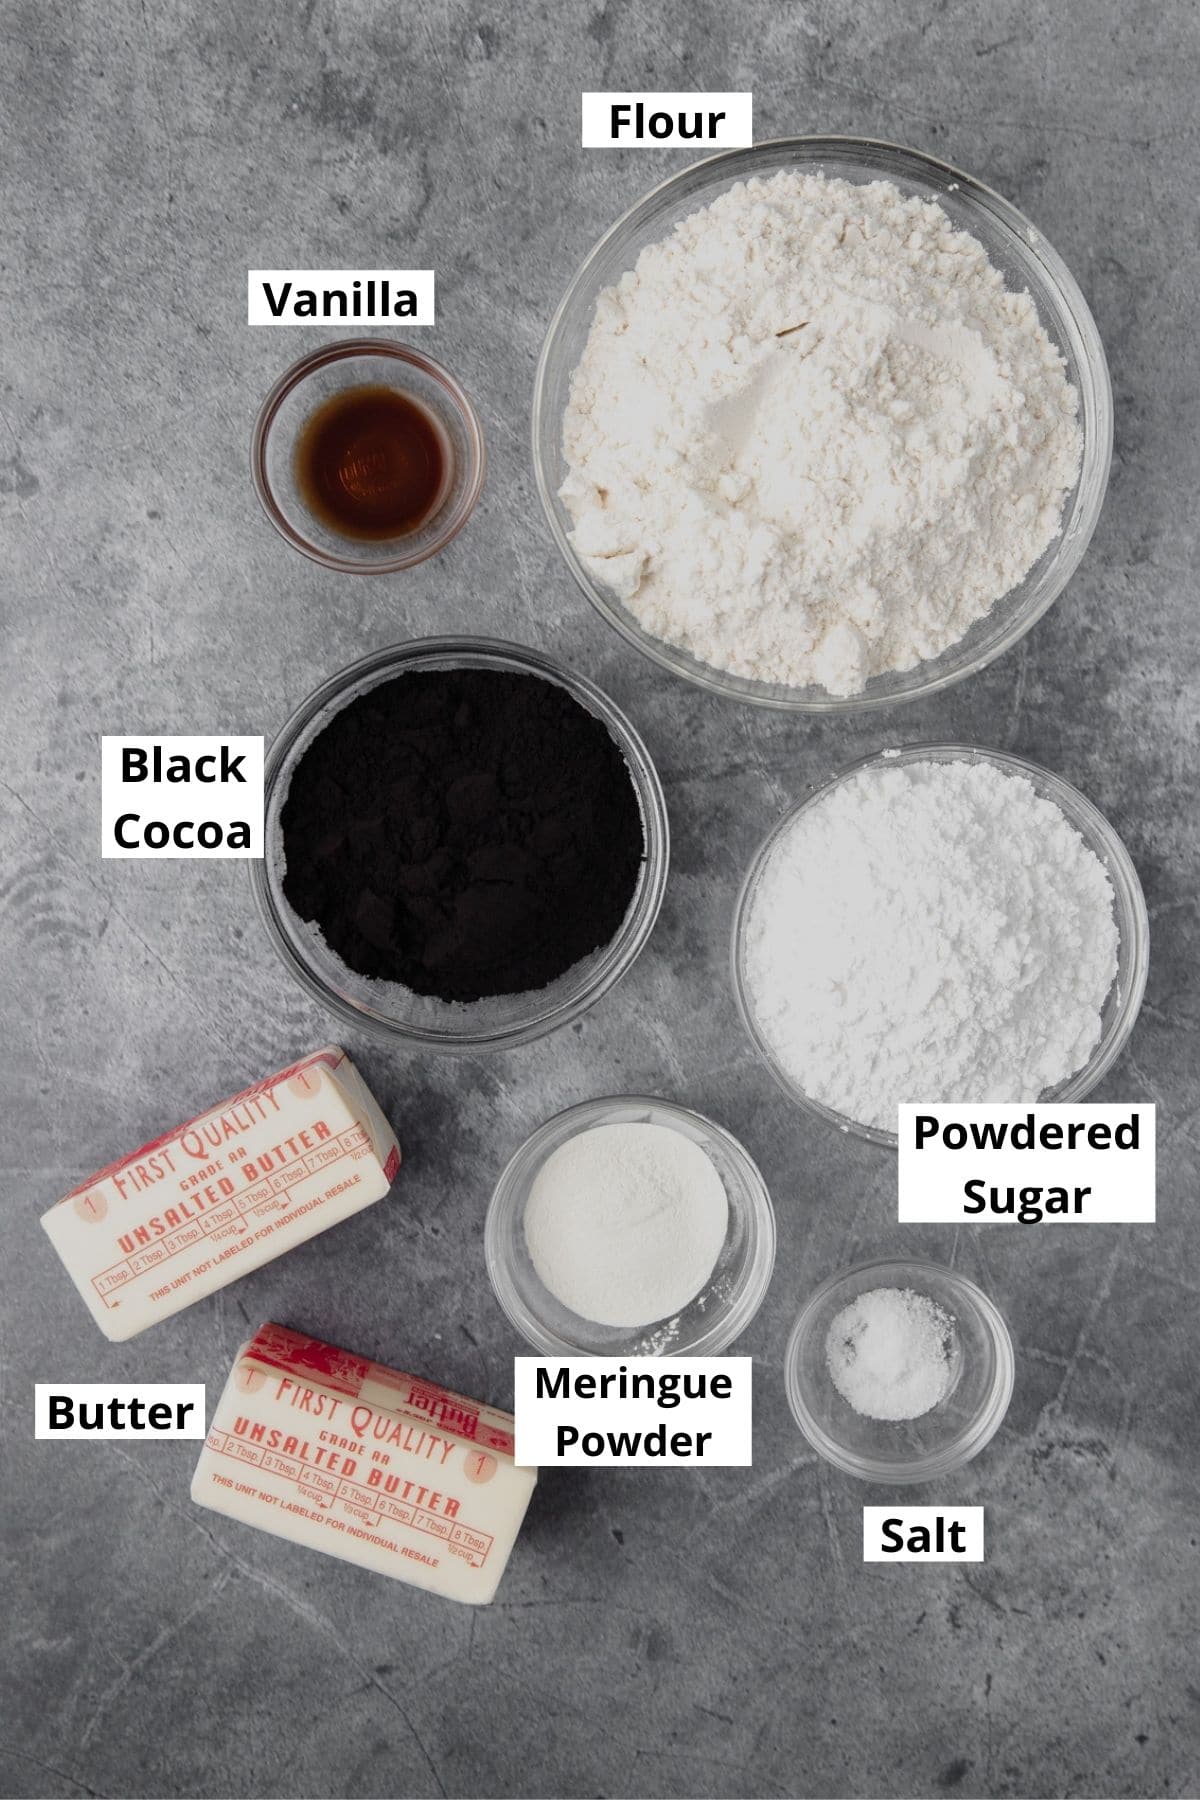
Black cocoa - Black cocoa is one of my favorite secret ingredients! Black cocoa is just cocoa powder that has been heavily dutched (meaning the acidity has been neutralized), so it gives you a rich black color but doesn't stain! You don't have to use black cocoa powder for these cookies, but regular cocoa just won't give you the same fun effect, so I highly recommend it! I like both the King Arthur Flour Black Cocoa or the Modern Mountain Company Black Cocoa!
Meringue powder - There are a ton of ways to make royal icing, but my preferred method is with meringue powder. It creates a very stable royal icing that hardens quickly on top of cookies. It's usually less than $10 and will last you FOREVER.
The complete list of ingredients and amounts is located in the recipe card below.
How to Make Skeleton Cookies
These black cocoa skeleton cookies are super easy to make and come together in just a few minutes!
In the bowl of a stand mixer fitted with the paddle attachment, cream together the butter and powdered sugar until fully combined.
Add in the flour, black cocoa, vanilla extract, and salt and mix until fully combined and smooth. The dough will feel a bit dry but should come together. Transfer the dough into an airtight container and refrigerate overnight (but a minimum of 2 hours if you can’t wait all night).
Line a baking sheet with parchment paper. On a lightly floured surface, roll out the dough ¼ inch thick and then cut out your cookies.
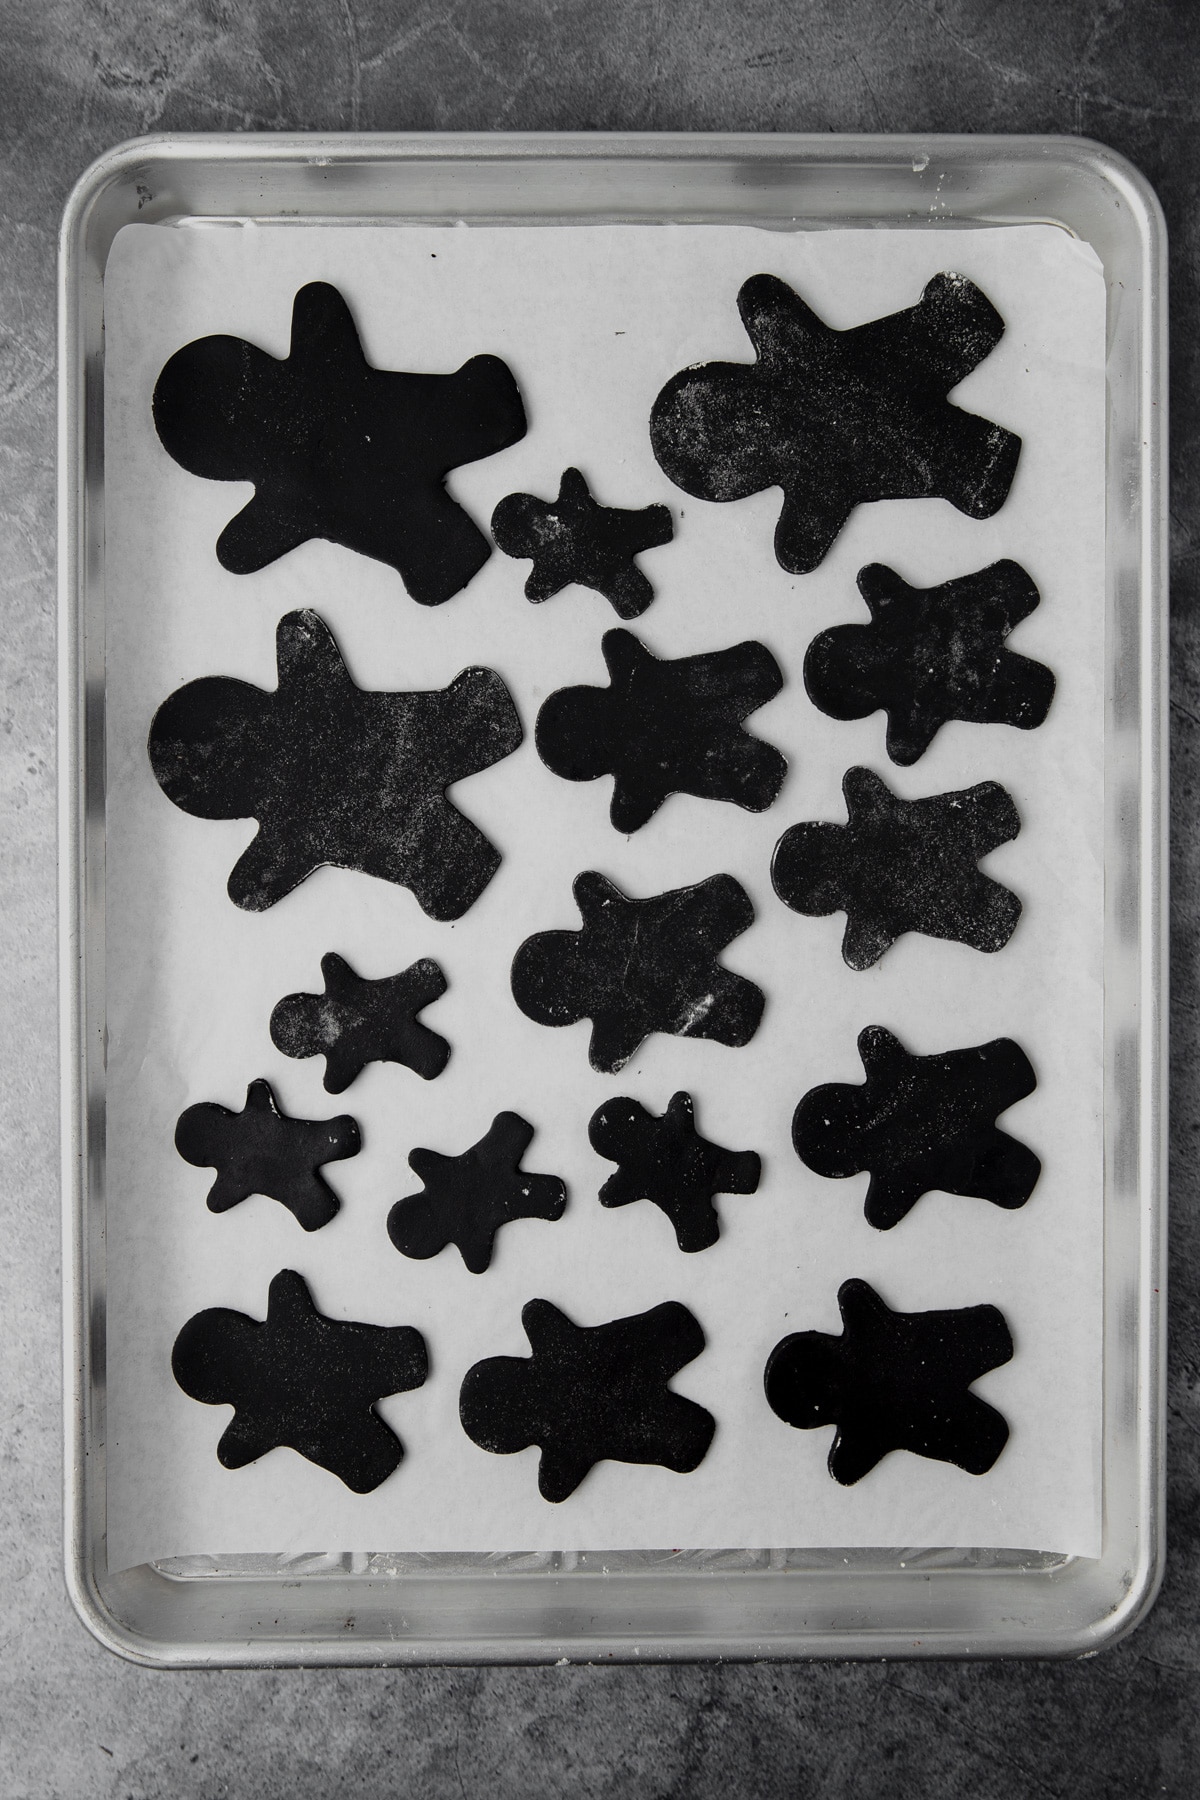
Place the cookies 1-2 inches apart on your baking sheet (they won’t spread much). Place the baking sheet in the fridge or freezer for a minimum of 20 minutes before baking to allow the butter in the dough to firm back up. If you don't chill the cookies again they will spread!
While the cookies are chilling, preheat your oven to 350°F.
Bake for 10-12 minutes or until the edges are set. Bake on the middle rack of the oven and rotate the pan halfway through baking for the best results. Let the cookies cool on the baking sheet for 2-3 minutes, then remove and let them finish cooling on a cooling rack.
Let the cookies cool completely before decorating.
To make royal icing, whisk together the meringue powder, powdered sugar and 1 teaspoon of water. Slowly drizzle in more water until the icing flows slightly, but still holds its shape.
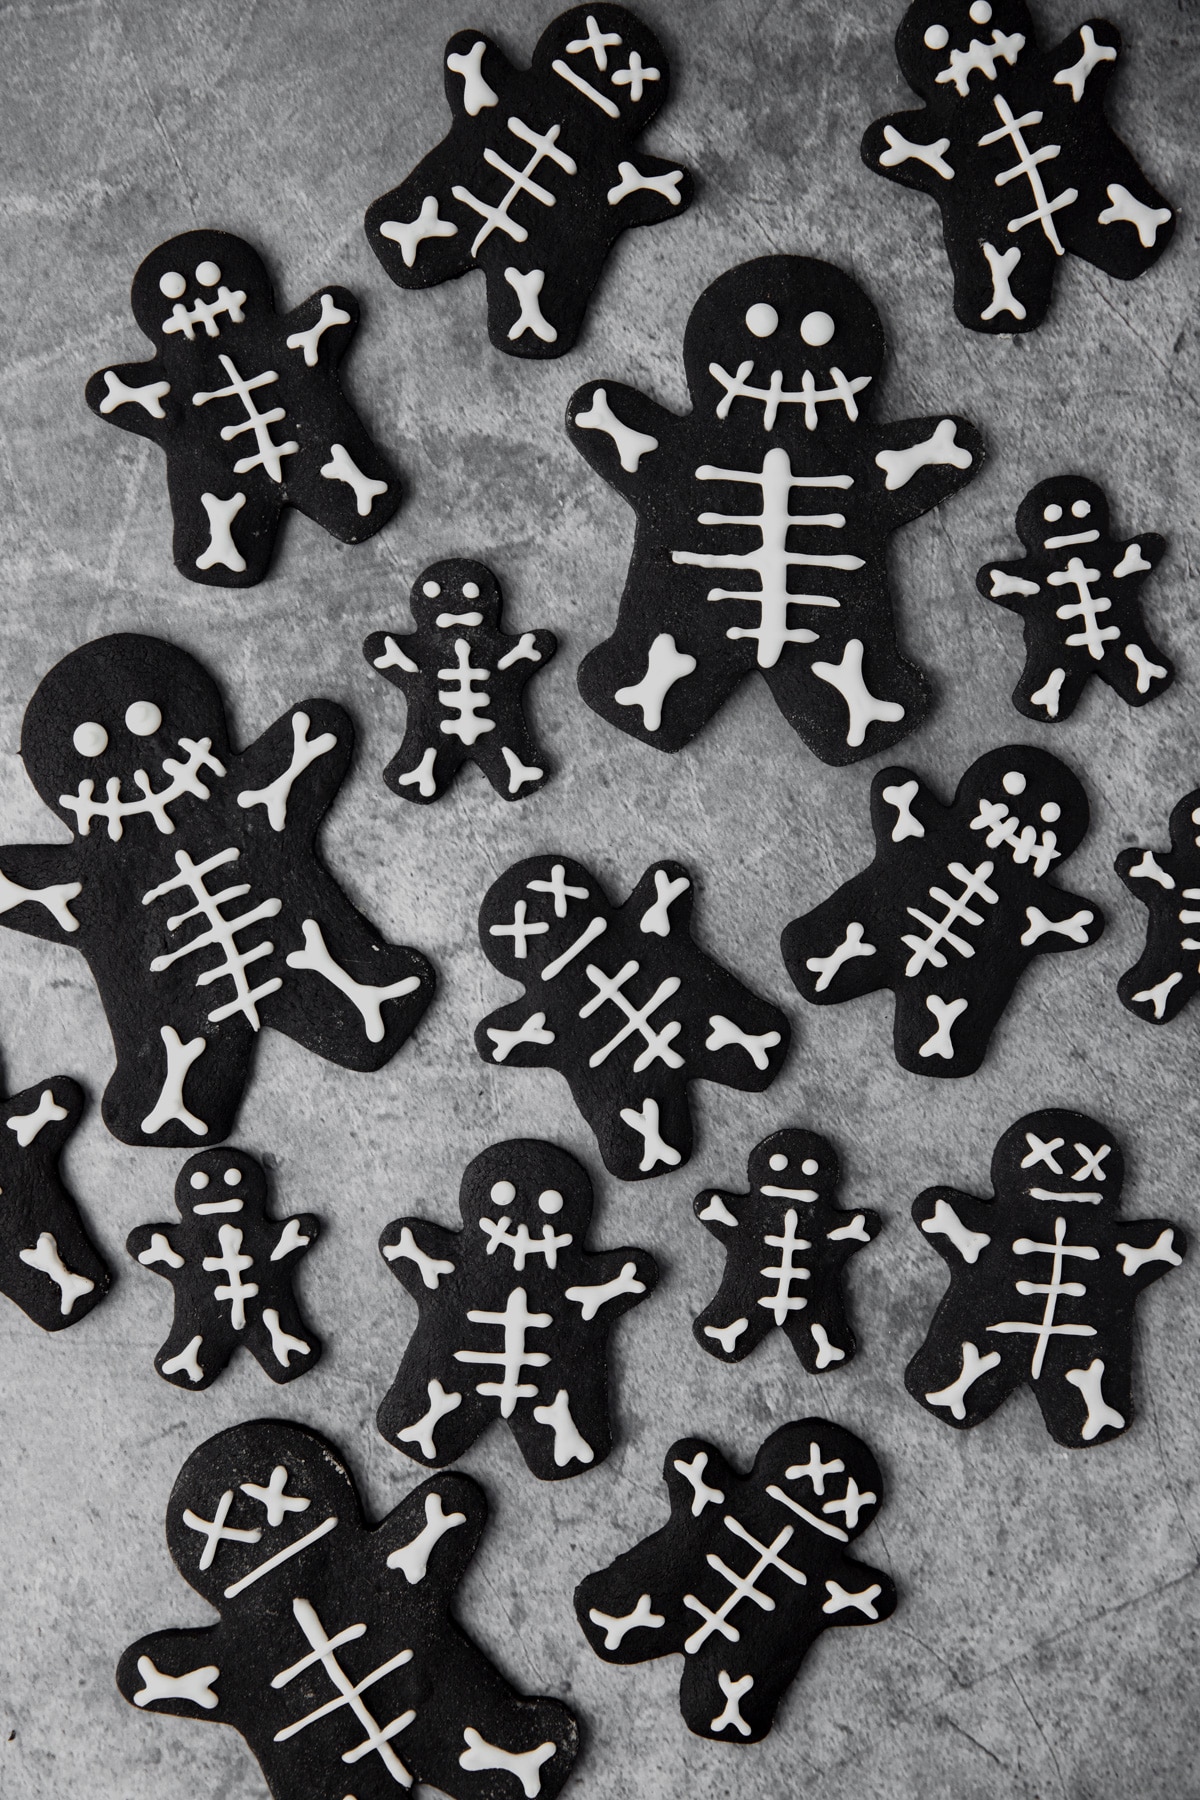
Transfer the icing to a piping bag fitted with a small round tip and draw on some bones!
Tips for the Best Cookies!
I personally don't own any Halloween specific cookie cutters, so I just used my favorite gingerbread man cookie cutters and my dog bone cookie cutters to make these skeletons!
Make sure your oven is the proper temperature!! Use an oven thermometer to make sure your oven is exactly 350°F. If the oven is too cold, the cookies will spread too much and if it's too hot the centers won't bake all the way through. For example, my oven is about 20 degrees off. So I have to set the oven to 370°F in order to get it to bake at 350°F.
Use a lightweight, light colored baking sheet for best results! Believe it or not, a lighter pan makes the cookies bake more slowly than a dark pan, which helps keep them from spreading too much. My favorite pans for baking cookies are:
You also want to use either parchment paper or silicone mats on your cookie sheet to help keep the cookies from spreading.
Bake your black cocoa shortbread cookies one sheet at a time, on the center rack. This will ensure all your cookies cook evenly and the bottoms don't burn. Then let the cookie sheet cool completely between batches. This ensures the cookies cool evenly and don't spread too much by being put on a hot pan.
Recipe FAQ's
Chilling the dough allows the flour to hydrate a bit and ensures the butter is super cold. This keeps your cookies from spreading too much and completely flattening out when baked.
You can store these cookies in an airtight container at room temperature for up to 5 days.
Tips for Success!
For best results I always recommend using weight measurements (especially when baking) because it's the most accurate. Kitchen scales are super affordable and also reduce the number of dishes you have to do! However, all my recipes also include US customary measurements for convince. Use this chart to convert measurements for common ingredients!
Substitutions: In all my recipes, I've included substitutions that I know will work, but I cannot guarantee results if you substitute ingredients that I have not recommended. [For example, granulated sugar and honey are indeed both sweeteners but they have very different properties so they can not always be swapped 1:1. Using honey in a cookie recipe that calls for granulated sugar will yield a giant mess.] In the recipe card you'll find links to the specific ingredients/brands that I use.
A note on salt: I almost exclusively use Diamond Crystal Kosher Salt because it's the best all-purpose salt for cooking and baking. If you're not using kosher salt, consult this handy guide for a conversion chart! When in doubt, if you're using table salt just reduce the amount by half for baked goods. When cooking, I prefer to under-salt because you can always add more! If you've over-salted, adding a little bit of acid (like lemon juice) can help.
More Halloween Recipes
If you make this recipe, please leave a star rating at the bottom of the page! This provides helpful feedback to both me and other readers. And if you want more delicious, scratch-made recipes you can subscribe to my newsletter and follow along on Instagram, Pinterest, and Facebook!
Recipe Card

Black Cocoa Skeleton Cookies
Special Equipment
Ingredients
Cookies
- 1 cup unsalted butter, room temperature
- ¾ cup powdered sugar
- 1 ¾ cup all purpose flour
- ½ cup unsweetened black cocoa powder
- 1 teaspoon vanilla extract
- ¼ teaspoon kosher salt
Icing
- 1 cup powdered sugar
- 2 teaspoons meringue powder
- 2-3 teaspoons water
Instructions
- In the bowl of a stand mixer fitted with the paddle attachment, cream together the butter and powdered sugar until fully combined.
- Add in the flour, black cocoa, vanilla extract, and salt and mix until fully combined and smooth. The dough will feel a bit dry but should come together. Transfer the dough into an airtight container and refrigerate overnight (but a minimum of 2 hours if you can’t wait all night).
- Line a baking sheet with parchment paper. On a lightly floured surface, roll out the dough ¼ inch thick and then cut out your cookies.
- Place the cookies 1-2 inches apart on your baking sheet (they won’t spread much). Place the baking sheet in the fridge or freezer for a minimum of 20 minutes before baking to allow the butter in the dough to firm back up. If you don't chill the cookies again they will spread!
- While the cookies are chilling, preheat your oven to 350°F.
- Bake for 10-12 minutes or until the edges are set. Bake on the middle rack of the oven and rotate the pan halfway through baking for the best results. Let the cookies cool on the baking sheet for 2-3 minutes, then remove and let them finish cooling on a cooling rack.
- Let the cookies cool completely before decorating.
- To make royal icing, whisk together the meringue powder, powdered sugar and 1 teaspoon of water. Slowly drizzle in more water until the icing flows slightly, but still holds its shape.
- Transfer the icing to a piping bag fitted with a small round tip and draw on some bones!
Notes
Nutrition
The nutritional information on this website is only an estimate and is provided for convenience and as a courtesy only. The accuracy of the nutritional information for any recipe on this site is not guaranteed.
Browse more halloween recipes →





Comments
No Comments