I promise you this is the best apple pie you'll ever make! I use my perfect pie crust recipe and fill it with the most flavorful, but not too sweet apple filling. The secret to this classic apple pie pre-cooking the filling before assembling! There's nothing worse than cutting into a perfectly golden brown pie and finding out the filling is watery or under-cooked. Pre-cooking the filling ensures that your pie turns out perfectly every time!

Now you know I'm not one for pointless stories, but I do have a great story about this pie! When I was 15, I entered an apple pie contest at my local community center (random I know). I used this exact recipe, made some gorgeous designs on the crust, and I won!! It was so exciting and validating and I got a lot of death glares from some sweet little old ladies (lol). So when I tell you this apple pie is the best, I'm not lying. It's literally award winning!
For best results I recommend making this apple pie over the course of two days. Making the pie crust dough and filling the night before makes assembly the next day a breeze! Especially if you're making this pie for Thanksgiving and need to prep ahead of time!
You might also like this bourbon pumpkin pie, this classic cherry pie, or this pecan pie!
Jump to:
Ingredient Notes
You just need a few simple ingredients to make the best award winning apple pie!
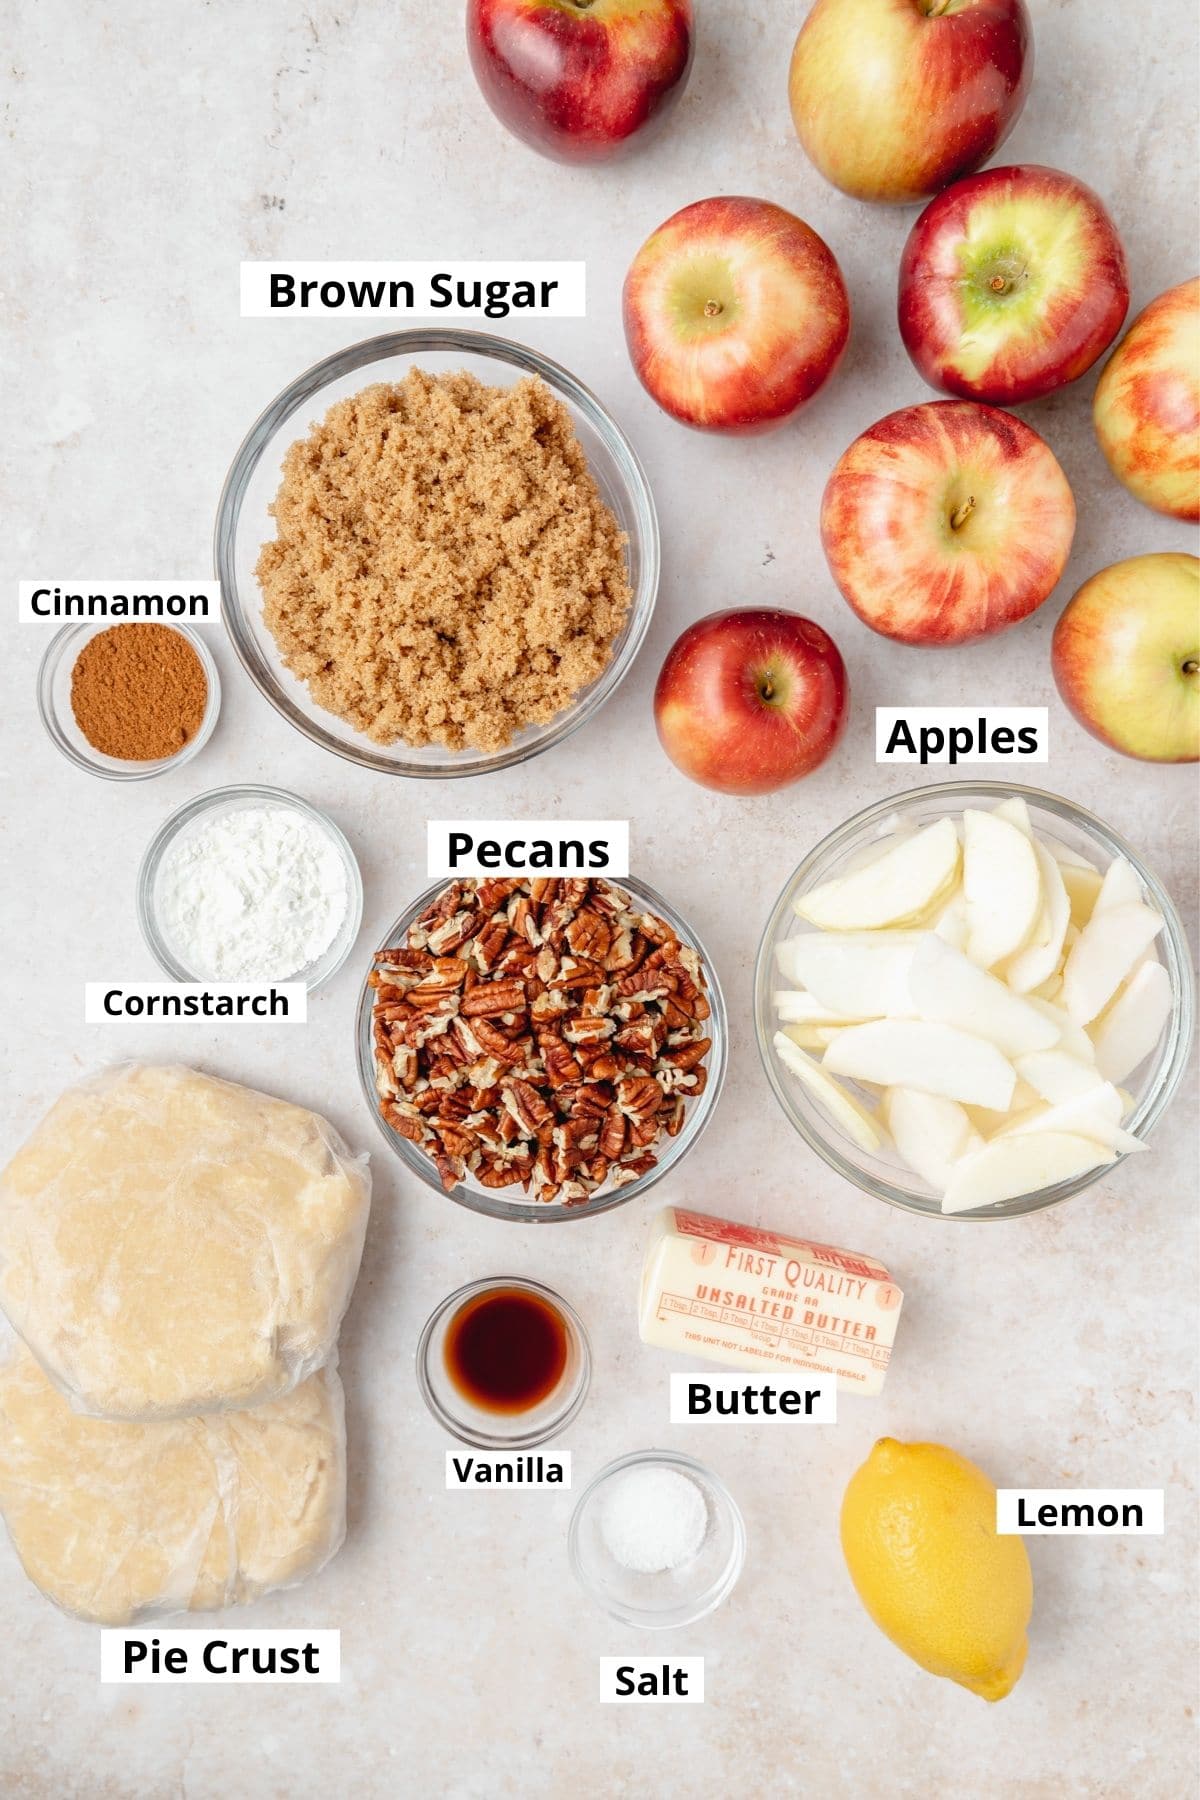
- Apples - What are the best apples for apple pie? Granny smith are the classic choice but I also love to use 1-2 few honey-crisp as well to add some extra sweetness. One of my favorite tools is this apple corer that peels, cores, and slices apples for you, but an old fashioned vegetable peeler works great too.
- Pecans - This might be controversial, but I love adding pecans to my apple pie filling! It adds the perfect amount of crunch! But just leave them out if you prefer.
- Cornstarch - We use cornstarch to help thicken the filling, but you can also substitute flour or clear jel. This is a great guide for making those substitutions!
- Pie Crust - I use my homemade buttery pie crust recipe for this apple pie! But you can use store-bought crust or your own homemade crust if desired.
The complete list of ingredients and amounts is located in the recipe card below.
Homemade Pie Crust Notes
I use my homemade flaky pie crust for this recipe. I have a super in depth post with all my best advice for making your own pie crust, so you can check out this blog post for all my pie crust tips and tricks!
Making a lattice or braided crust can also look intimidating but is actually a lot easier than it seems! My number one tip is just making sure the dough stays cool! A cool, firm dough is drastically easier to work with and will hold together when you try to pick up delicate strips. But my number two tip is to get a Stainless Steel Ruler that you keep in the kitchen so you can always cut straight pieces of dough.
Before baking, lightly brush the top of the crust with egg wash and sprinkle with sparkling sugar if desired.
Pre-Cooked Apple Filling
Pre-cooking the filling is a game changer! It ensures you never end up with a soupy, under-cooked filling. You also won't end up with a filling that shrinks down during cooking and leaves space underneath your top crust. Best of all, it gives you complete control over the taste and sweetness level of your filling!
My most important note with pre-cooked filling however is that you want it to be completely room temperature before you assemble the pie! If it's too hot, it will melt the butter in the crust too soon and if it's too cold, it won't heat up all the way through in the oven (although that's the better alternative since it's already cooked).
How to Make Apple Pie
Prepare your favorite homemade pie crust dough. Divide the dough in half and wrap each half tightly in plastic wrap. Place the dough in the fridge for a minimum of 30 minutes but 1-2 hours is best. Check out my recipe with all my tips and tricks for my perfect pie crust.
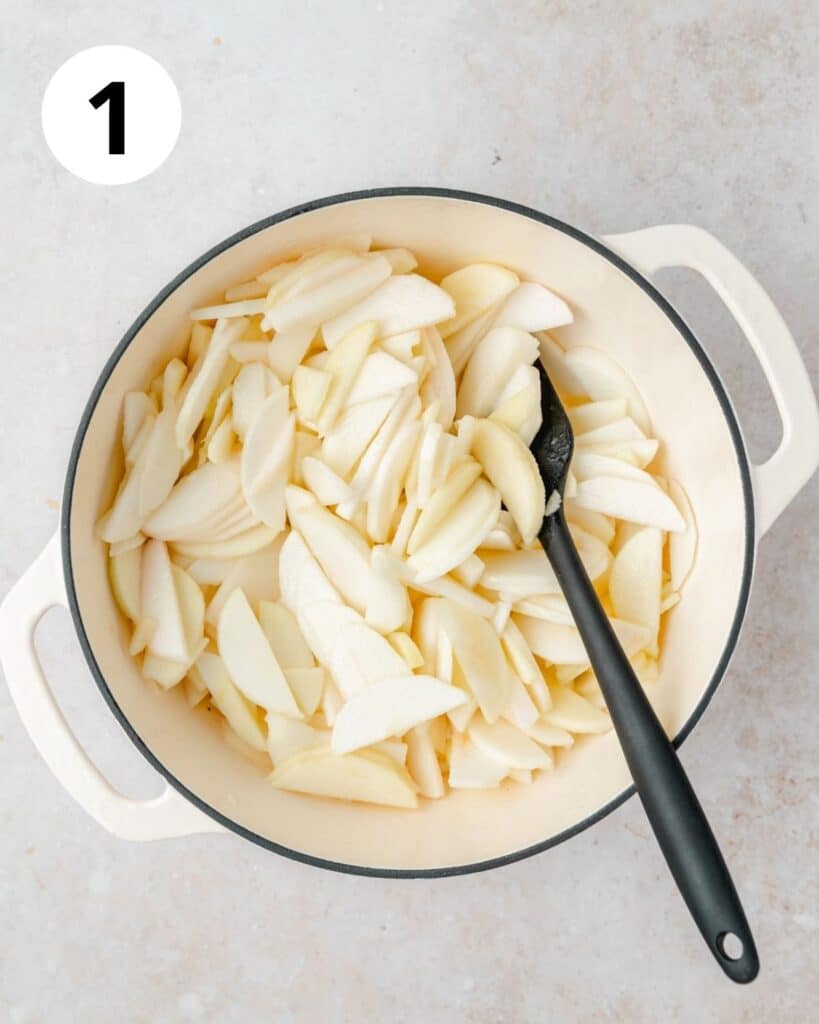
Peel and core your apples and thinly slice into equal sized slices. In a large pot over medium heat, melt the butter and then add in the sliced apples stirring to coat. Let the apples cook down for about 5 minutes until they begin to soften slightly.
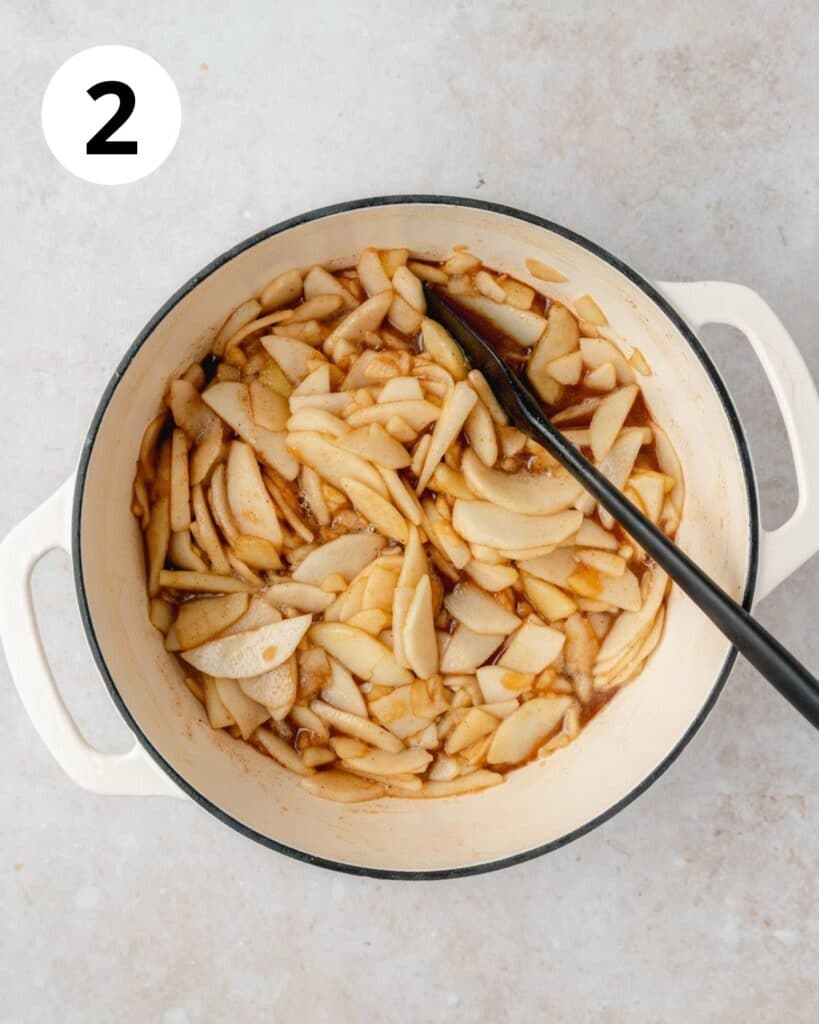
Then add in the brown sugar, cinnamon, nutmeg, cloves, salt, lemon juice, and vanilla. Let the apples continue to cook, stirring occasionally until the apples are soft, 10-15 minutes.
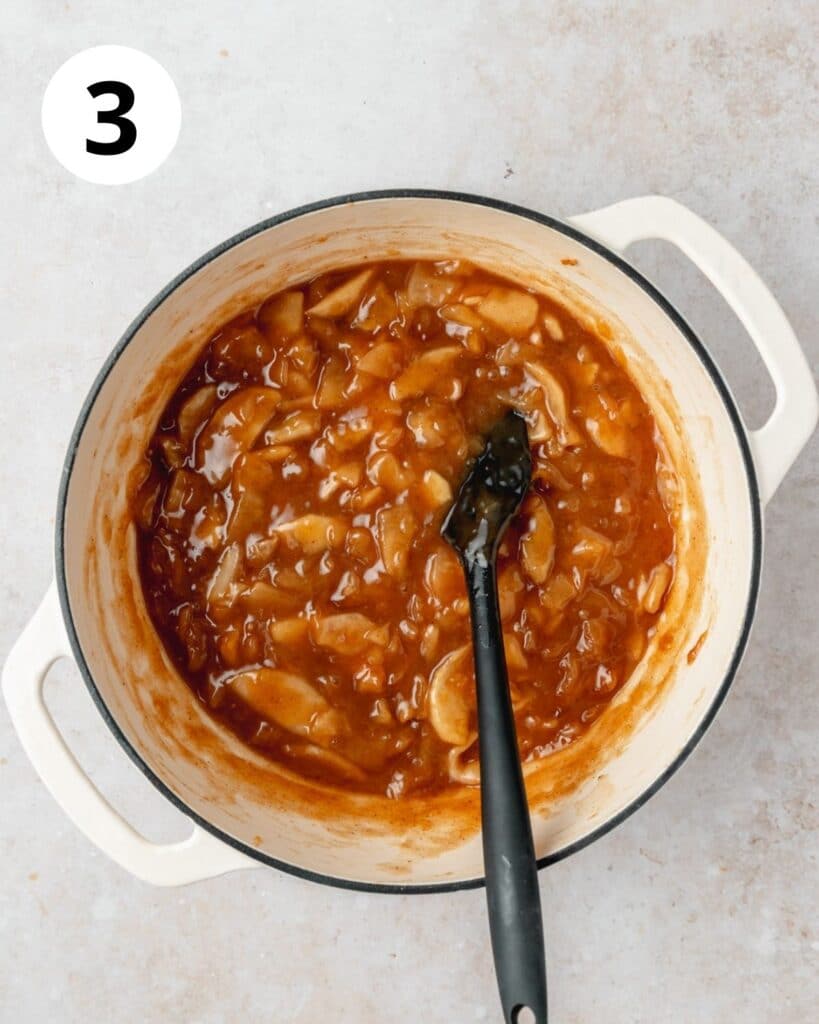
Dissolve the cornstarch in the cold water then add to the apples and stir until the mixture thickens. Taste and adjust flavorings if needed. Stir in the chopped pecans if desired (I love that they add a little crunch).
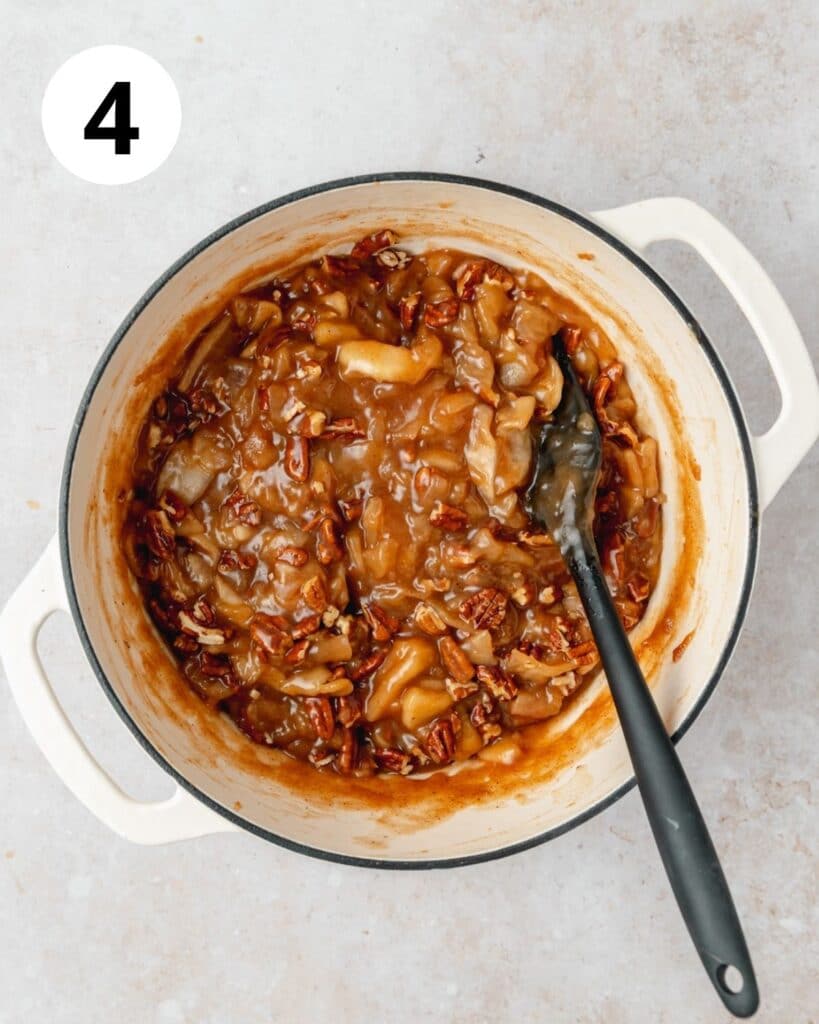
Remove from the heat and allow the filling to cool completely to room temperature (1-2 hours).
Lightly flour your counter-top and roll out the pie dough to ¼ inch thick and about 2 inches wider than your pie pan. Roll the pie crust into the pie pan and cut away any excess crust. Place the pie pan back in the fridge for 10 minutes.
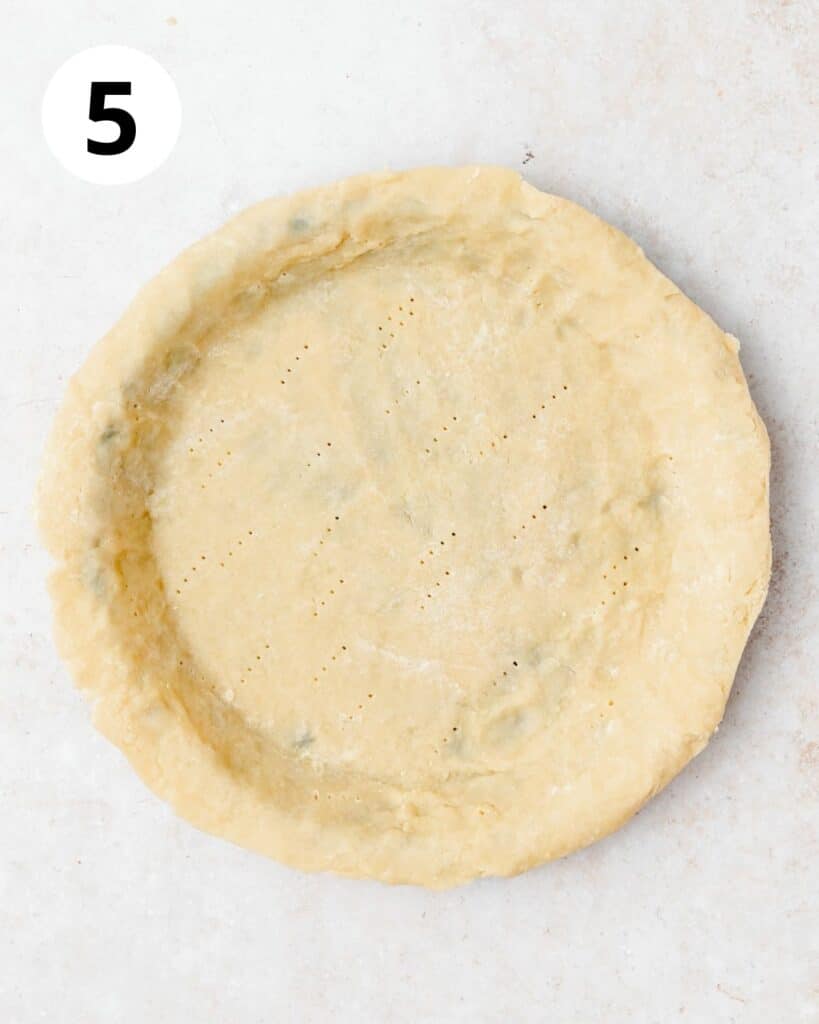
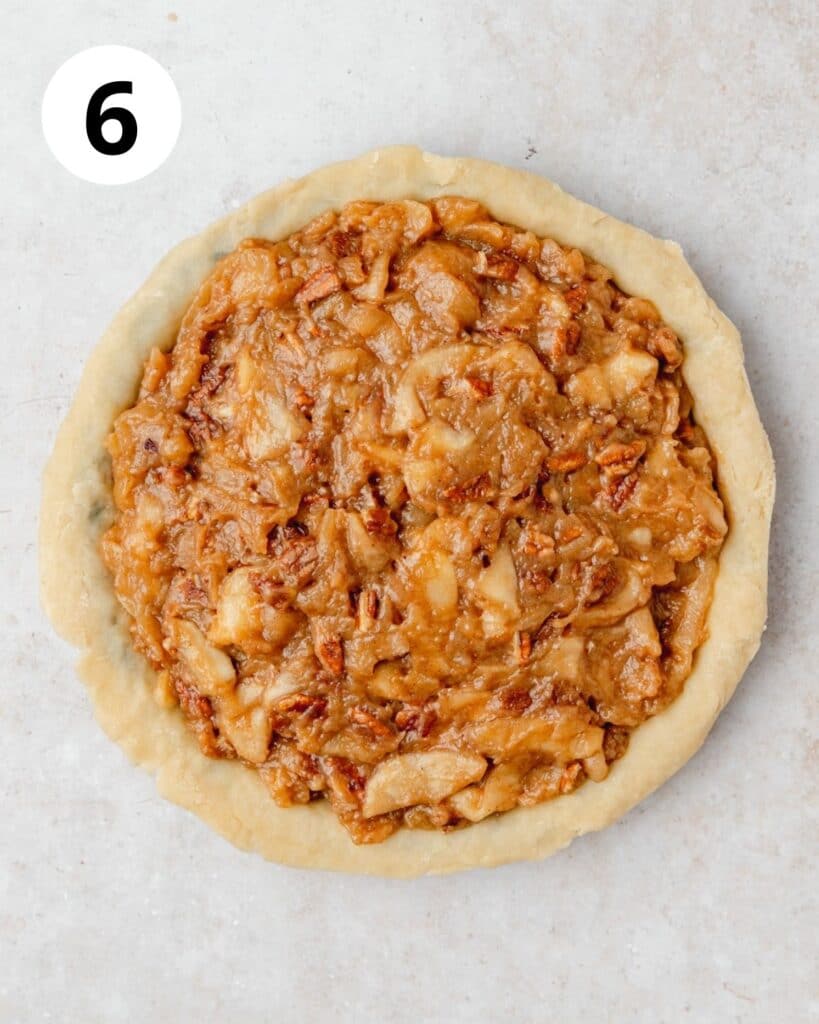
Roll out the top crust and cut into 2 inch wide strips (or keep it in one piece, you do you).
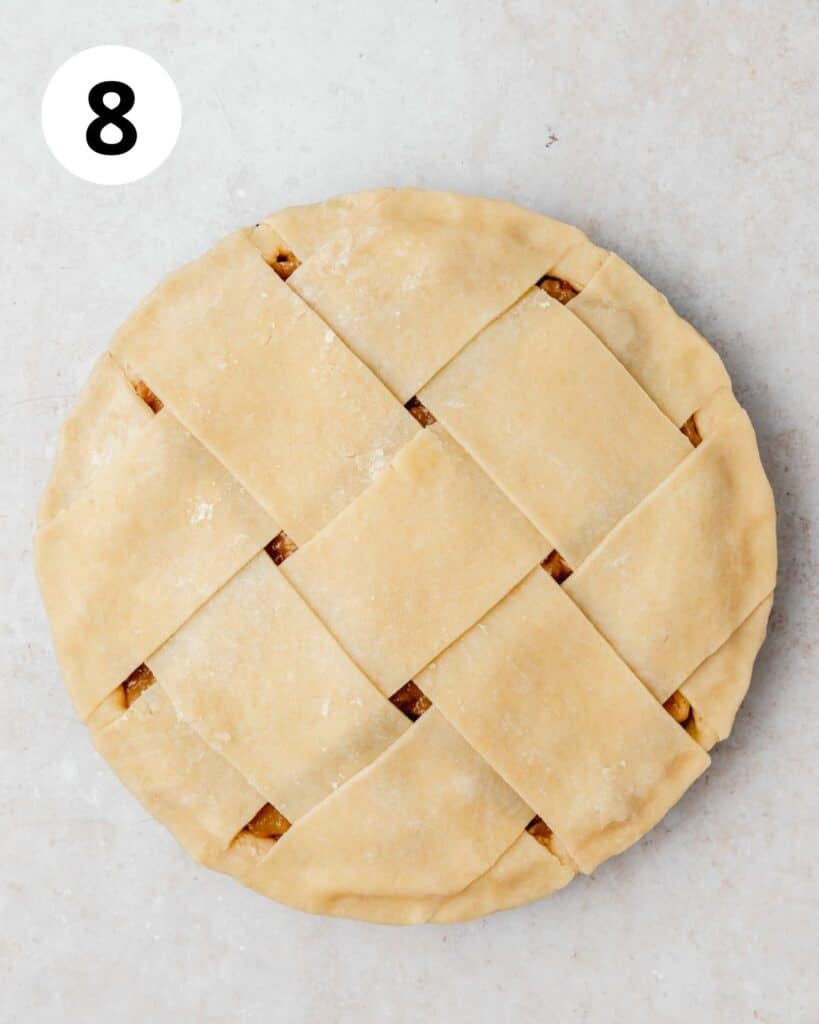
Pour the cooled filling into the bottom crust and top with the strips in a lattice pattern. Place the pie back in the fridge to chill again for at least 15 minutes while the oven is heating.
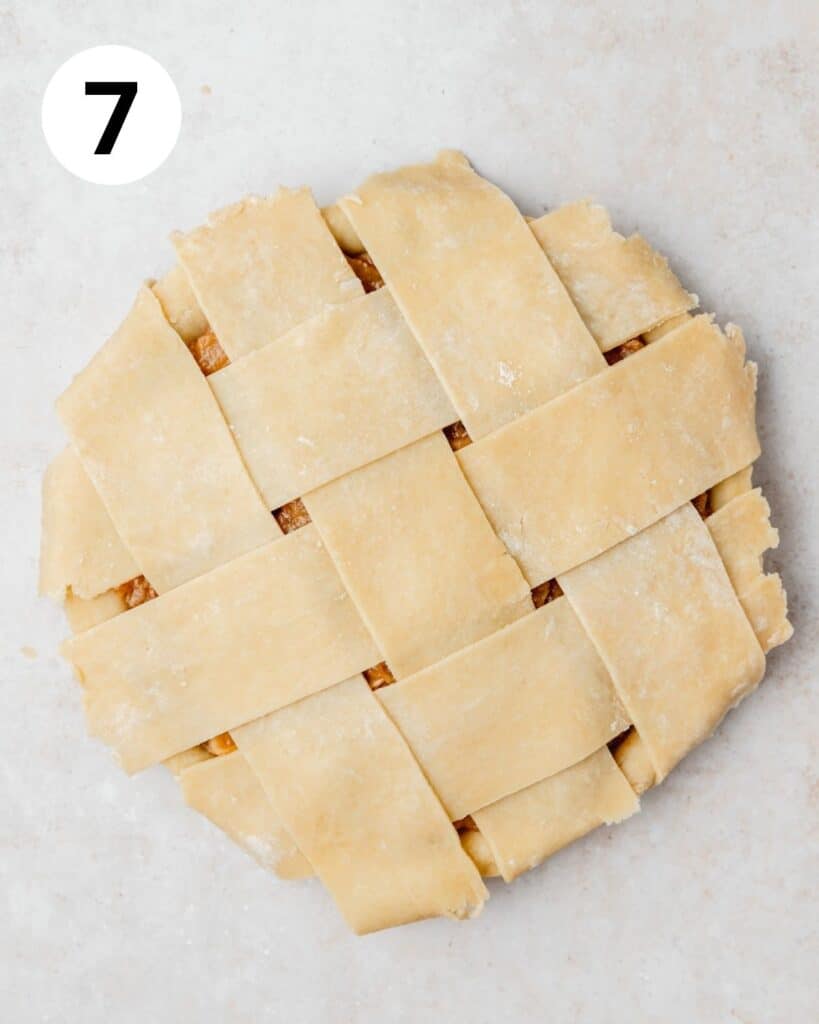
Preheat the oven to 425°F.
Lightly brush the top of the crust with egg wash and sprinkle with sparkling sugar if desired.
Bake at 425°F for 15 minutes. Then reduce the heat to 350°F for 30-40 minutes or until the crust is golden brown and the filling is bubbly. If the edges of the crust start to get too brown, cover with aluminum foil for the remainder of baking.
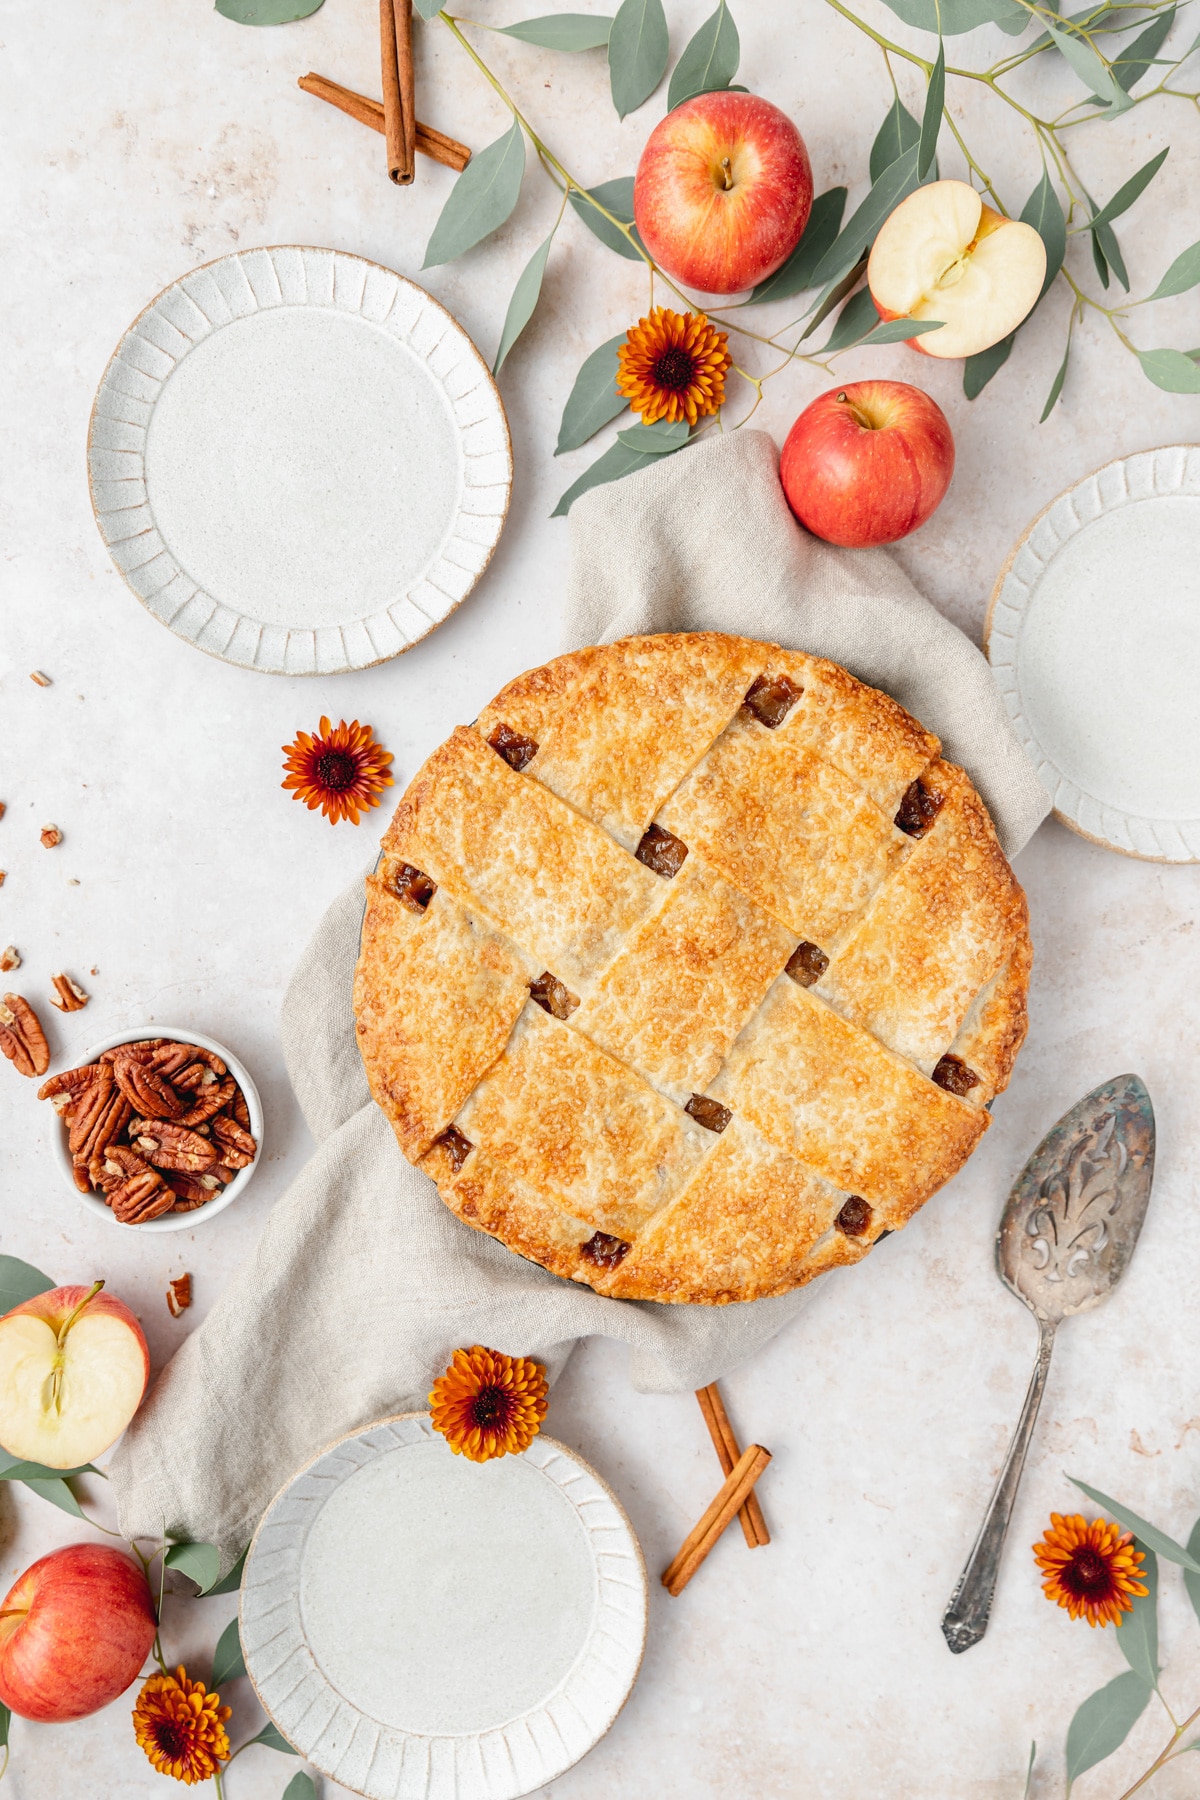
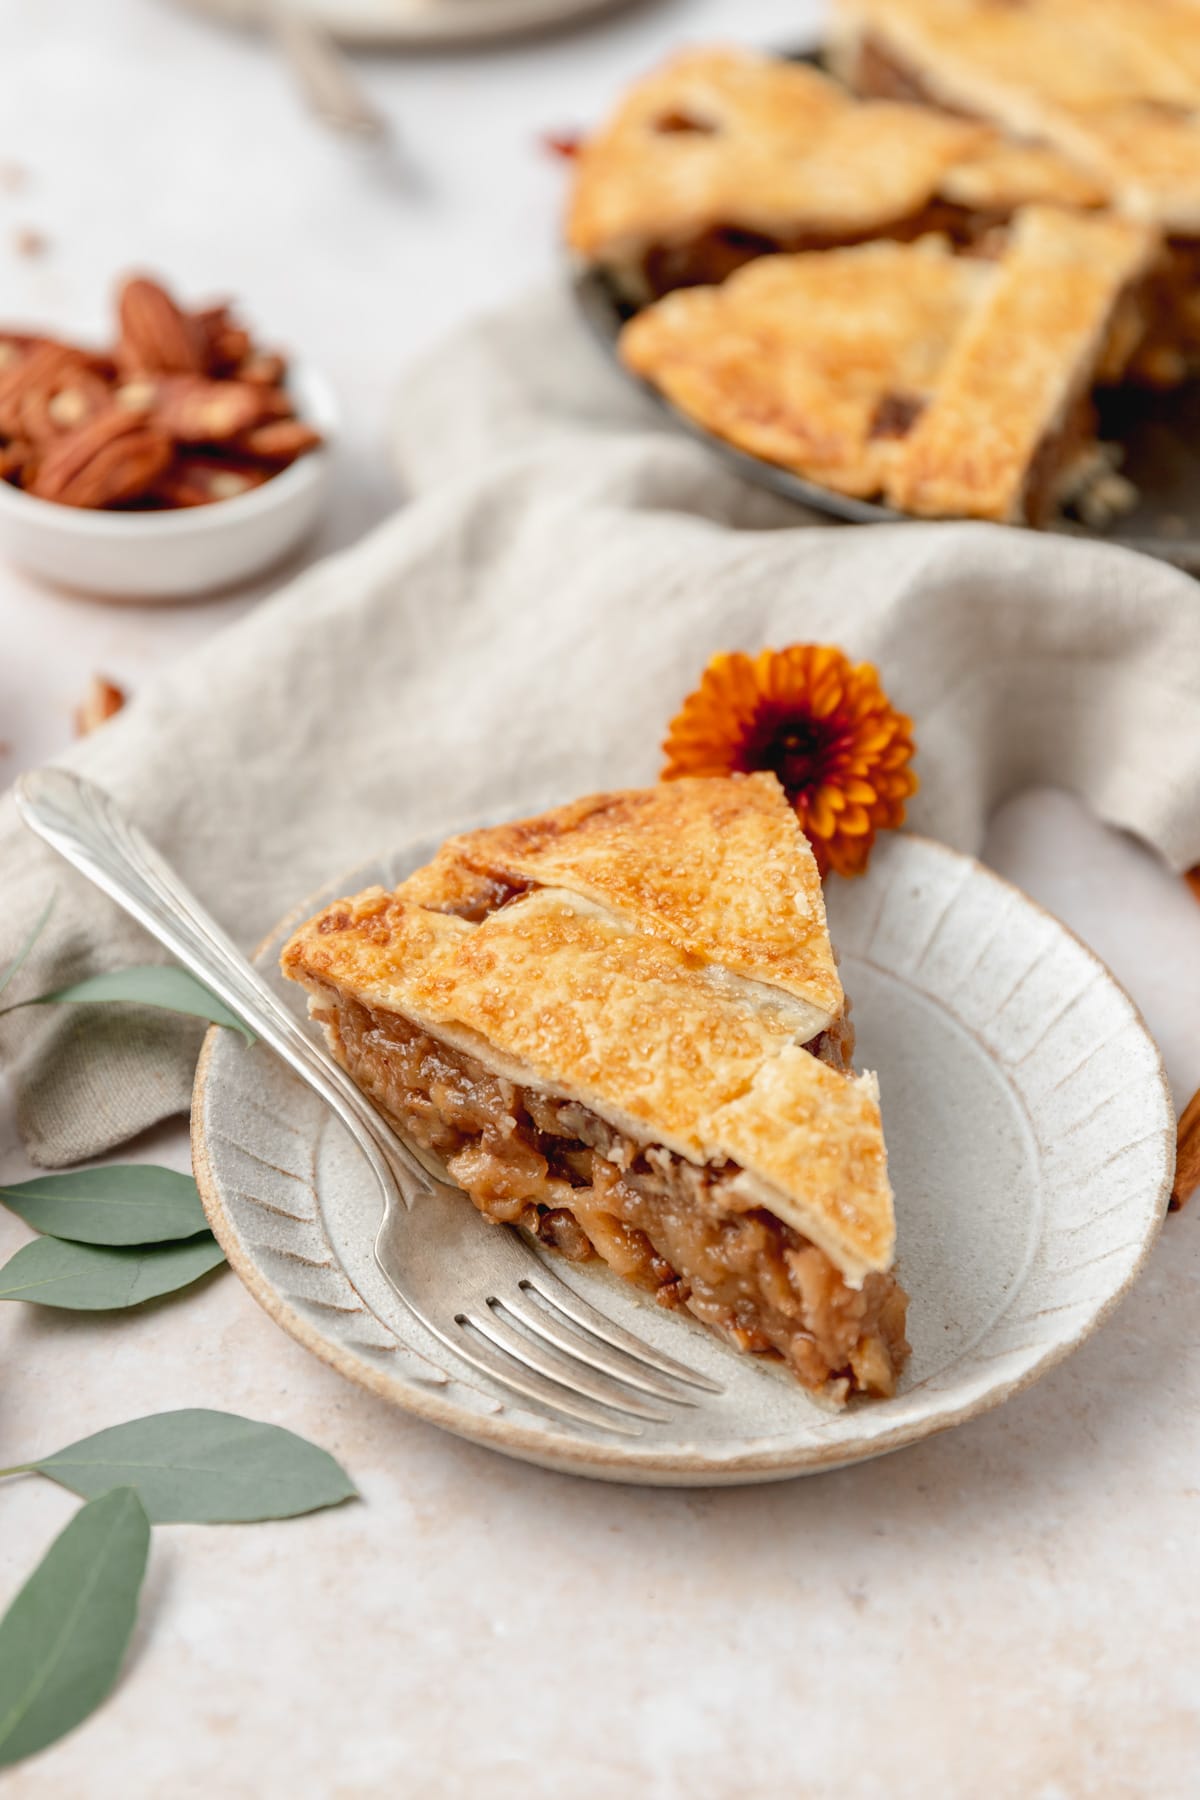
For best results, let the pie cool completely before slicing (however since we know the filling is fully thickened, it won't ooze too much if you cut into it early.
This apple pie is best served with a big dollop of homemade whipped cream or vanilla ice cream!
Tips for the Best Pie!
For all my pie recipes, I like to use my classic flaky pie crust! I have a whole blog post with tons of tips and tricks for perfect pie crust, but the most important are listed below. Be sure to check out the rest of our pie recipes too!
Keep it cold! The secret to a super flaky pie crust is keeping the dough cold at every step. Use cold butter and cold water while making the dough, and try to keep the dough as cold as possible while working with it. I often refrigerate my pies for at least 10-20 minutes after each step so that the dough stays as cold as possible. You want very cold dough going into a very hot oven for the best results!
Use a metal pie pan! Not all pie pans are created equal! Most pie pans on the market are either metal, glass, or ceramic. Overall, metal pie pans are the best of the best because they keep the crust very crispy and they're also the most durable and affordable. A fun alternative to classic aluminum pie pans that yields the same results is a cast iron skillet! I know ceramic pie plates certainly are pretty, but unfortunately the bottom crust just never gets crispy so I just don't recommend them.
Brush the crust with egg wash before baking! Brushing the crust with an egg was (just a beaten whole egg) before baking, gives a beautiful, glossy, golden brown appearance! For savory pies I like to sprinkle with flaky sea salt and for dessert pies I like to sprinkle with sparkling sugar.
Par bake for extra crispy crust! For pies with more runny fillings (like a berry pie or custard based pie), par baking the crust before filling helps ensure a super crispy bottom! It also helps prevent overcooking the filling. Place a piece of parchment paper or heavy duty aluminum foil inside the pie crust and fill with pie weights. Bake at 425°F for 15 minutes. Carefully lift the parchment paper and pie weights then return the pie crust to the oven to bake for another 5 minutes or until the bottom of the crust is just beginning to brown. [Note: unfortunately this won't work with double crust pies]
Let it rest! Letting the pie rest for a bit after removing from the oven helps the filling thicken up and prevents a runny pie. For pies that you want to eat immediately while they're still hot, it's still best to let it rest for 20-30 minutes before cutting so that the filling can thicken up slightly. But for fruit pies or custard pies, letting the pie rest for at least 4-6 hours is ideal!
Recipe Notes
Pre-cooking the filling is technically optional but I highly recommend it! It allows the filling to fully thicken so that you don't end up with runny apple pie filling. [I know I've mentioned this like 4 times but I swear by this okay!!!]
For best results, make the pie crust dough and filling the night before assembling. In the morning, take the filling out of the fridge and allow it to come fully to room temperature before assembly (about 2 hours).
You can make both the pie crust dough and filling ahead of time and store in the fridge for up to 3 days before assembling the pie!
Recipe FAQ's
This pie is best eaten the same day, but will keep covered in the fridge for up to 3 days.
This happens when the pie isn't cooked long enough, or there wasn't enough thickening agent added. But if you pre-cook the filling, you'll never have a runny pie again!
Reheat in the oven for 5-10 minutes for best results.
Tips for Success!
For best results I always recommend using weight measurements (especially when baking) because it's the most accurate. Kitchen scales are super affordable and also reduce the number of dishes you have to do! However, all my recipes also include US customary measurements for convince. Use this chart to convert measurements for common ingredients!
Substitutions: In all my recipes, I've included substitutions that I know will work, but I cannot guarantee results if you substitute ingredients that I have not recommended. [For example, granulated sugar and honey are indeed both sweeteners but they have very different properties so they can not always be swapped 1:1. Using honey in a cookie recipe that calls for granulated sugar will yield a giant mess.] In the recipe card you'll find links to the specific ingredients/brands that I use.
A note on salt: I almost exclusively use Diamond Crystal Kosher Salt because it's the best all-purpose salt for cooking and baking. If you're not using kosher salt, consult this handy guide for a conversion chart! When in doubt, if you're using table salt just reduce the amount by half for baked goods. When cooking, I prefer to under-salt because you can always add more! If you've over-salted, adding a little bit of acid (like lemon juice) can help.
More Recipes You Might Like!
If you make this recipe, please leave a star rating at the bottom of the page! This provides helpful feedback to both me and other readers. And if you want more delicious, scratch-made recipes you can subscribe to my newsletter and follow along on Instagram, Pinterest, and Facebook!
Recipe Card
Award Winning Apple Pie
Special Equipment
Ingredients
Apple Pie Filling
- 1 Perfect Pie Crust
- 6 cups tart apples, peeled and sliced (8-9 large apples)
- 6 tablespoons unsalted butter
- 1 cup light brown sugar
- 1 ½ teaspoons ground cinnamon
- ¼ teaspoon ground nutmeg
- ½ teaspoon kosher salt
- 2 tablespoons lemon juice
- 1 teaspoon vanilla extract
- 2 tablespoons cornstarch
- 2 tablespoons cold water
- ½ cup chopped pecans, optional
- 1 egg, beaten (for egg wash)
- sparkling sugar, optional
Instructions
Two Day Preparation
- Prepare your favorite homemade pie crust dough. Divide the dough in half and wrap each half tightly in plastic wrap. Place the dough in the fridge overnight. Check out my recipe with all my tips and tricks for perfect flaky pie crust.
- Peel and core your apples and thinly slice into equal sized slices. In a large pot over medium heat, melt the butter and then add in the sliced apples stirring to coat. Let the apples cook down for about 5 minutes until they begin to soften slightly.
- Then add in the brown sugar, cinnamon, nutmeg, salt, lemon juice, and vanilla. Let the apples continue to cook, stirring occasionally until the apples are soft, 10-15 minutes.
- Dissolve the cornstarch in the cold water then add to the apples and stir until the mixture thickens. Taste and adjust flavorings if needed. Stir in the chopped pecans if desired (I love that they add a little crunch).
- Transfer the apples to an airtight container and refrigerate overnight.
- Remove from the fridge in the morning and allow to come to room temperature before assembling the pie.
Sam Day Preparation
- Prepare your favorite homemade pie crust dough. Divide the dough in half and wrap each half tightly in plastic wrap. Place the dough in the fridge for a minimum of 30 minutes but 1-2 hours is best. Check out my recipe with all my tips and tricks for my perfect pie crust.
- Peel and core your apples and thinly slice into equal sized slices. In a large pot over medium heat, melt the butter and then add in the sliced apples stirring to coat. Let the apples cook down for about 5 minutes until they begin to soften slightly.
- Then add in the brown sugar, cinnamon, nutmeg, cloves, salt, lemon juice, and vanilla. Let the apples continue to cook, stirring occasionally until the apples are soft, 10-15 minutes.
- Dissolve the cornstarch in the cold water then add to the apples and stir until the mixture thickens. Taste and adjust flavorings if needed. Stir in the chopped pecans if desired (I love that they add a little crunch).
- Remove from the heat and allow the filling to cool completely to room temperature (1-2 hours).
Assemble the Pie
- Lightly flour your counter-top and roll out the pie dough to ¼ inch thick and about 2 inches wider than your pie pan. Roll the pie crust into the pie pan and cut away any excess crust. Place the pie pan back in the fridge for 10 minutes.
- Roll out the top crust and cut into 2 inch wide strips (or keep it in one piece, you do you).
- Pour the cooled filling into the bottom crust and top with the strips in a lattice pattern. Place the pie back in the fridge to chill again for at least 15 minutes while the oven is heating.
- Preheat the oven to 425°F.
- Lightly brush the top of the crust with egg wash and sprinkle with sparkling sugar if desired.
- Bake at 425°F for 15 minutes. Then reduce the heat to 350°F for 30-40 minutes or until the crust is golden brown and the filling is bubbly. If the edges of the crust start to get too brown, cover with aluminum foil for the remainder of baking.
- For best results, let the pie cool completely before slicing (however since we know the filling is fully thickened, it won't ooze too much if you cut into it early.
- Serve with whipped cream or vanilla ice cream and enjoy!
Notes
Nutrition
The nutritional information on this website is only an estimate and is provided for convenience and as a courtesy only. The accuracy of the nutritional information for any recipe on this site is not guaranteed.
Browse more pie recipes →




Lin says
I was entering an apple pie to our local fair. I always bake one first to make sure it's fair worthy and this one is based on my test pie and with my butter pie crust, it was great. I've now started the apples for the actual submission and I'm thinking something isn't right. I always weigh everything when I'm baking but the apple mixture doesn't seem as tight as the first one after adding the corn starch. It did thicken up some and let it simmer a few more minutes. It doesn't seem to be thickening any more and I'm not so sure what I can do at this point. Suggestions anyone? I'm letting it cool now so I can put it in my container for the fridge
Kyleigh Sage says
When in doubt it never hurts to add a little extra cornstarch if it isn't thickening enough! All apples will have a slightly different water content, so sometimes it's just going to be more watery than others (which is why I love pre-cooking the filling so you can see that and add extra cornstarch if needed).
Jean says
I just made the filling. It is delicious. This is my new apple pie recipe. Thanks for sharing!