
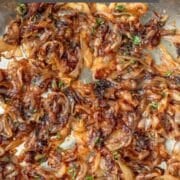
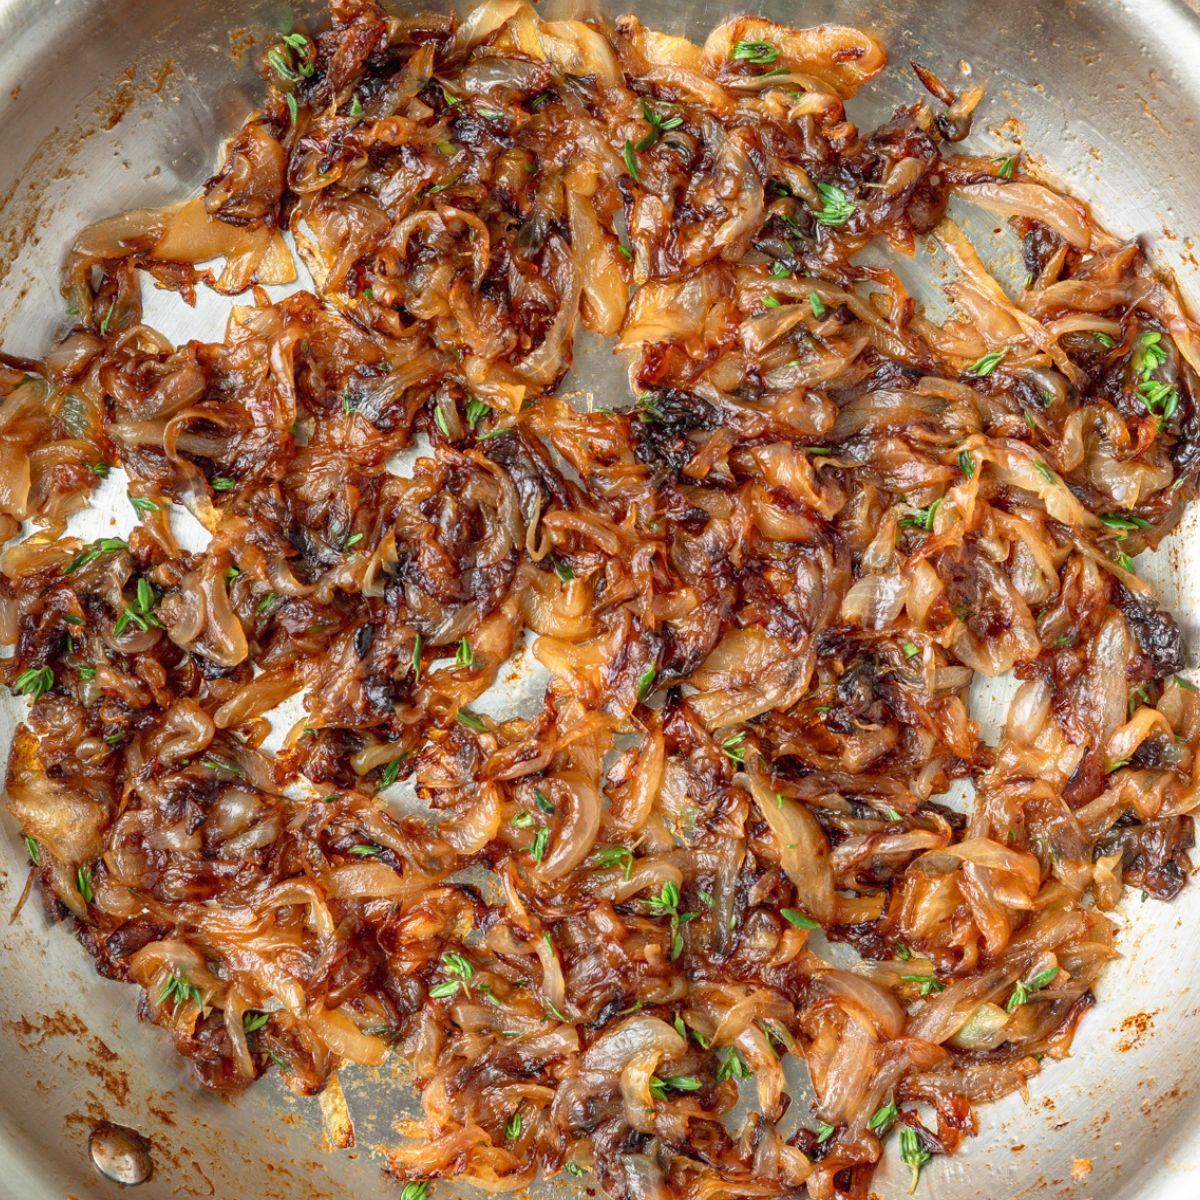
Learn how to caramelize onions perfectly every time with this step-by-step recipe!
Caramelized onions are sweet onions that have been cooked low and slow to caramelize their natural sugars. They're both savory and sweet and have the most wonderfully complex flavor. The perfect addition to burgers, pizza, pasta, onion dip, etc.!
Jump to:
Ingredient Notes
You just need 4 ingredients to make homemade caramelized onions!
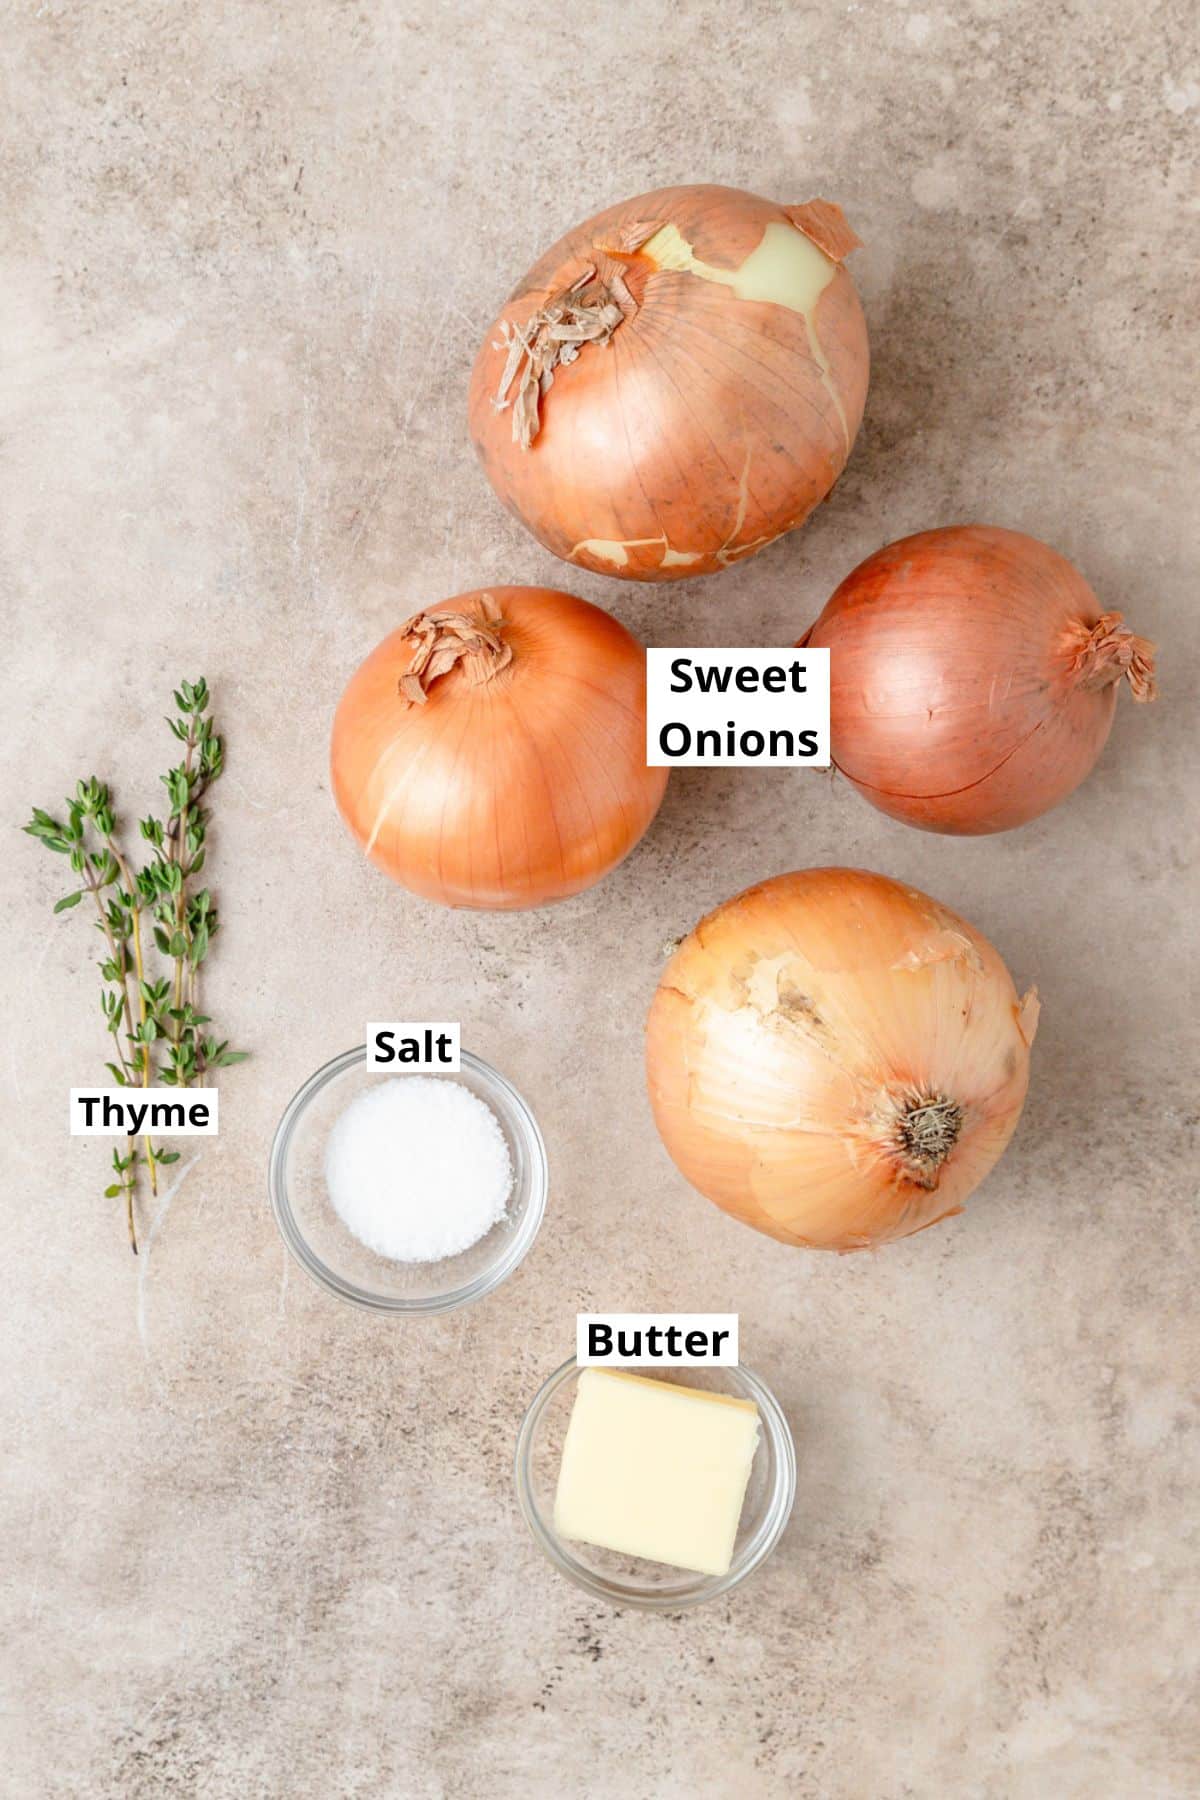
Onions - You can technically use any variety of onion, but for the best flavor I recommend sweet onions! Note that 1 large onion = about 2 cups when sliced which then yields about ¼ cup of caramelized onions. So you can scale the recipe as needed!
- Sweet Onion - For the best flavor and sweetness you want to use sweet onions! There's multiple varieties of sweet onion that all work well; Vidalia onions, Walla Walla onions, and Maui onions are the most common!
- Yellow Onion - Yellow onions are the second best choice for caramelized onions! They have lots a flavor, are relatively mild, and still have a good amount of sweetness.
- Red Onion - Red onions have a milder flavor (which is why they're so good raw) but they're less sweet and more bitter so I generally don't like them for caramelized onions but they're great if you add in balsamic vinegar at the end.
- Shallot - Shallots are more expensive so they aren't my first choice, but they have a great mildly sweet flavor!
Butter - For the best flavor, I like caramelizing the onions in butter. However, you can also do half butter and half olive oil.
Water - At the end of cooking, a little splash of water helps deglaze the pan and get all the browned bits (fond) off the bottom of the pan. Instead of water, you can also do a splash (up to 1 tablespoon) of apple cider vinegar or balsamic vinegar for a little extra sweetness and acidity!
Thyme - This is optional, but I love adding a little fresh thyme in at the end.
The complete list of ingredients and amounts is located in the recipe card below.
Caramelized Onions Tips
- Choose the right pan: Either stainless steel or cast iron pans are best for developing properly caramelizing onions (this is one instance where you really don't want to use a non-stick pan). A large, wide pan with lots of surface area is best so that the onions brown evenly.
- Deglaze the pan: After the onions are done caramelizing you want to deglaze the pan with a splash of water to get all the flavorful browned bits off the bottom of the pan. You can also use a splash of sweet vinegar or sweet wine!
- Make a big batch: Since caramelized onions take over an hour to make, it's worth doubling or tripling the recipe and freezing the leftovers for whenever you need them!
How to Caramelize Onions
Caramelizing onions takes a long time (but it's SO worth it for the flavor), so I like to make the caramelized onions a day in advance of whatever recipe I want to use them in.
Thinly slice the onions.
Melt the butter in a large stainless steel or cast iron pan over medium low heat. Add in the onions and season with salt. Cook slowly over low heat, until deep golden brown and caramelized, about 1 to 1 ½ hours. Be sure to stir occasionally (every 10 minutes or so), so that the onions don't burn.
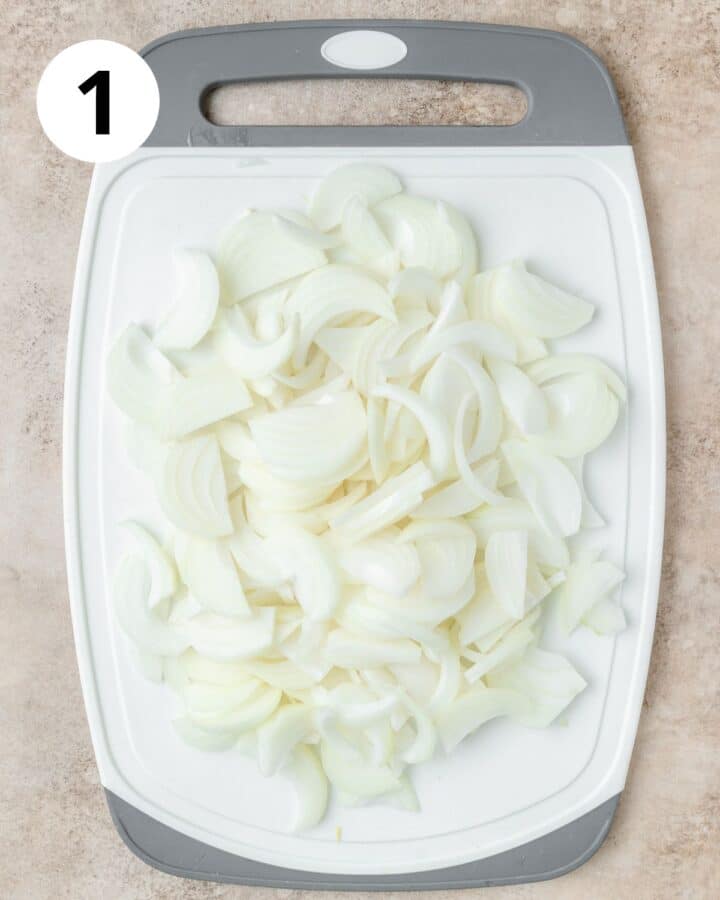
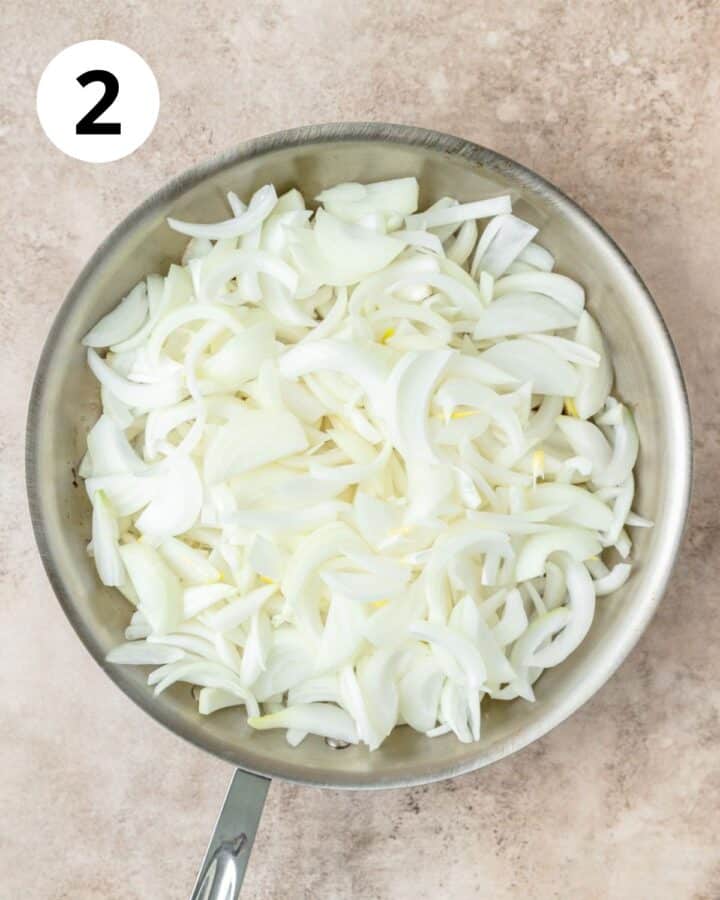
Photo 3: After about 20 minutes, the onions should be slightly softened, but still pretty colorless.
Photo 4: After about 40 minutes, the onions should be soft and beginning to brown.
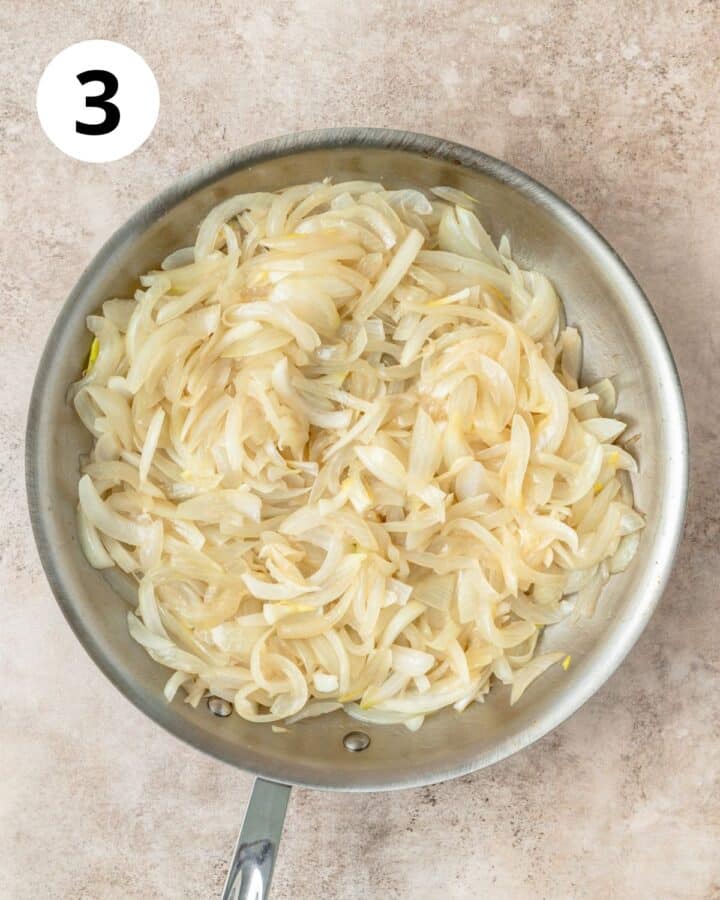
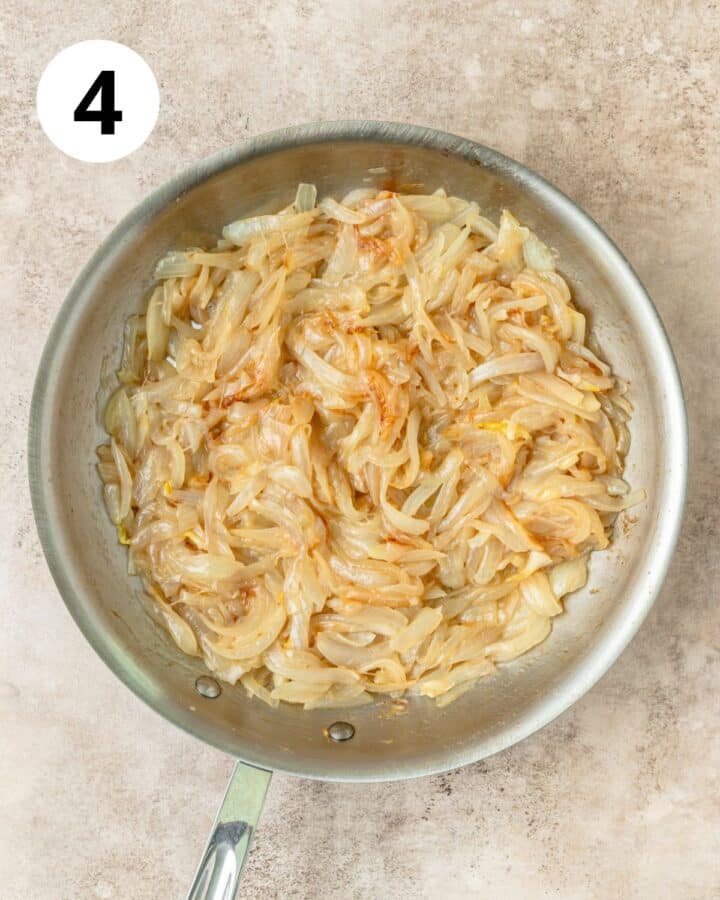
Photo 5: After about 1 hour, the onions should be soft and lightly caramelized. You can stop at this point but I like to let them cook for another 20-30 minutes.
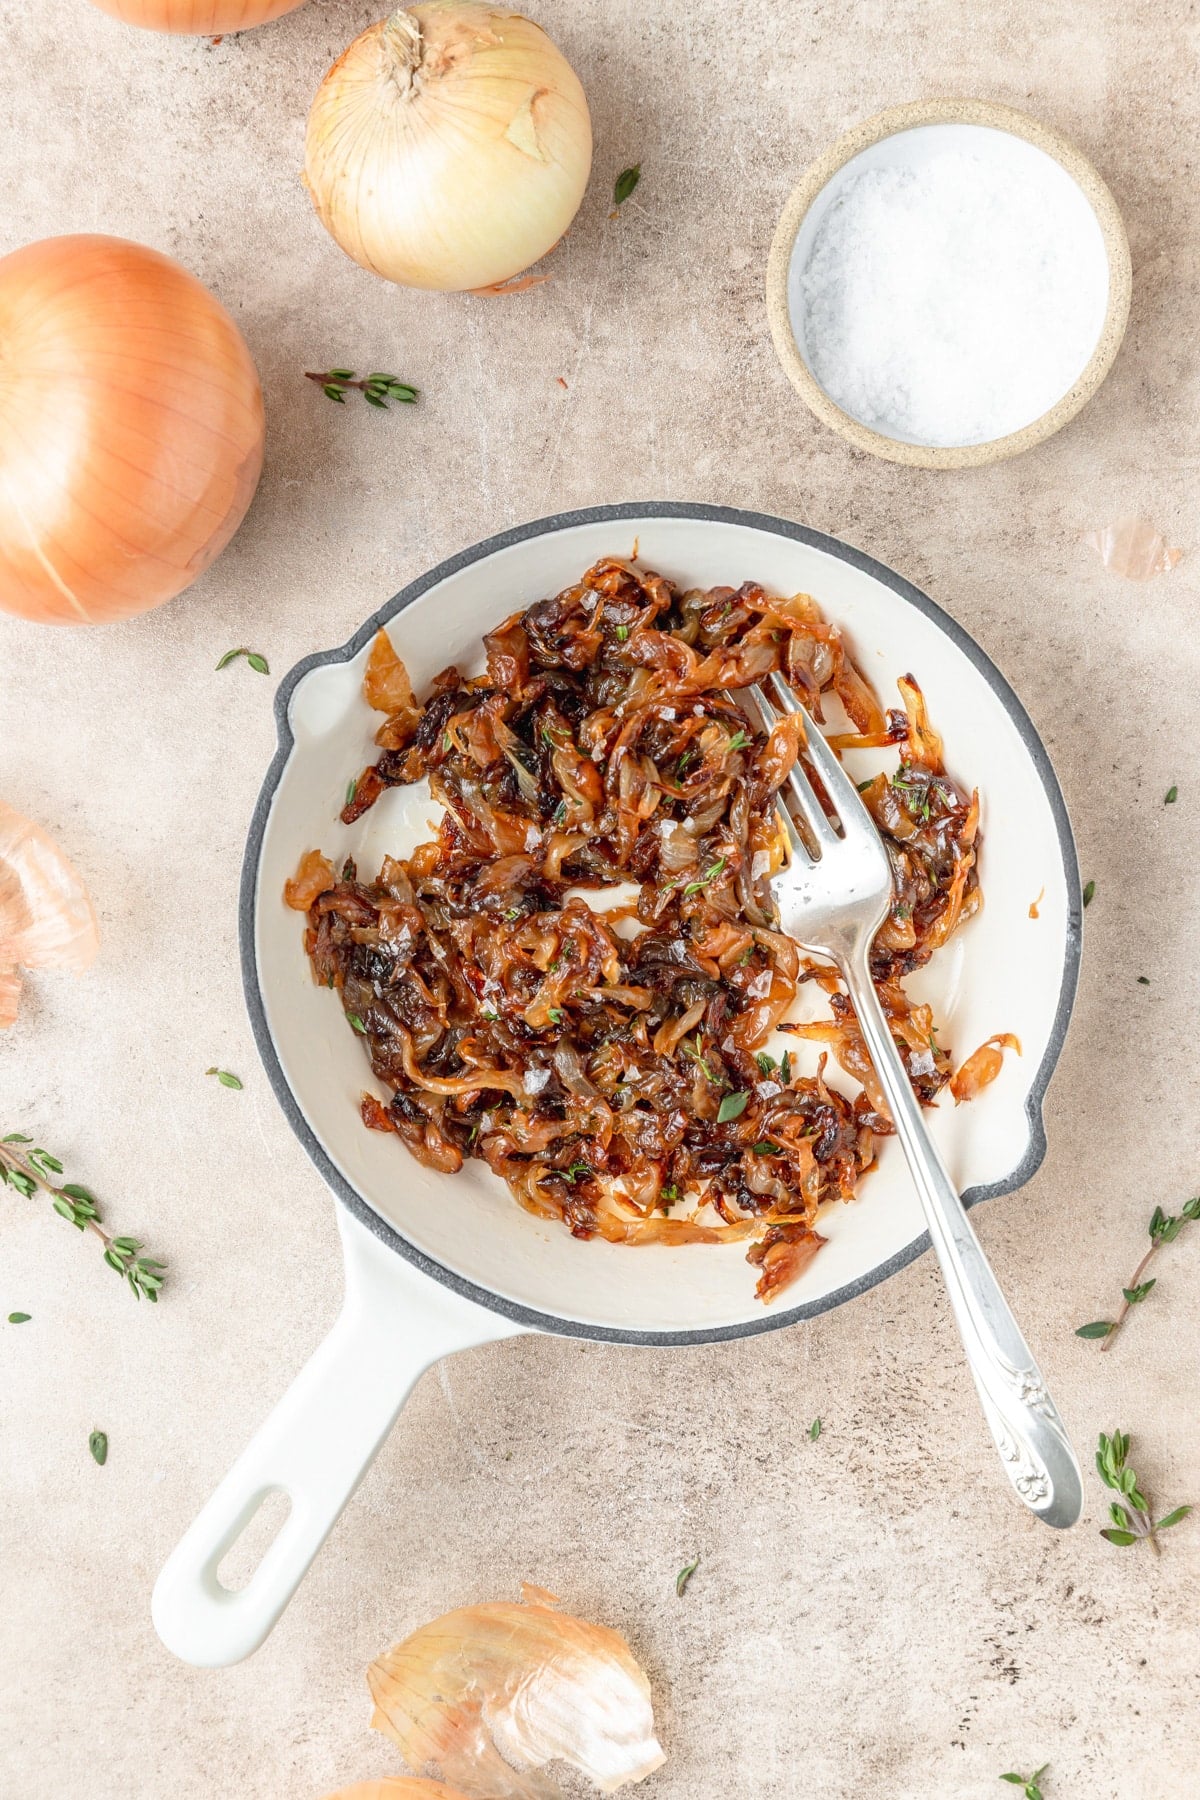
Photo 6: After about 1 ½ hours, the onions should have a jammy consistency, be a deep golden brown color with a rich, sweet flavor.
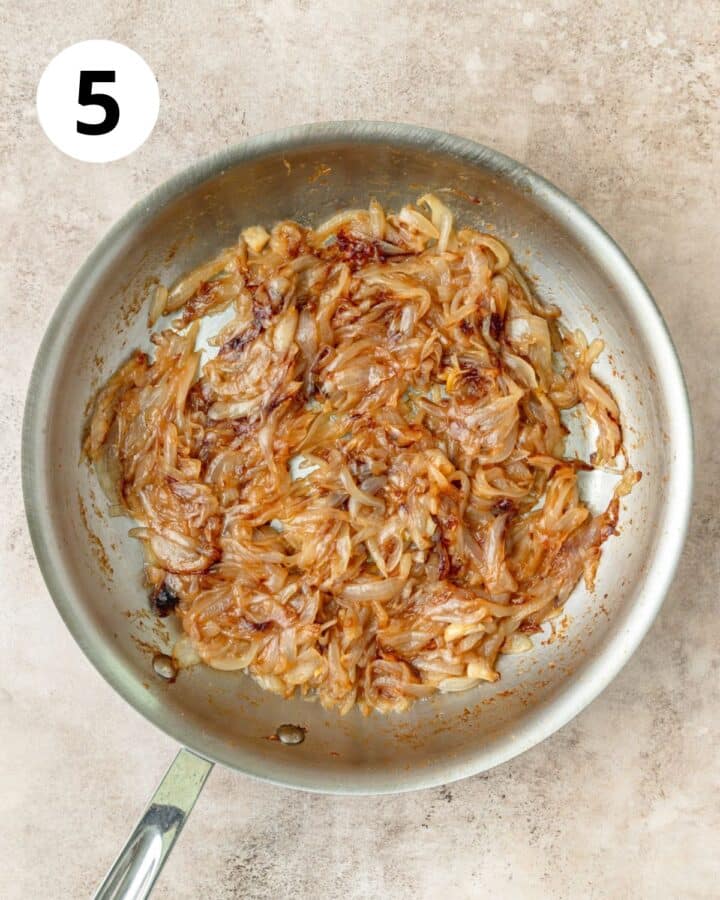
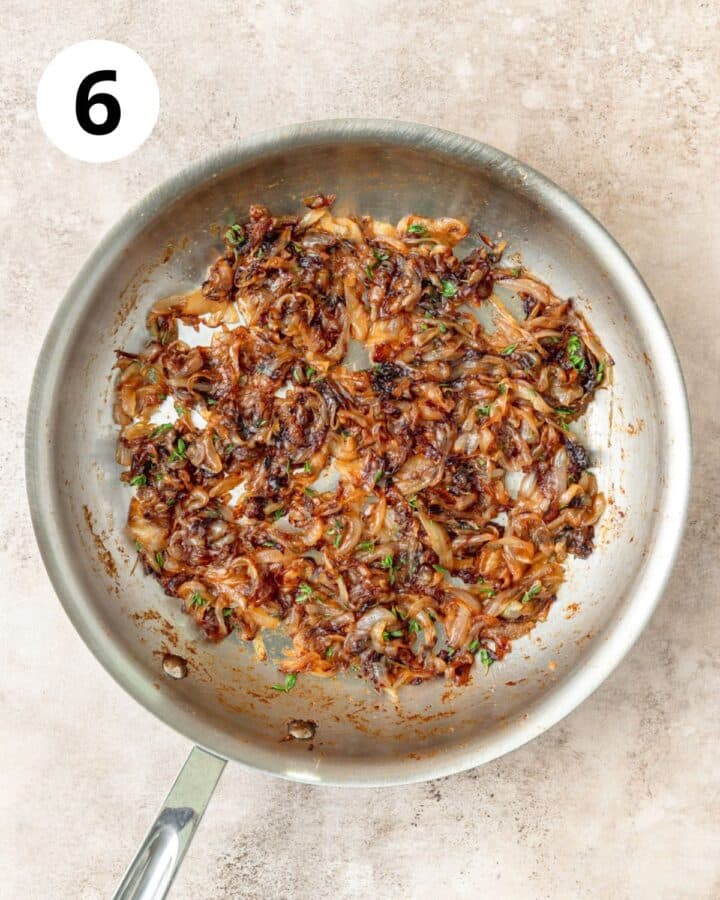
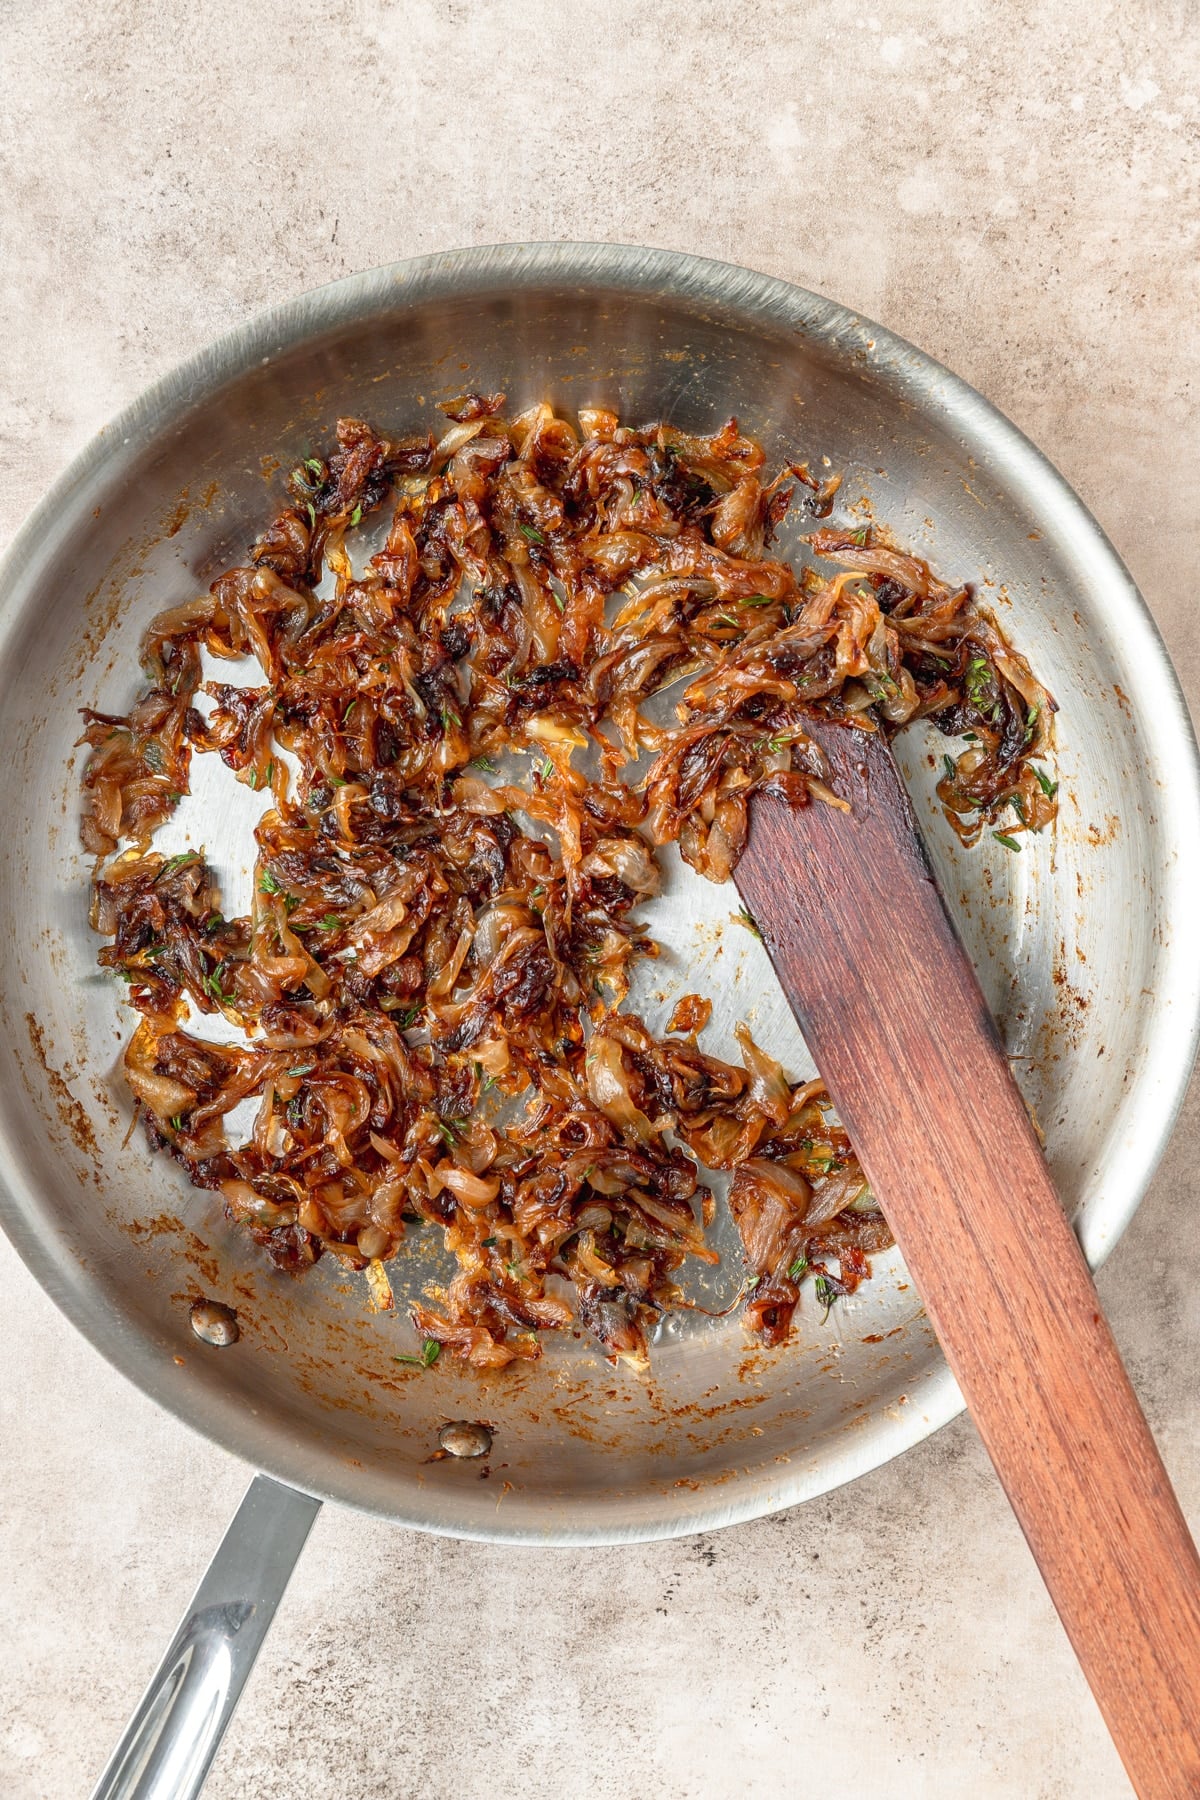
Add in the fresh thyme and deglaze the pan with about 1 tablespoon of water, making sure to scrape up all the browned bits on the bottom of the pan. Let cook for another minute or two to let the water evaporate. Instead of water you can also deglaze the pan with apple cider vinegar for a little bit of acidity.
Remove from the heat and enjoy!
Serving Suggestions
Caramelized onions can be used in countless ways! Here are a few of my favorites:
- They're the foundation of Classic French Onion Soup and this French Onion Chicken Pasta
- On burgers! There's nothing I love more than a burger piled high with caramelized onions
- French onion dip
- Grilled cheese! I love making a gruyere grilled cheese with caramelized onions
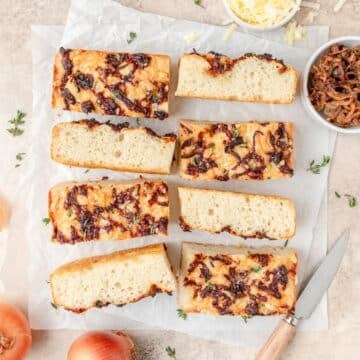
- They make a great topping for focaccia
- Add them to a quiche, frittata, or omelette
- On pizza! I love topping my homemade pizza with caramelized onions
- They're a great addition to both sweet and savory tarts


Recipe FAQ's
Store caramelized onions in an airtight container in the fridge for up to 5 days.
Caramelized onions also freeze great! Freeze in small portions for up to 3 months. Thaw in the fridge overnight or reheat straight from frozen.
Unfortunately to truly caramelize onions, it takes at least 1 hour. But the flavor is SO worth it!
Technically yes, but I really don't recommend it. The most common way to speed up the caramelizing process is to add ⅛-1/4 teaspoon of baking soda. However, it makes the onions mushy and I think it ruins the flavor.
If your onions are burning instead of caramelizing, your pan is likely too hot. The key to caramelizing onions is low heat for a long time. So just lower the heat and add in a splash of water to deglaze the pan if needed.
Tips for Success!
For best results I always recommend using weight measurements (especially when baking) because it's the most accurate. Kitchen scales are super affordable and also reduce the number of dishes you have to do! However, all my recipes also include US customary measurements for convince. Use this chart to convert measurements for common ingredients!
Substitutions: In all my recipes, I've included substitutions that I know will work, but I cannot guarantee results if you substitute ingredients that I have not recommended. [For example, granulated sugar and honey are indeed both sweeteners but they have very different properties so they can not always be swapped 1:1. Using honey in a cookie recipe that calls for granulated sugar will yield a giant mess.] In the recipe card you'll find links to the specific ingredients/brands that I use.
A note on salt: I almost exclusively use Diamond Crystal Kosher Salt because it's the best all-purpose salt for cooking and baking. If you're not using kosher salt, consult this handy guide for a conversion chart! When in doubt, if you're using table salt just reduce the amount by half for baked goods. When cooking, I prefer to under-salt because you can always add more! If you've over-salted, adding a little bit of acid (like lemon juice) can help.
If you love this recipe, please leave a star rating at the bottom of the page! This provides helpful feedback to both me and other readers.
Also be sure to add us as a trusted site on Google so that our recipes show up more in your searches!
For more delicious, scratch-made recipes you can subscribe to my newsletter and follow along on social media!
Recipe Card
How to Caramelize Onions
Special Equipment
Ingredients
- 4 large sweet onions
- 4 tablespoons unsalted butter
- ½ teaspoon kosher salt
- 1 teaspoon fresh thyme, optional
Instructions
- Caramelizing onions takes a long time (but it's SO worth it for the flavor), so I like to make the caramelized onions a day in advance of whatever recipe I want to use them in.
- Thinly slice the onions.
- Melt the butter in a large stainless steel or cast iron pan over medium low heat.
- Add in the onions and season with salt. Cook slowly over low heat, until deep golden brown and caramelized, about 1 to 1 ½ hours. Be sure to stir occasionally (every 10 minutes or so), so that the onions don't burn.
- After about 20 minutes the onions should be slightly softened but still colorless. After 40 minutes the onions should be soft and just beginning to brown. At 1 hour the onions should be lightly caramelized; you can stop at this point but I like to let them cook for another 20-30 minutes. After about 1 ½ hours, the onions should have a jammy consistency and be a deep golden brown color with a sweet flavor.
- Add in the fresh thyme and deglaze the pan with about 1 tablespoon of water, making sure to scrape up all the browned bits on the bottom of the pan. Let cook for another minute or two to let the water evaporate. Instead of water you can also deglaze the pan with apple cider vinegar for a little bit of acidity.
- Remove from the heat and enjoy!
Notes
Nutrition
The nutritional information on this website is only an estimate and is provided for convenience and as a courtesy only. The accuracy of the nutritional information for any recipe on this site is not guaranteed.
Comments
No Comments