My favorite ingredient of all time is brown butter!! Brown butter is just unsalted butter that has been melted and gently cooked to bring out a toasty, nutty flavor. It's delicious in endless sweet and savory recipes from cookies to popcorn!

Jump to:
What Makes Brown Butter So Special?
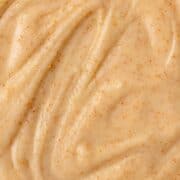
Essentially the milk proteins are toasted which gives them a caramelized flavor and creates the beautiful brown specs we see in browned butter. You can use brown butter in a sauce over pasta, meat, or vegetables, but it's my favorite when incorporated into desserts!
In pretty much any recipe, you can replace the butter with browned butter!!
I often brown 1-2 pound batches of butter at a time and store it in an airtight container in the fridge to easily use in place of regular butter. Just note that if you make brown butter in bulk, it's difficult to measure it in tablespoons or cups. There also tends to be a small amount of volume loss due to evaporation. So I recommend using a kitchen scale to determine how much you need and get the most accurate amount!
| US Customary | Metric |
|---|---|
| 1 tablespoon | 14 grams |
| ¼ cup (½ stick) | 57 grams |
| ½ cup (1 stick) | 113 grams |
| 1 cup (2 sticks) | 227 grams |
How to Make Brown Butter
All you need to make brown butter is butter, a spatula, and a large light colored nonstick pan! It's best to use a pan with a light interior so that you can easily see when the butter has browned (you can use a pan with a black interior if that's all you have, but you have to watch much more closely).
Depending on the size of your pan and the amount of butter you're browning, this should only take 6-12 minutes total.
Add the butter to a light colored pan and melt over medium heat.


Once melted stir frequently and watch closely for the formation of brown specs on the bottom of the pan.
First the butter will get thick and foamy. Then it will start to bubble rapidly.


Don't stop stirring the butter. After a few minutes, the butter will start to turn a golden brown color and you'll start to see those brown specs on the bottom of the pan.
It will smell intensely buttery, nutty, and rich.


Once you see the brown specs, remove from the heat and immediately pour into a separate heat-proof bowl to stop the cooking process.
Let the butter cool to room temperature.


All the browned specs will sink to the bottom of the bowl. So as the butter cools and starts to solidify, it's important to stir it often so that the browed bits (aka where all the flavor is) gets evenly incorporated through all the butter!

Once the brown butter is fully cooled to room temperature and stirred well, you can transfer it to the fridge to harden if you need cold butter (like in my pie crust).
Note: Brown Butter Can Burn
There are only a few seconds between brown butter and burnt butter! It's super important to keep an eye on the butter the entire time! Don't ever walk away or stop stirring. As soon as you start to see brown specs on the bottom of the pan, remove it from the heat and pour the butter into a different bowl. Otherwise the butter will continue to cook in the pan and will likely burn.
Burnt butter taste terrible and is unusable as it will ruin the flavor of your dish. So just be sure to keep an eye on the butter so you don't have to toss it.
Recipe FAQ's
You can store brown butter covered in the fridge for up to a week, or in the freezer for up to 3 weeks.
Yes! I prefer to always use unsalted butter and add salt to my recipe later, but you can absolutely brown salted butter.
Sadly there are no good substitutes for brown butter since margarine and other vegan butters don't contain the milk solids necessary for the toasty flavor and color.
Technically you can do whatever you want...but I'd advise against it. The brown specs are what give brown butter it's flavor so you don't want to strain them out!
For every ½ cup (1 stick or 113g), you'll lose about 1 tablespoon (14g) to evaporation while cooking. So you can either add in 1 tablespoon before browning, or if you're browning big batches, just make up the weight difference in your recipe with regular unsalted butter if needed.

Brown Butter Recipes!
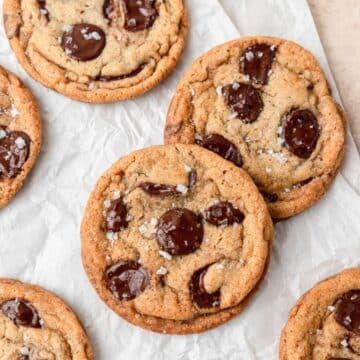
- Brown Butter Chocolate Chip Cookies
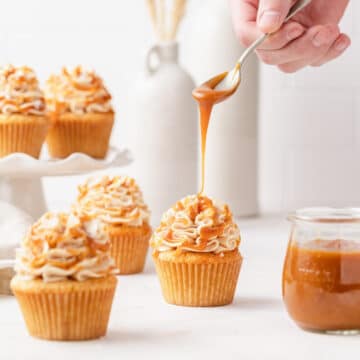
- Brown Butter Cupcakes with Salted Caramel
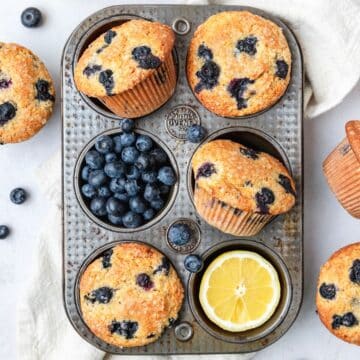
- Brown Butter Blueberry Muffins
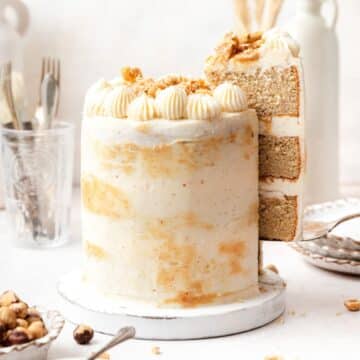
- Brown Butter Hazelnut Layer Cake
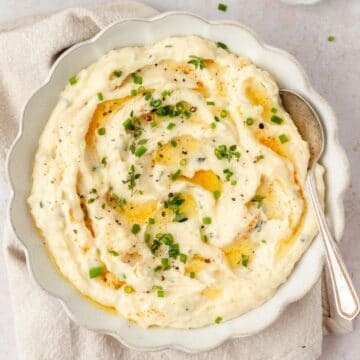
- Brown Butter Mashed Potatoes with Roasted Garlic
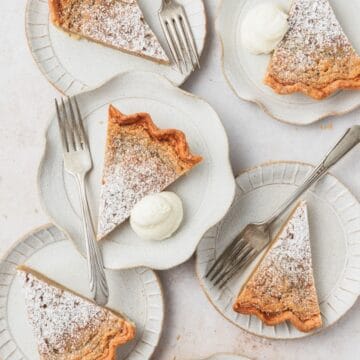
- Brown Butter Bourbon Chess Pie
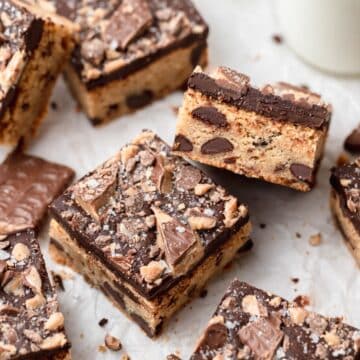
- Brown Butter Toffee Blondies
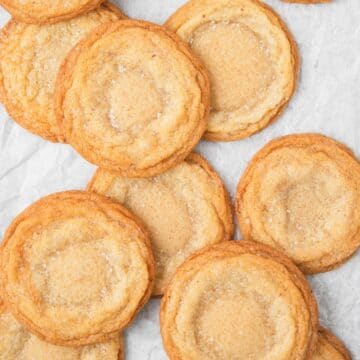
- Brown Butter Sugar Cookies
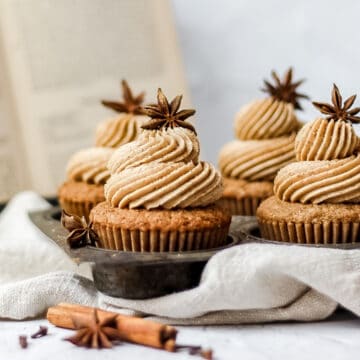
- Brown Butter Dirty Chai Cupcakes
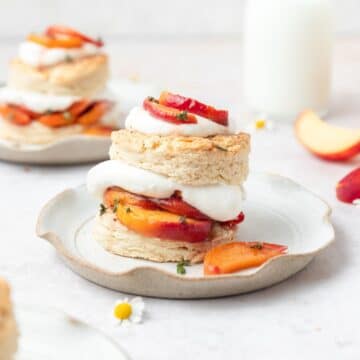
- Roasted Peach Shortcake with Brown Butter Biscuits
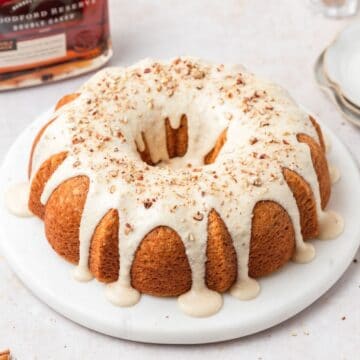
- Bourbon Pecan Bundt Cake
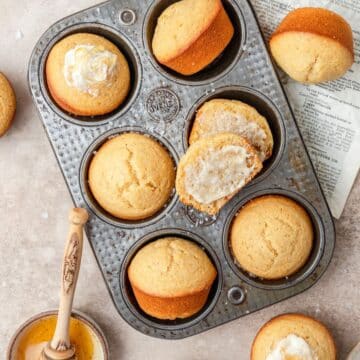
- Brown Butter Honey Cornbread Muffins
browse more brown butter recipes →
If you make this recipe, please leave a star rating at the bottom of the page! This provides helpful feedback to both me and other readers. And if you want more delicious, scratch-made recipes you can subscribe to my newsletter and follow along on Instagram, Pinterest, and Facebook!
Recipe Card
How to Make Brown Butter
Special Equipment
Ingredients
- 1 cup unsalted butter
Instructions
- Add the butter to a light colored pan and melt over medium heat. Once melted stir frequently and watch closely for the formation of brown specs on the bottom of the pan.
- First the butter will get thick and foamy. Then it will start to bubble rapidly. Don't stop stirring the butter. After a few minutes, the butter will start to turn a golden brown color and you'll start to see those brown specs on the bottom of the pan. It will smell intensely buttery, nutty, and rich.
- Once you see the brown specs, remove from the heat and immediately pour into a separate heat-proof bowl to stop the cooking process. Let the butter cool to room temperature.
- All the browned specs will sink to the bottom of the bowl. So as the butter cools and starts to solidify, it's important to stir it often so that the browed bits (aka where all the flavor is) gets evenly incorporated through all the butter! Once the brown butter is fully cooled to room temperature and stirred well, you can transfer it to the fridge to harden.
- Note: For every ½ cup (1 stick or 113g), you'll lose about 1 tablespoon (14g) to evaporation while cooking. So you can either add in 1 tablespoon before browning, or if you're browning big batches, just make up the weight difference in your recipe with regular unsalted butter if needed.
Notes
Nutrition
The nutritional information on this website is only an estimate and is provided for convenience and as a courtesy only. The accuracy of the nutritional information for any recipe on this site is not guaranteed.

ljyarber says
This works so well. Thank you!
MrsYee says
These detailed instructions made it so easy to make brown butter. It turned out perfectly on my first try. Thanks so much! Now, on to the cookies 🙂
Megs says
Yummo and thanks for all the tips. I have always struggled with this.
Jeannie says
you make this brown butter super easy! thanks for the steps
Agnieszka says
This tutorial was very informative and well written. The brown butter turned out perfectly!
Andrea says
such a great guide! so delicious and rich!