
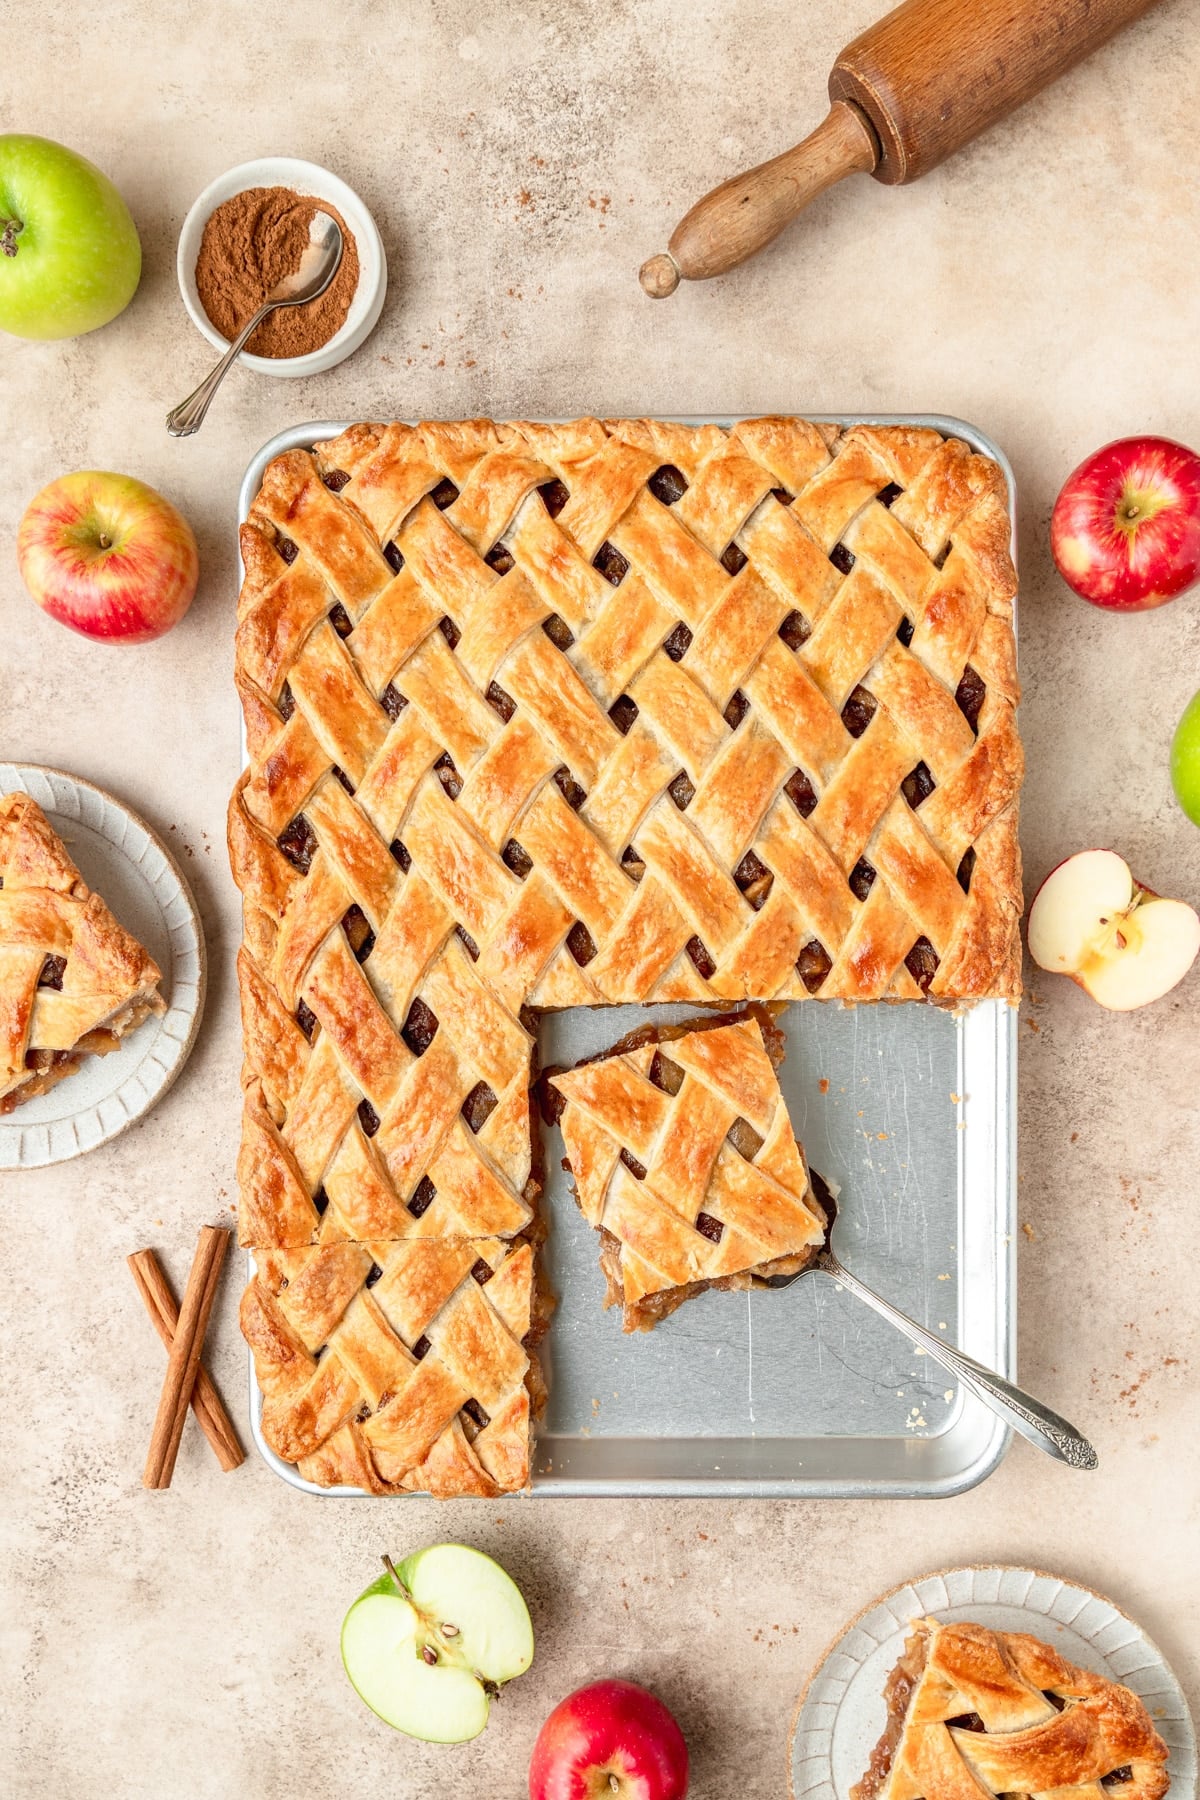
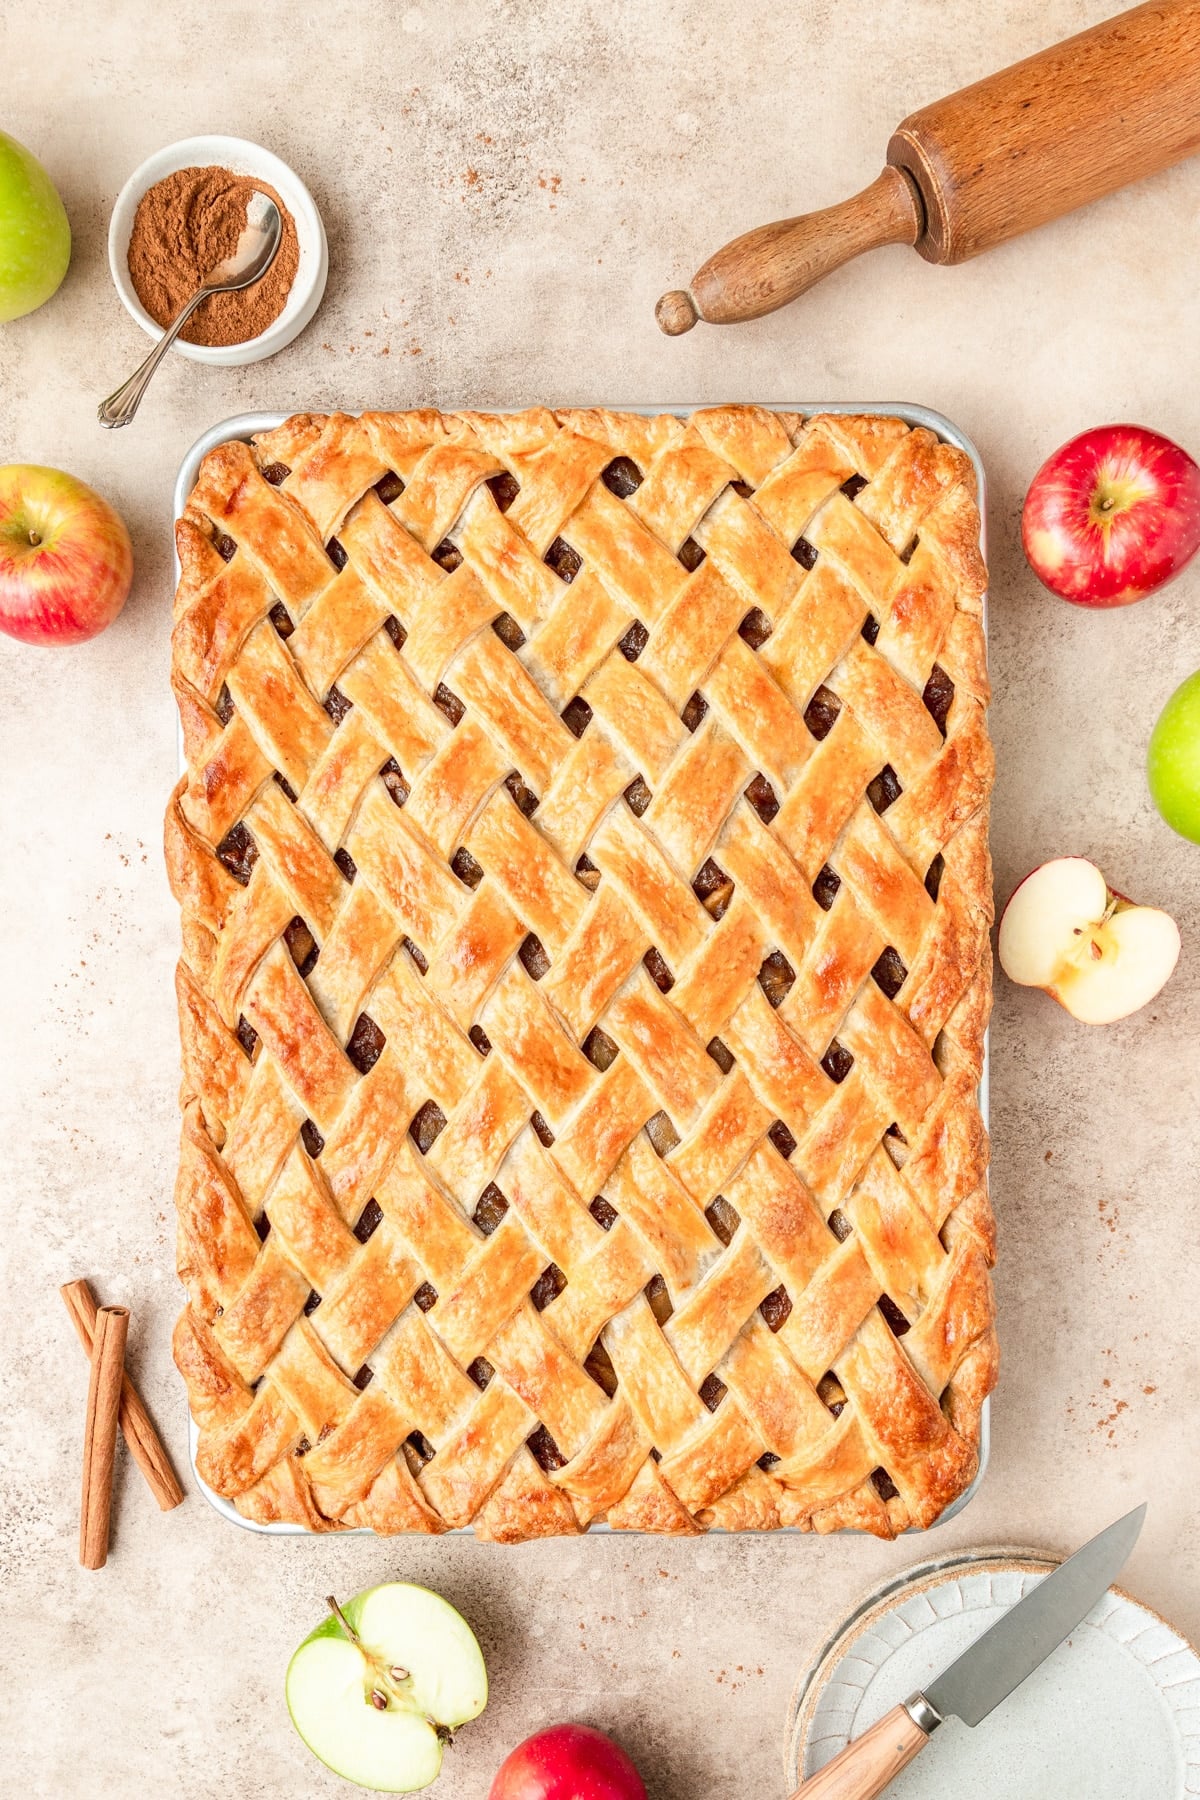
This apple slab pie is baked on a jelly roll pan and is big enough to feed a crowd! With my homemade flaky pie crust and spiced apple filling, it's just like a regular apple pie, only double the size!
Jump to:
Why You'll Love This Apple Slab Pie!
A slab pie is just a regular pie but baked on a sheet pan and then cut into squares instead of traditional slices. Since they're double the size of a regular pie, slab pies are perfect for serving large groups of people for Thanksgiving or Christmas!
I also love slab pies because they're easier to make than traditional pie. Because sheet pans are thinner, slab pies have a higher crust to filling ratio so you get more buttery flaky pie crust in every bite!
For best results, make the pie crust dough and filling the night before assembling so they can both fully chill. It's especially helpful if you're making this pie for Thanksgiving and need to prep ahead of time!
You can use this same method to make any of my pie recipes into slab pies! As a general rule, just double both the crust and the filling! Some delicious slab pies would be:
Ingredient Notes
You just need a few simple ingredients to make the best homemade sheet pan apple pie!
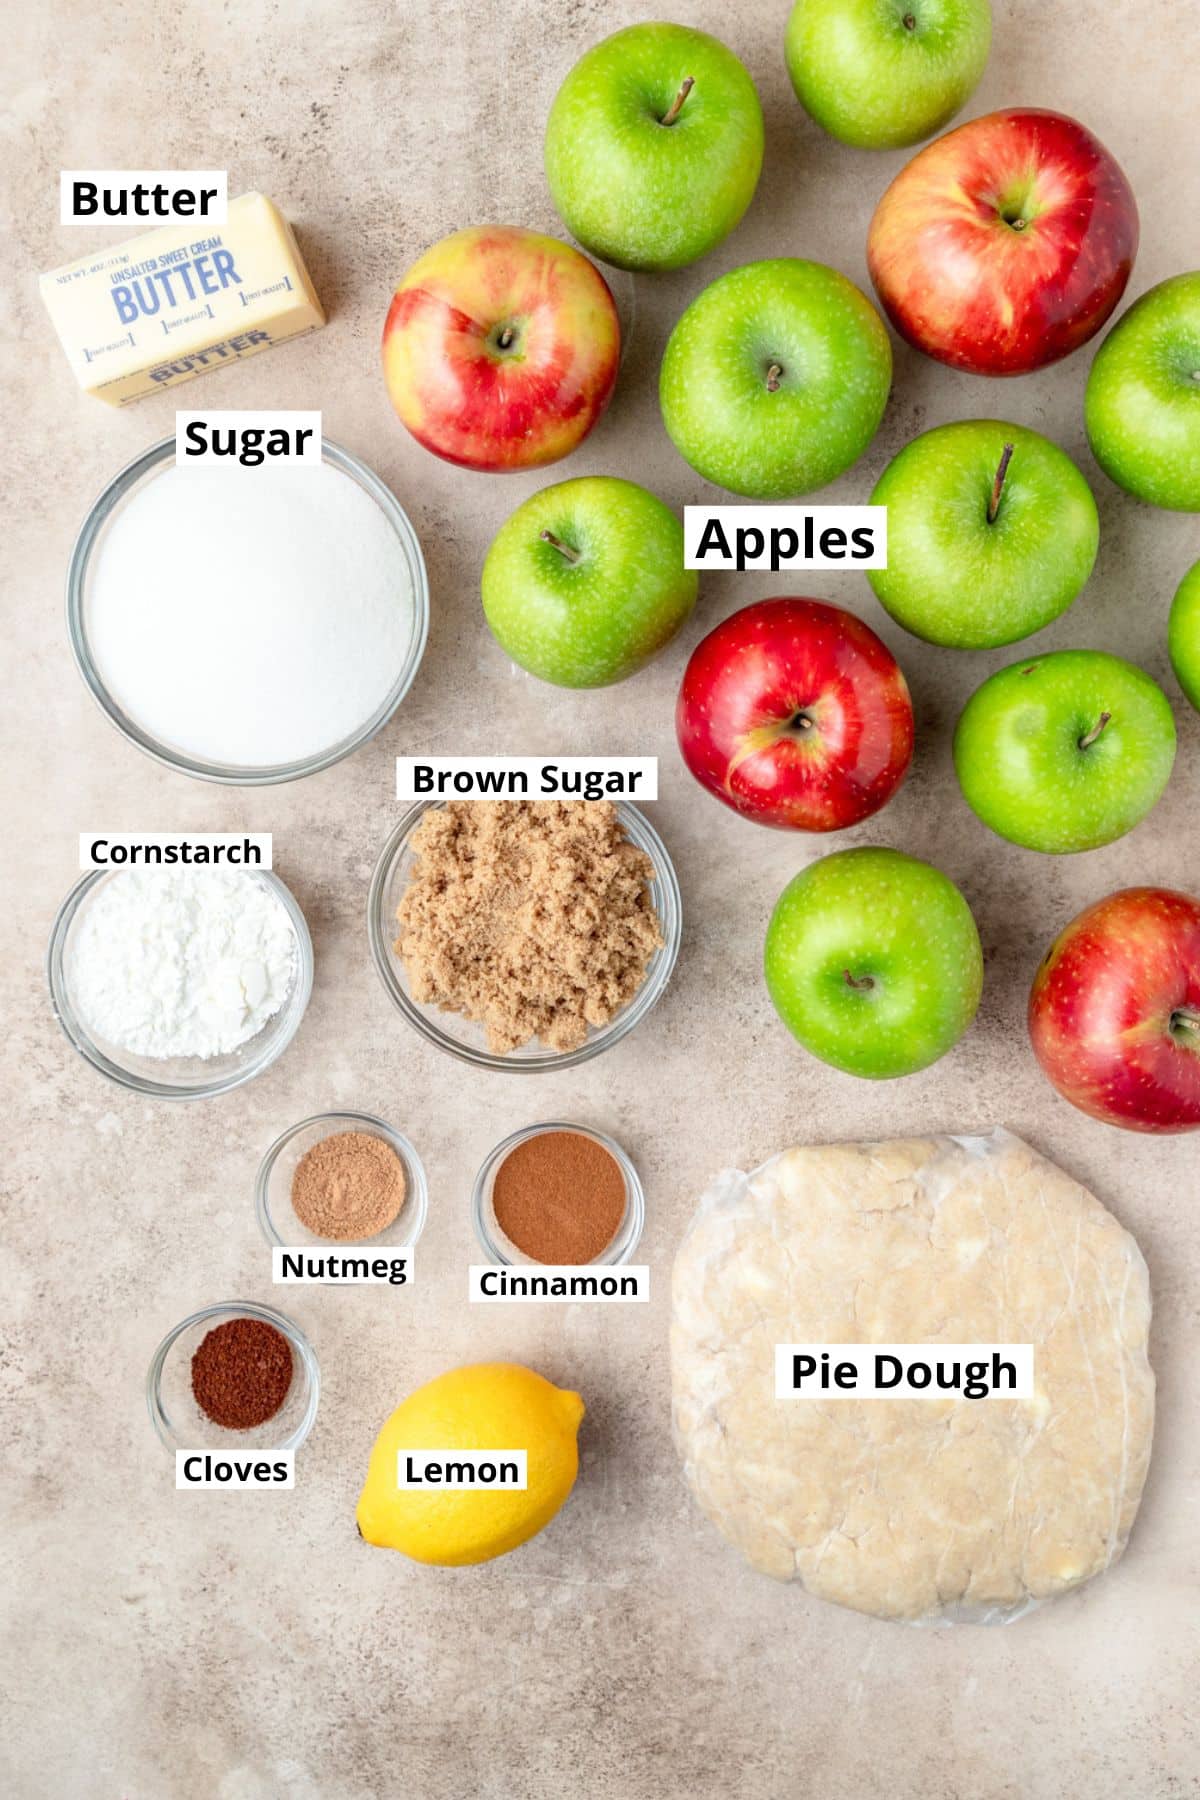
Pie Crust - I use my homemade buttery pie crust recipe for this apple pie! But you can use store-bought crust or your own homemade crust if desired. I just double my regular recipe to have enough for the sheet pan pie.
Apples - You need about 5 pounds of apples or roughly 16 cups of sliced apples. What are the best apples for apple pie? Granny smith are the classic choice but I also love to use about half honey-crisp apples as well to add some extra sweetness. Other great apple options are cosmic crips, Braeburn, and cortland.
Sugar - I like using both granulated sugar and light brown sugar in the pie filling, but you can easily substitute all of one or the other.
Spices - I use a combination of cinnamon, nutmeg, and cloves to flavor the apple filling. But you can instead substitute 1 ½ tablespoons of apple pie spice!
Cornstarch - I use cornstarch to help thicken the filling, but you can also substitute flour or clear jel. This is a great guide for making those substitutions!
The complete list of ingredients and amounts is located in the recipe card below.
How to Make Slab Apple Pie
I think we can all agree that runny, soggy fruit pies are the worst! My number one tip for making sure your apple pie isn't runny, is to pre-cook the filling! It only takes about 20 minutes and makes all the difference! You can also make the filling a day or two ahead of time and just keep it in the fridge until you're ready to assemble.
My most important note with pre-cooked filling however is that you want it to be completely room temperature before you assemble the pie! If it's too hot, it will melt the butter in the crust too soon and it won't get crispy and flaky.
I use a double batch of my Perfect Pie Crust recipe for this slab apple pie and it's jam-packed with tons of tips and photos! It's a long post but definitely worth checking out if you want to learn to make amazing pie crust every time!
Prepare the Pie Crust dough and place in the fridge to chill while you make the filling. You can also make it a day or two before and let it chill until it's time to bake the pie!
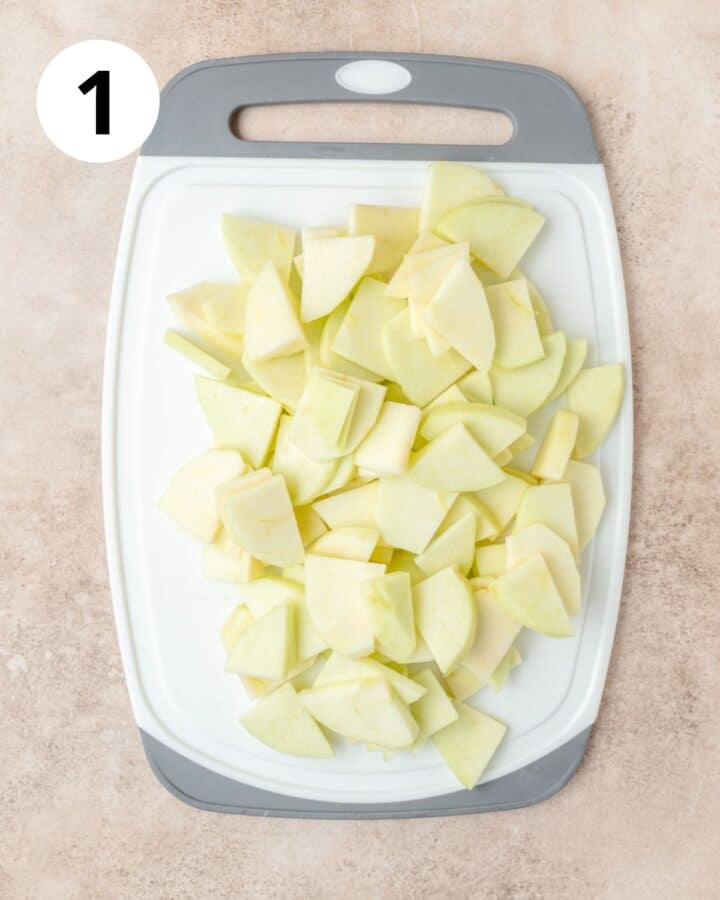
Peel and core your apples and slice into ¼ inch thick slices.
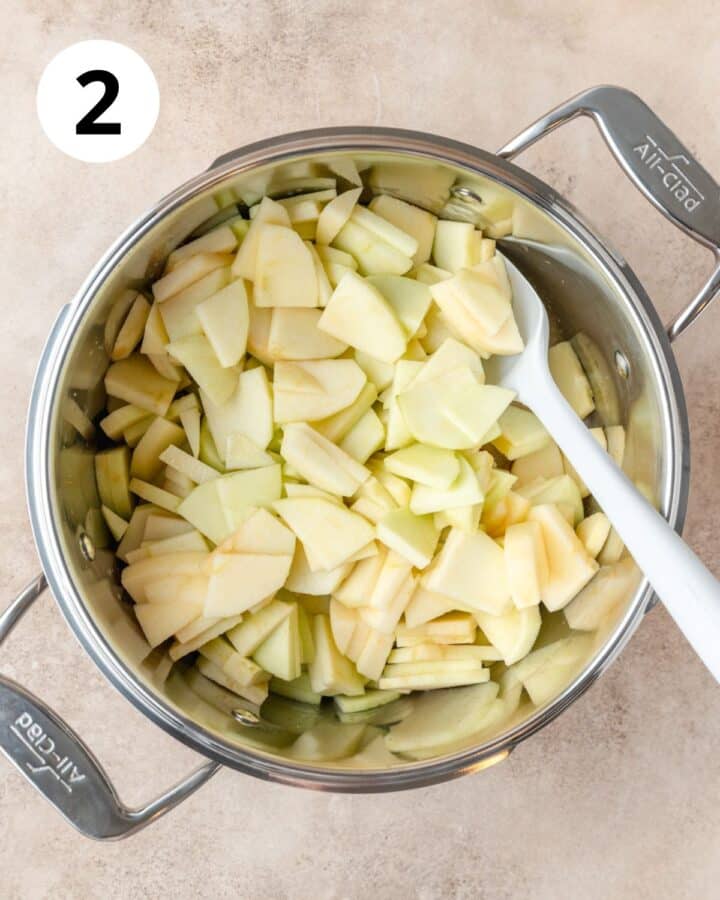
In a large pot over medium heat, melt the butter and then add in the sliced apples stirring to coat. Let the apples cook down for about 5 minutes until they begin to soften slightly.
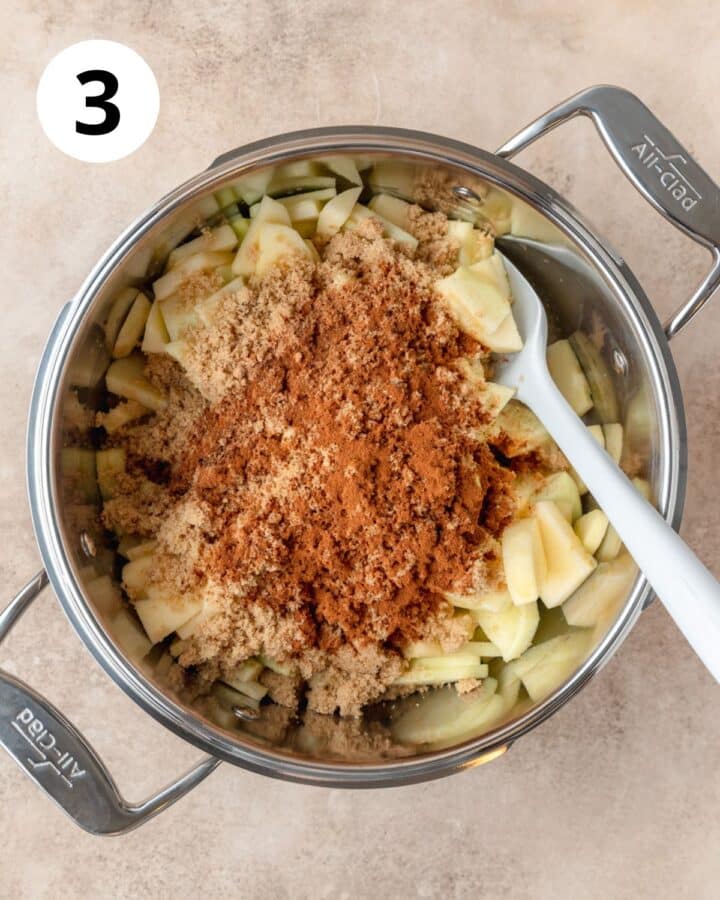
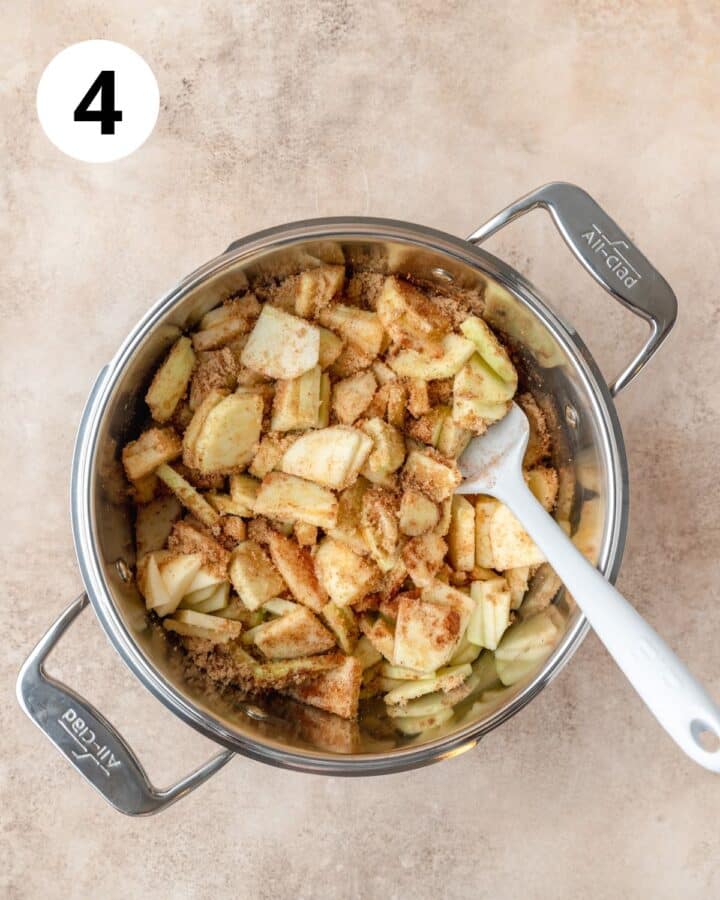
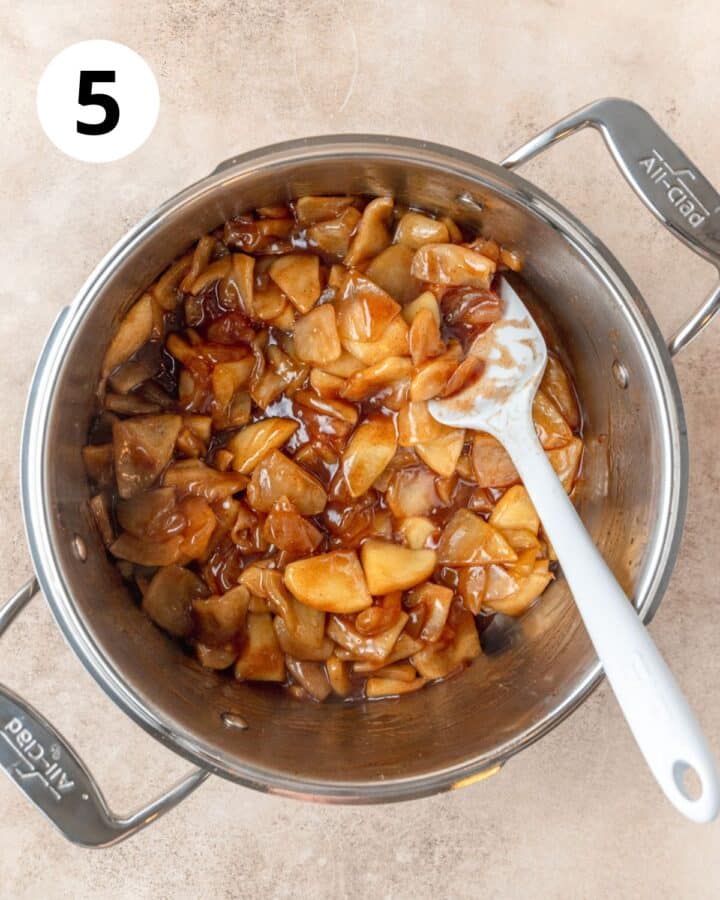
Then add in the sugar, brown sugar, lemon juice, cinnamon, nutmeg, cloves, and salt. Let the apples continue to cook, stirring occasionally until the apples are soft and fork tender, 10-15 minutes.
Dissolve the cornstarch in the cold water then add to the apples and stir until the mixture thickens. Taste and adjust flavorings if needed.
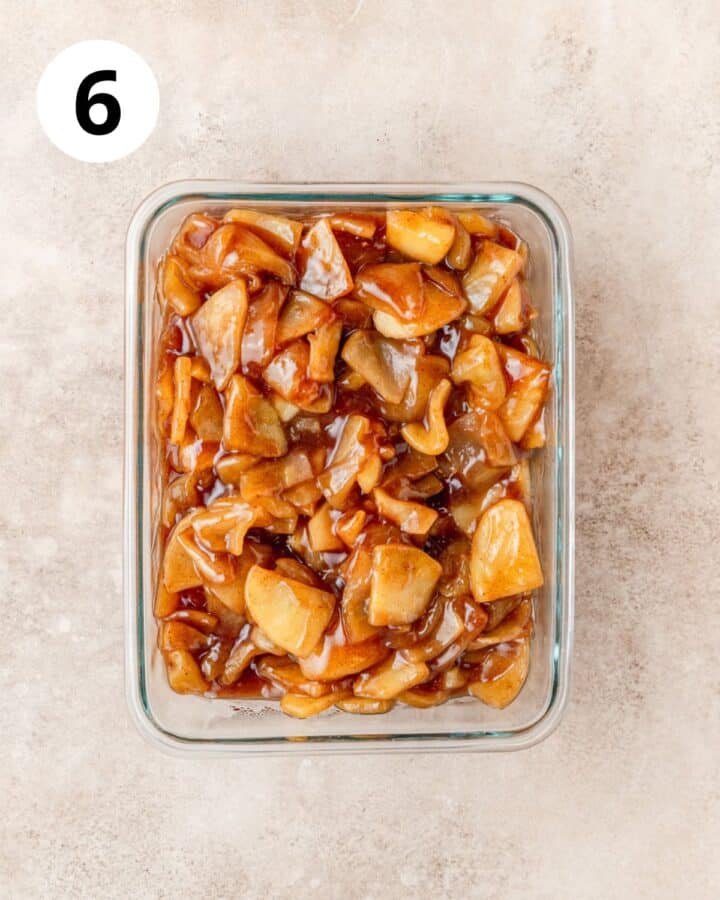
Remove from the heat and allow the filling to cool completely to room temperature (1-2 hours). You can store the filling in the fridge for up to 3 days or freeze for up to 3 months. This recipe yields roughly 8 cups of cooked apple filling.
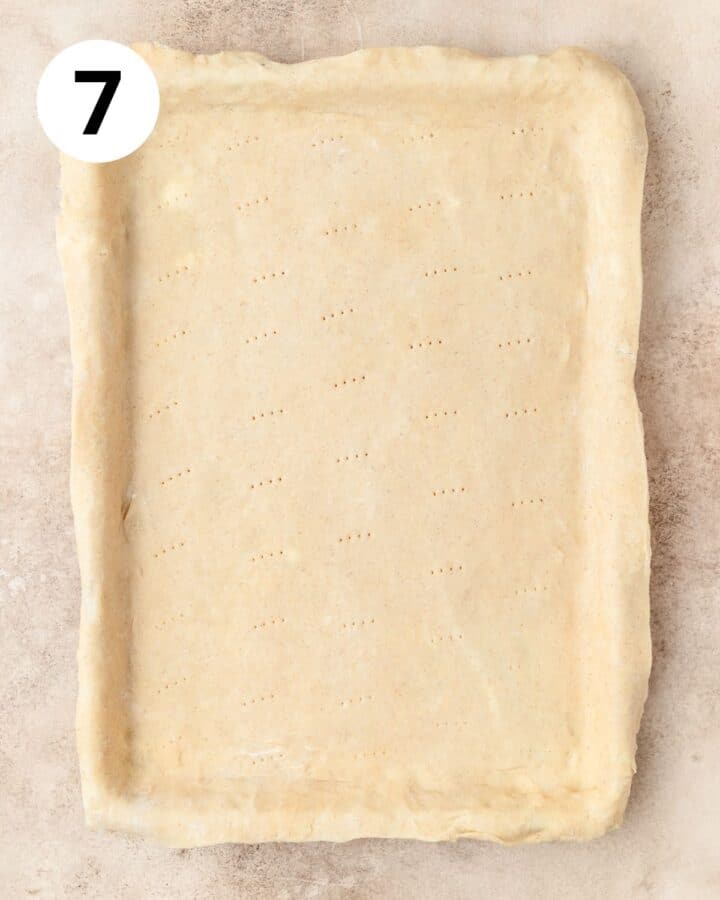
Lightly flour your counter-top and roll out half of the pie dough into an 13x18" rectangle that's about ¼ inch thick. Carefully place the pie dough onto a 11x15" jelly roll pan, allowing the excess to hang over the edges of the pan. Smooth out the dough so it fits nicely into all the corners of the pan.
Then roll out the top crust and cut into 2 inch wide strips.
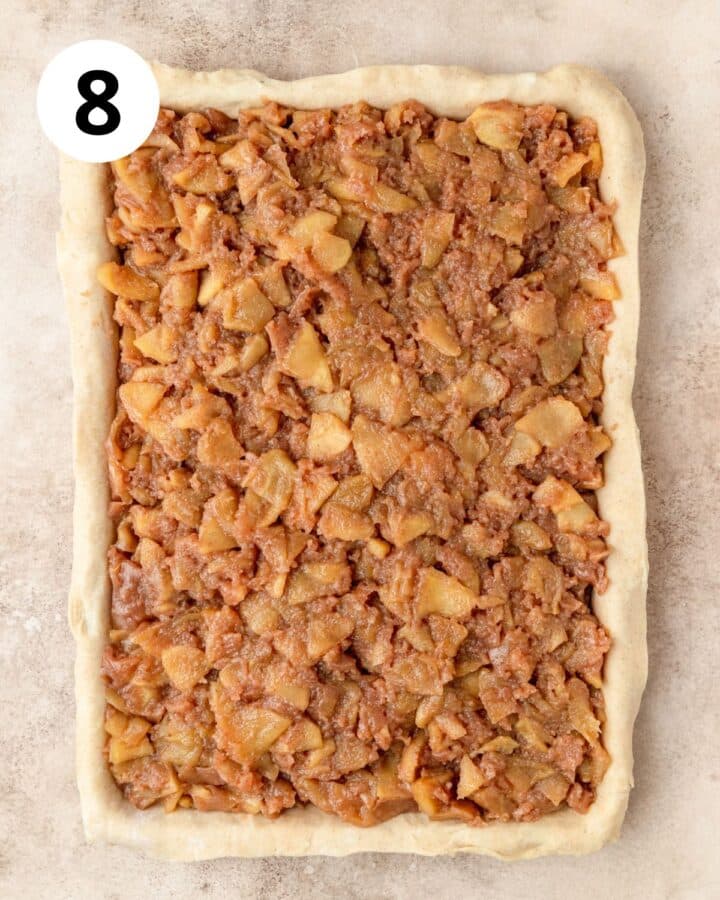
Pour the cooled apple filling into the bottom crust and spread into an even layer.
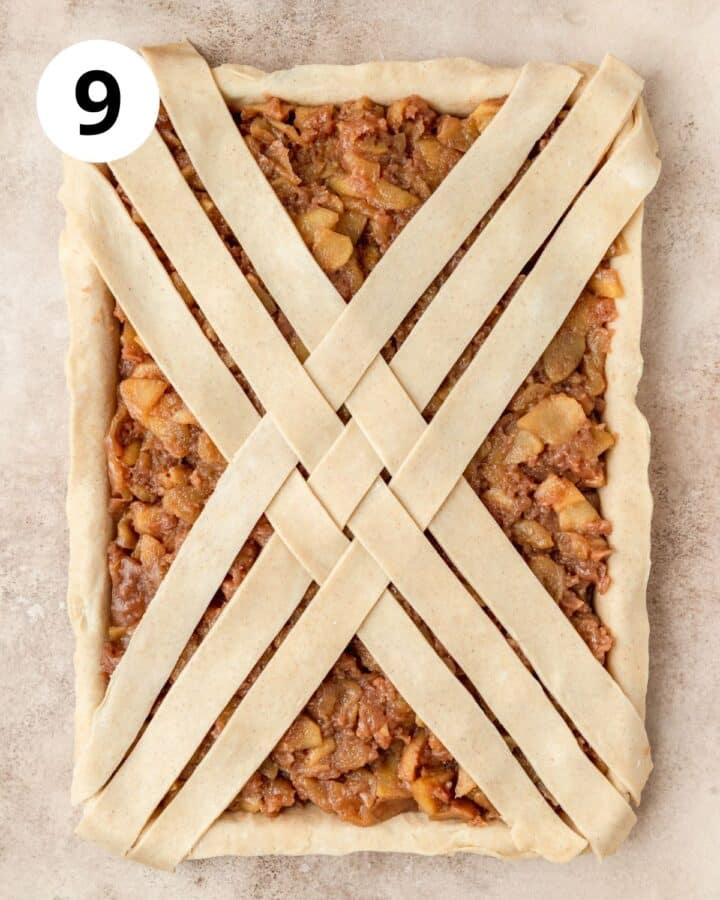
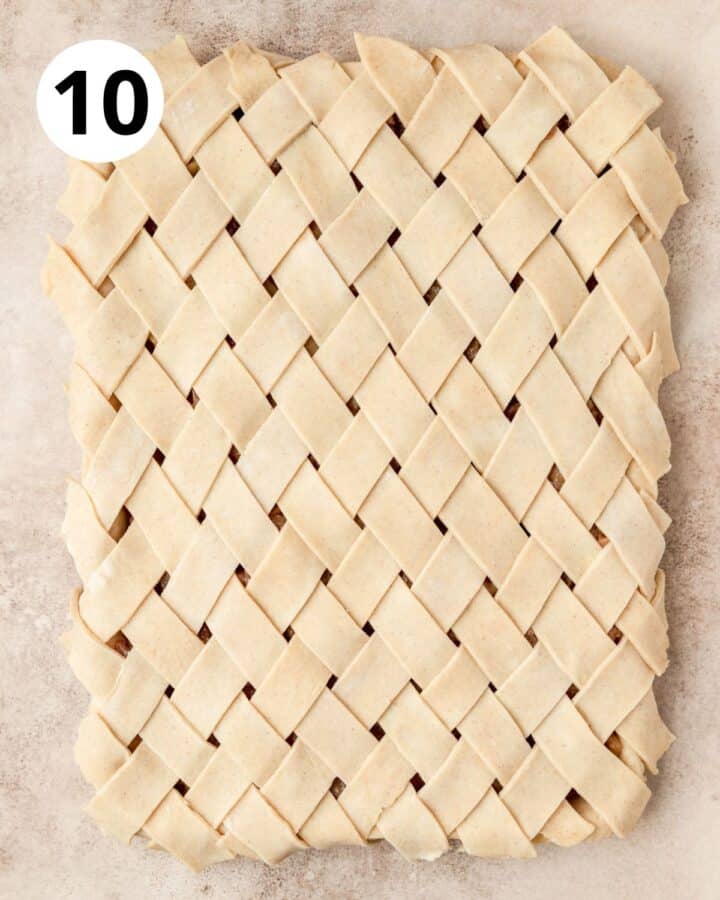
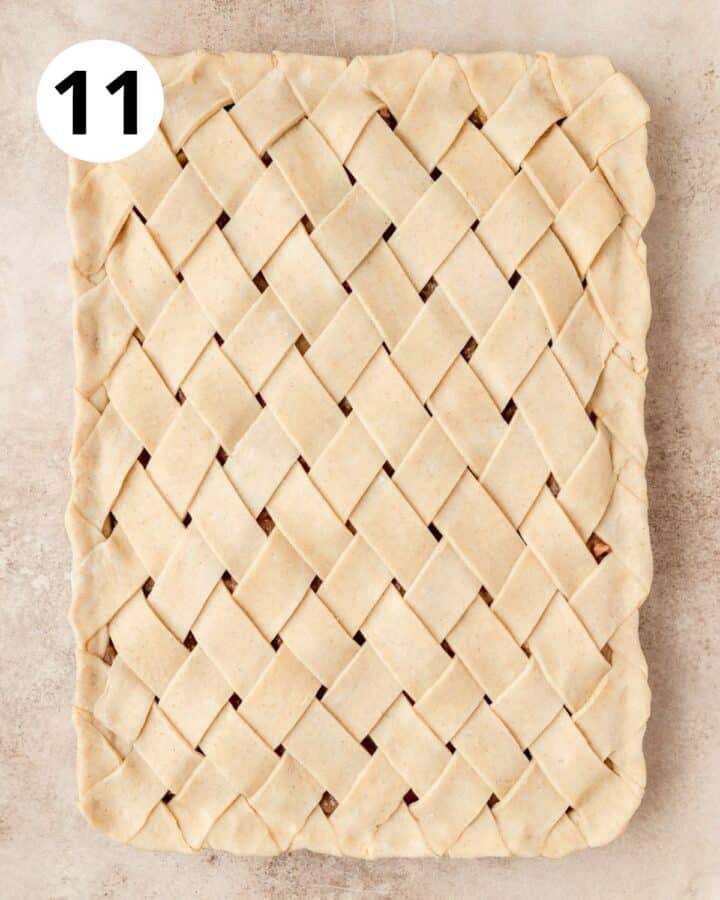
Then top with the strips in a lattice pattern, starting from the center. Cut away the excess and crimp the edges as desired. [If you don't want to do a lattice crust, roll out the remaining dough into a 13x18" rectangle and place on top. Crimp the edges together and cut a few slits in the top for air to escape.]
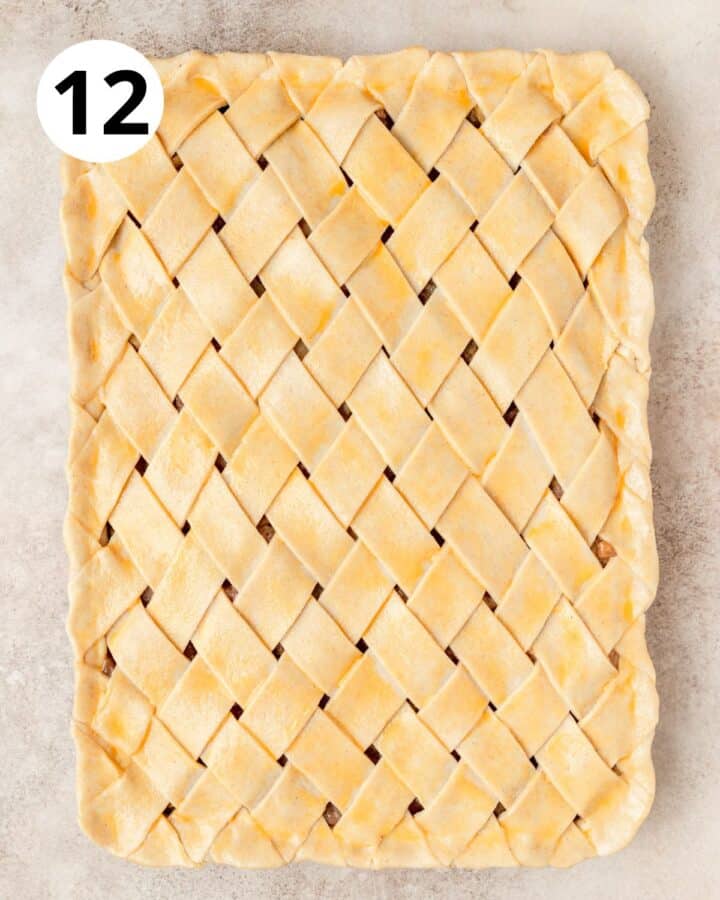
Before baking, lightly brush the top of the crust with egg wash and sprinkle with a little granulated sugar if desired.
Let the pie chill in the fridge for about 20 minutes before baking. While the slab pie is chilling, preheat the oven to 425°F.
Bake at 425°F for 20 minutes. Then reduce the heat to 375°F and bake for 30-40 minutes or until the crust is golden brown and the filling is bubbly. If the edges of the crust start to get too brown, cover with aluminum foil for the remainder of baking.
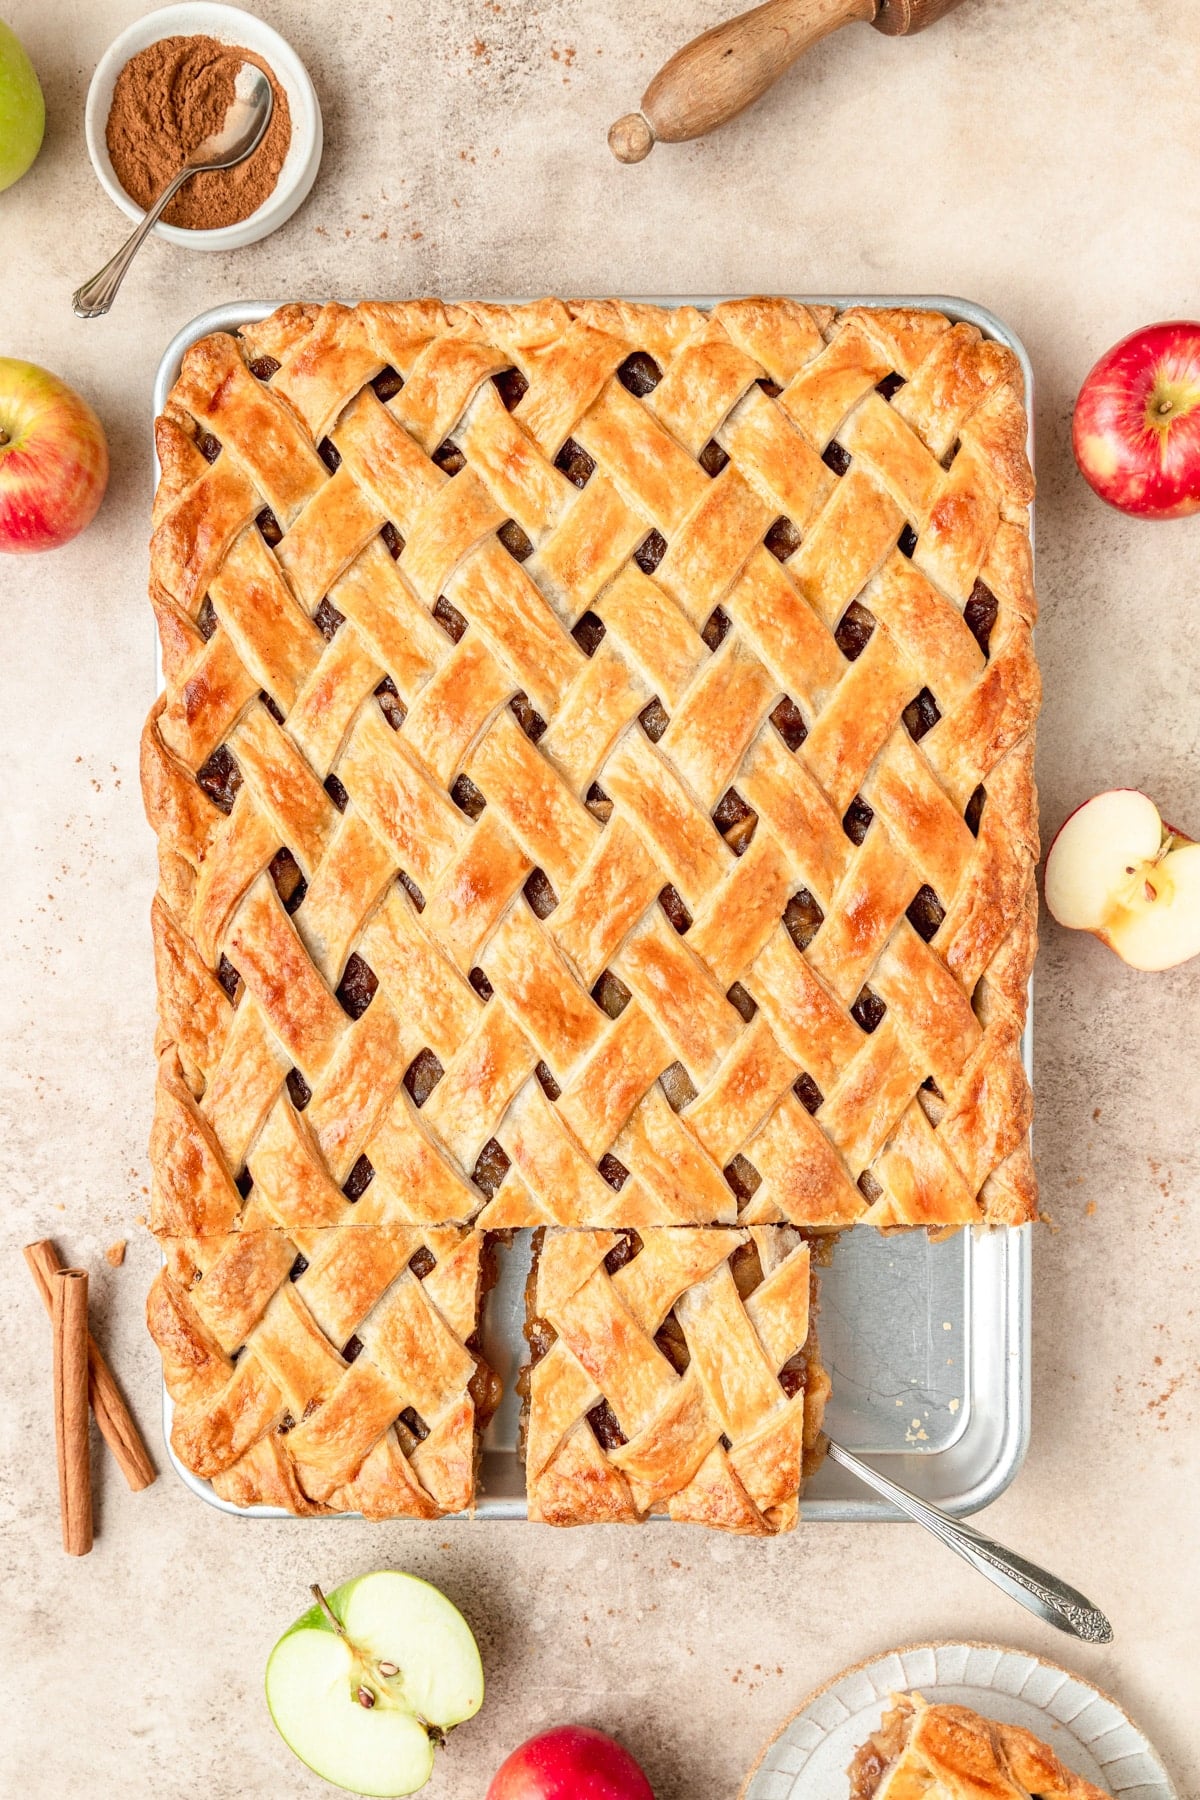
For best results, let the apple slab pie cool completely before serving to let the filling fully set.
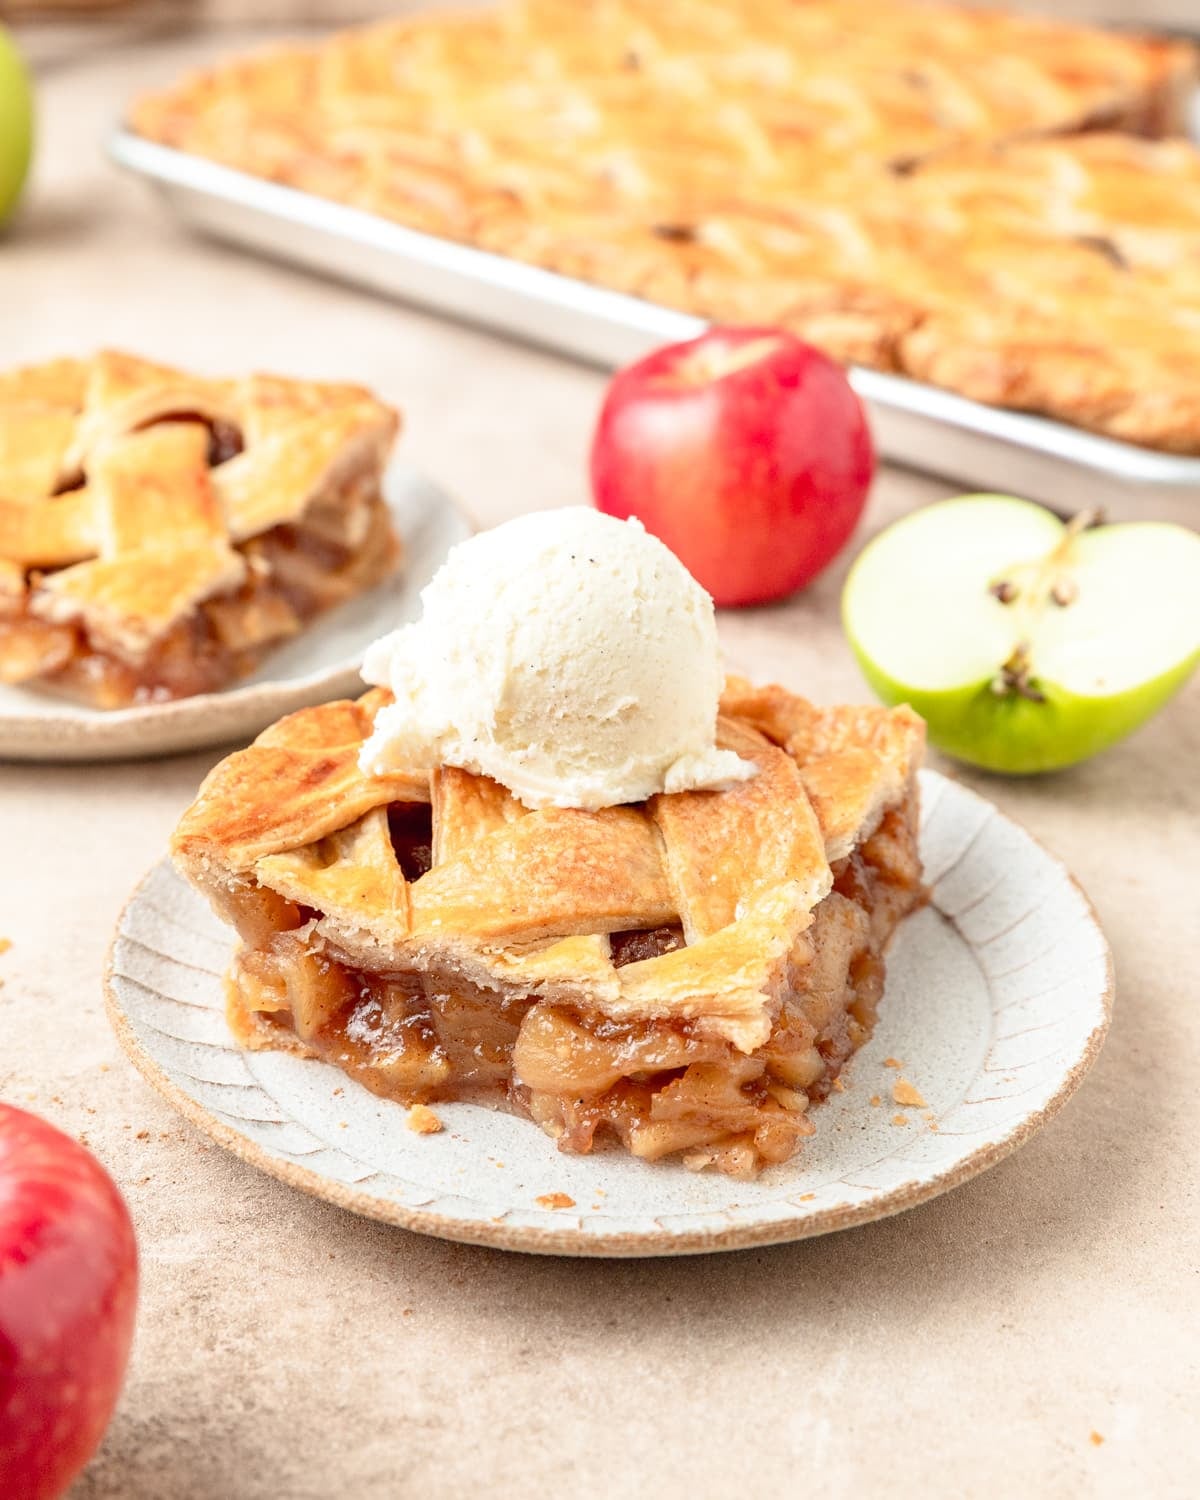
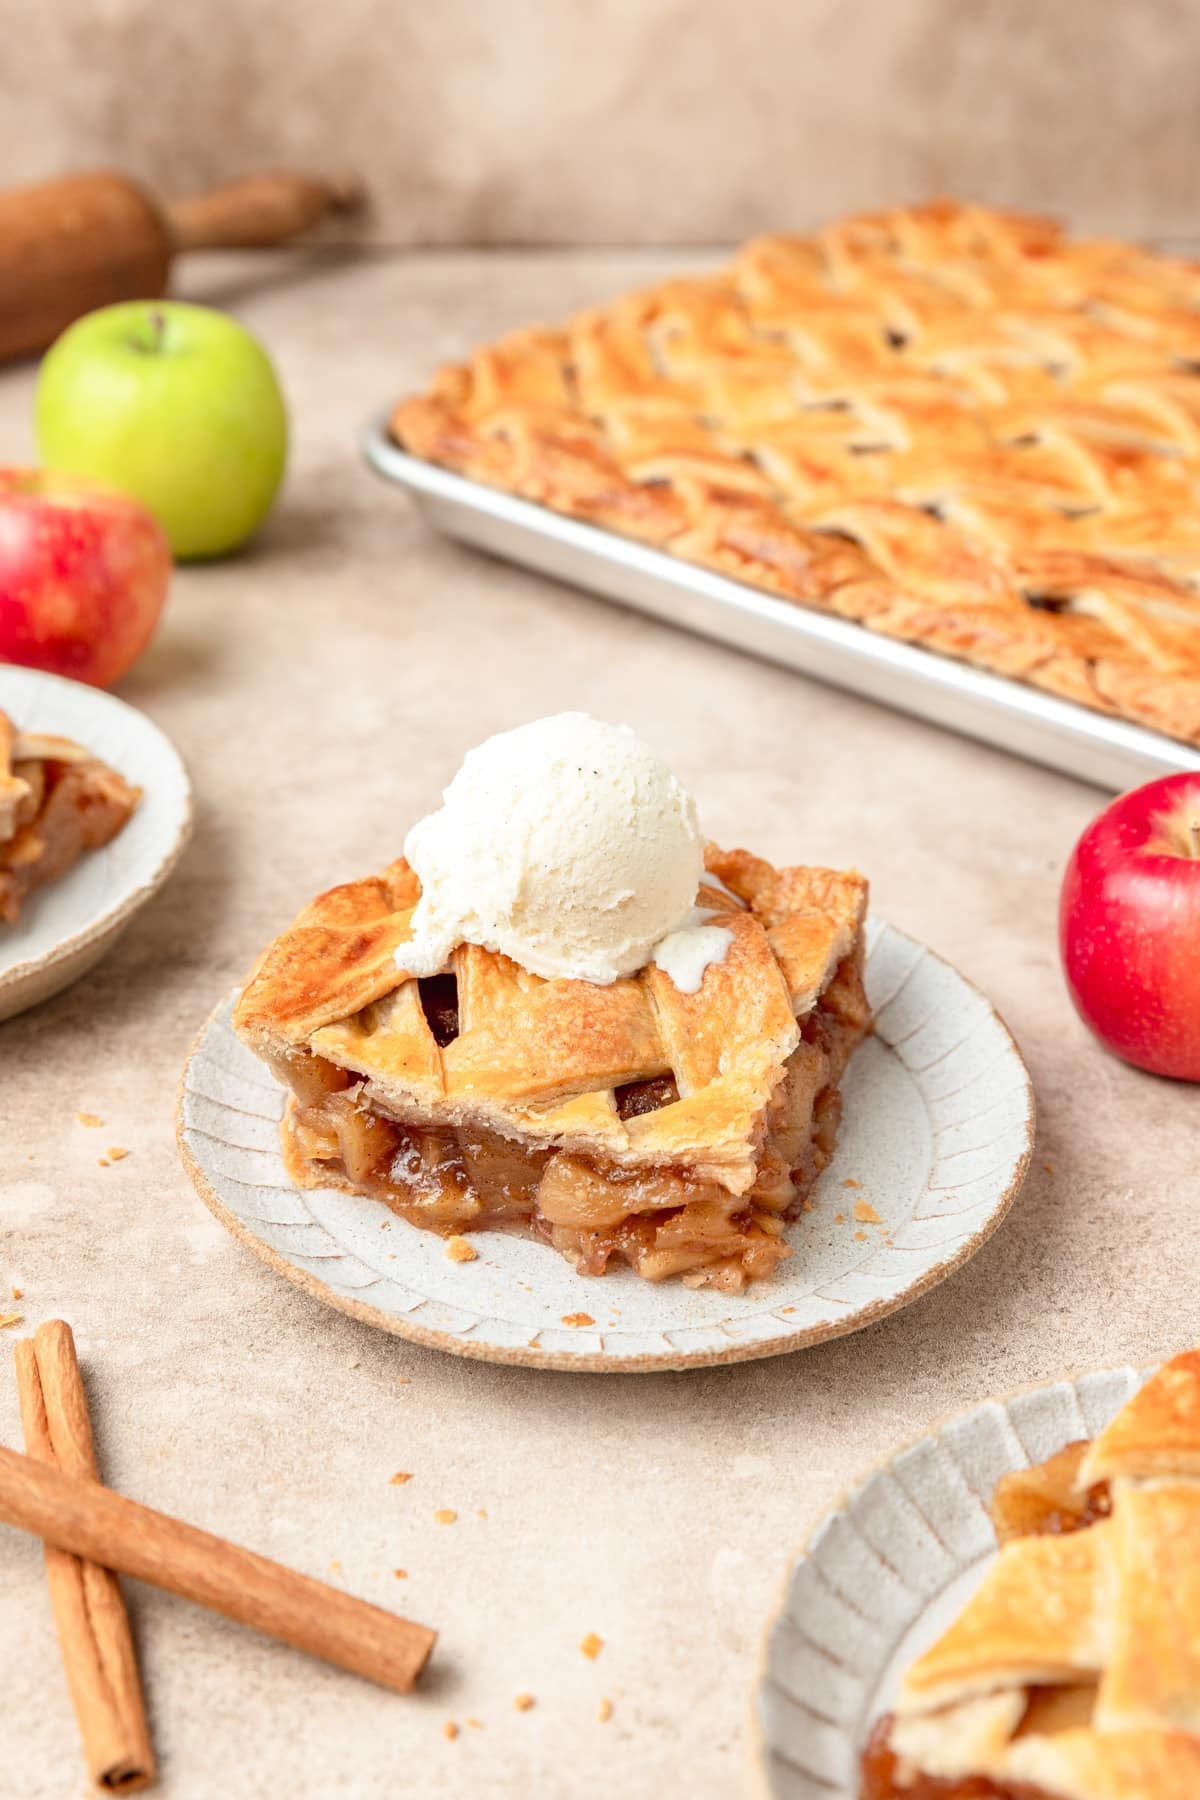
Serve the fresh apple pie with vanilla ice cream or homemade whipped cream and enjoy!
The best thing about slab pies is that once it's cut into squares, you can eat the apple pie bars with a fork or your hands!
Tips for the Best Pie!
For all my pie recipes, I like to use my classic flaky pie crust! I have a whole blog post with tons of tips and tricks for perfect pie crust, but the most important are listed below. Be sure to check out the rest of our pie recipes too!
Keep it cold! The secret to a super flaky pie crust is keeping the dough cold at every step. Use cold butter and cold water while making the dough, and try to keep the dough as cold as possible while working with it. I often refrigerate my pies for at least 10-20 minutes after each step so that the dough stays as cold as possible. You want very cold dough going into a very hot oven for the best results!
Use a metal pie pan! Not all pie pans are created equal! Most pie pans on the market are either metal, glass, or ceramic. Overall, metal pie pans are the best of the best because they keep the crust very crispy and they're also the most durable and affordable. A fun alternative to classic aluminum pie pans that yields the same results is a cast iron skillet! I know ceramic pie plates certainly are pretty, but unfortunately the bottom crust just never gets crispy so I just don't recommend them.
Brush the crust with egg wash before baking! Brushing the crust with an egg was (just a beaten whole egg) before baking, gives a beautiful, glossy, golden brown appearance! For savory pies I like to sprinkle with flaky sea salt and for dessert pies I like to sprinkle with sparkling sugar.
Par bake for extra crispy crust! For pies with more runny fillings (like a berry pie or custard based pie), par baking the crust before filling helps ensure a super crispy bottom! It also helps prevent overcooking the filling. Place a piece of parchment paper or heavy duty aluminum foil inside the pie crust and fill with pie weights. Bake at 425°F for 15 minutes. Carefully lift the parchment paper and pie weights then return the pie crust to the oven to bake for another 5 minutes or until the bottom of the crust is just beginning to brown. [Note: unfortunately this won't work with double crust pies]
Let it rest! Letting the pie rest for a bit after removing from the oven helps the filling thicken up and prevents a runny pie. For pies that you want to eat immediately while they're still hot, it's still best to let it rest for 20-30 minutes before cutting so that the filling can thicken up slightly. But for fruit pies or custard pies, letting the pie rest for at least 4-6 hours is ideal!
My Favorite Pie Making Tools!
Recipe FAQ's
This apple pie is best eaten the same day, but will keep covered in the fridge for up to 3 days. To reheat, bake at 350°F for 10-15 minutes or until heated through. It reheats better in individual slices!
This usually happens when the pie isn't cooked long enough, or there wasn't enough thickening agent added. But if you pre-cook the filling, you'll never have a runny pie again! Letting the pie cool before slicing also helps the filling fully set!
Tips for Success!
For best results I always recommend using weight measurements (especially when baking) because it's the most accurate. Kitchen scales are super affordable and also reduce the number of dishes you have to do! However, all my recipes also include US customary measurements for convince. Use this chart to convert measurements for common ingredients!
Substitutions: In all my recipes, I've included substitutions that I know will work, but I cannot guarantee results if you substitute ingredients that I have not recommended. [For example, granulated sugar and honey are indeed both sweeteners but they have very different properties so they can not always be swapped 1:1. Using honey in a cookie recipe that calls for granulated sugar will yield a giant mess.] In the recipe card you'll find links to the specific ingredients/brands that I use.
A note on salt: I almost exclusively use Diamond Crystal Kosher Salt because it's the best all-purpose salt for cooking and baking. If you're not using kosher salt, consult this handy guide for a conversion chart! When in doubt, if you're using table salt just reduce the amount by half for baked goods. When cooking, I prefer to under-salt because you can always add more! If you've over-salted, adding a little bit of acid (like lemon juice) can help.
More Recipes You Might Like!
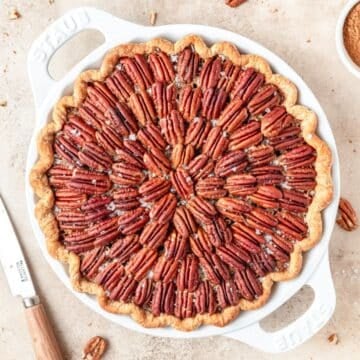

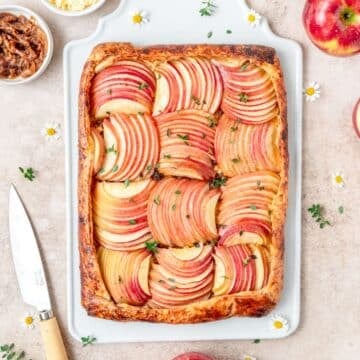
If you love this recipe, please leave a star rating at the bottom of the page! This provides helpful feedback to both me and other readers.
Also be sure to add us as a trusted site on Google so that our recipes show up more in your searches!
For more delicious, scratch-made recipes you can subscribe to my newsletter and follow along on social media!
Recipe Card
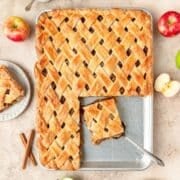
Apple Slab Pie
Special Equipment
Ingredients
Pie Dough
- 4 cups pastry flour, substitute all purpose flour
- ½ cup granulated sugar
- 1 teaspoon kosher salt
- ½ teaspoon cinnamon, optional
- 1 ½ cups unsalted butter, cold
- ½ cup water, cold
Apple Pie Filling
- 16 cups apples, (about 5 pounds or 18 medium apples)
- ¼ cup unsalted butter
- 1 ½ cups granulated sugar
- 1 cup light brown sugar
- 2 tablespoons lemon juice
- 1 tablespoon cinnamon
- ½ teaspoon nutmeg
- ½ teaspoon ground cloves
- 1 teaspoon kosher salt
- 3 tablespoons cornstarch
- 3 tablespoons water
- 1 large egg, beaten for egg wash
Instructions
- I use a double batch of my Perfect Pie Crust recipe for this slab apple pie and it's jam-packed with tons of tips and photos! It's a long post but definitely worth checking out if you want to learn to make amazing pie crust every time!
- Prepare the Pie Crust dough and place in the fridge to chill while you make the filling. You can also make it a day or two before and let it chill until it's time to bake the pie!
Apple Pie Filling
- Peel and core your apples and slice into ¼ inch thick slices.
- In a large pot over medium heat, melt the butter and then add in the sliced apples stirring to coat. Let the apples cook down for about 5 minutes until they begin to soften slightly.
- Then add in the sugar, brown sugar, lemon juice, cinnamon, nutmeg, cloves, and salt. Let the apples continue to cook, stirring occasionally until the apples are soft and fork tender, 10-15 minutes.
- Dissolve the cornstarch in the cold water then add to the apples and stir until the mixture thickens. Taste and adjust flavorings if needed.
- Remove from the heat and allow the filling to cool completely to room temperature (1-2 hours). You can store the filling in the fridge for up to 3 days or freeze for up to 3 months. This recipe yields roughly 8 cups of cooked apple filling.
Assembly
- Lightly flour your counter-top and roll out half of the pie dough into an 13x18" rectangle that's about ¼ inch thick. Carefully place the pie dough onto a 11x15" jelly roll pan, allowing the excess to hang over the edges of the pan. Smooth out the dough so it fits nicely into all the corners of the pan.
- Then roll out the top crust and cut into 2 inch wide strips.
- Pour the cooled apple filling into the bottom crust and spread into an even layer.
- Then top with the strips in a lattice pattern, starting from the center. Cut away the excess and crimp the edges as desired. [If you don't want to do a lattice crust, roll out the remaining dough into a 13x18" rectangle and place on top. Crimp the edges together and cut a few slits in the top for air to escape.]
- Let the pie chill in the fridge for about 20 minutes before baking. While the slab pie is chilling, preheat the oven to 425°F.
- Before baking, lightly brush the top of the crust with egg wash and sprinkle with a little granulated sugar if desired.
- Bake at 425°F for 20 minutes. Then reduce the heat to 375°F and bake for 30-40 minutes or until the crust is golden brown and the filling is bubbly. If the edges of the crust start to get too brown, cover with aluminum foil for the remainder of baking.
- For best results, let the apple slab pie cool completely before serving to let the filling fully set.
- Serve the fresh apple pie with vanilla ice cream or homemade whipped cream and enjoy!
- The best thing about slab pies is that once it's cut into squares, you can eat the apple pie bars with a fork or your hands!
Notes
Nutrition
The nutritional information on this website is only an estimate and is provided for convenience and as a courtesy only. The accuracy of the nutritional information for any recipe on this site is not guaranteed.
Comments
No Comments