

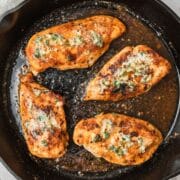
These easy cast iron chicken breasts are one of my favorite ways to make chicken! With a quick sear on the stovetop, then finished in the oven with garlic herb butter, these chicken breasts are a delicious weeknight dinner in just 30 minutes.

Jump to:
Why You'll Love These Roast Chicken Breasts!
Cooking chicken breasts in a cast iron skillet with compound butter is one of the best ways to make juicy, delicious chicken!
Quick and easy! With almost no prep time, these cast iron chicken breasts are ready to serve in less than 30 minutes for an easy weeknight dinner!
Super moist and flavorful! Searing the chicken breasts before baking locks in the flavor for super moist, tender chicken.
Perfect for meal prep! Since these cast iron chicken breasts are so simple to prep, you can make a bunch at one time and serve them in various ways throughout the week!
Goes with everything! These roast chicken breasts can be served in endless ways! From simple sides like mashed potatoes, to a topping for salad, you can even shred up these chicken breasts to use in soup!
I have been making dry, sad chicken for years. My chicken comes out cooked perfect with this recipe!
- Jenna ![]()
Ingredient Notes
You just need a few ingredients to make these juicy cast iron chicken breasts with garlic herb butter.


Chicken - I prefer chicken breasts but this recipe would also be great with boneless, skinless chicken thighs! Try to use breasts that are roughly the same size and thickness so that they cook evenly.
Spices - I use a blend of garlic, smoked paprika, and cumin for a delicious all purpose seasoning. But you could also add in dried herbs like Italian seasoning or zaatar!
Oil - You can use olive oil or vegetable oil in the cast iron skillet but the higher the smoke point, the better!
Garlic Herb Butter - For the compound butter, I love fresh garlic, lemon juice, and thyme. But you can use whatever fresh herbs you prefer!
The complete list of ingredients and amounts is located in the recipe card below.
How to Make Juicy Chicken Breasts in a Cast Iron Skillet
In a bowl, mix together the softened butter, minced garlic, lemon juice, thyme, salt and pepper until fully combined. Set aside. You can store in the fridge for up to 2 weeks!


Preheat the oven to 425°F.
In a small bowl, mix together the salt, pepper, garlic powder, paprika, cumin, and cayenne.
Pat the chicken breasts dry with a paper towel and season liberally on both sides with the spice mixture.


Heat a large cast iron skillet over medium high heat. Add in just enough oil to coat the bottom of the pan (about 1 tablespoon).
Sear the chicken breasts on one side for 5 minutes. Then flip and immediately transfer the cast iron pan to the preheated oven. Bake at 425°F for 10-15 minutes or until the chicken is fully cooked through. [Smaller, thinner breasts will only have to bake for 5-10 minutes, but thicker breasts will need 15-20 minutes.]

Use an instant thermometer to check when the chicken is done so that it doesn't get overcooked! Chicken breasts should be cooked to an internal temperature of 165°F, but I like to pull them out around 160-162°F because they'll continue cooking as they rest.
Remove the chicken from the oven and top each breast about a tablespoon of garlic herb butter.

Let the chicken rest for at least 5-10 minutes before slicing.

Recipe Notes
I always use my favorite Lodge cast iron skillet to make this one-skillet baked chicken, but you can use any pan that can go from the stovetop to the oven (stainless steel is also a good choice).
If you're not used to cooking with cast iron, never fear! These tips will help you become a pro!
Use a well seasoned cast iron skillet! A well seasoned cast iron is basically non-stick and only requires a tiny bit of oil!
Make sure the cast iron pan is hot! A hot pan prevents the chicken from sticking and allows a crust to form (which locks in those juices). Before adding the chicken to the pan, flick a couple drops of water into the oil. If it cracks and pops, the pan is ready!
Use room temperature meat! Always let your meat come up to room temperature before cooking instead of cooking straight from the fridge. This allows the chicken to cook more evenly. Just remove it from the fridge about 20 minutes before you're ready to cook.
Do not disturb the chicken! When you're searing meat, it's important to leave it alone for at least 5 minutes so that it has time to properly form a crust. If you try to flip it too soon, it might stick to the pan.
Always use a meat thermometer! The key to juicy chicken breasts is not overcooking them! Use an instant thermometer to periodically check the temp. Chicken breasts should be cooked to an internal temperature of 165°F, but I like to pull them out around 160-162°F because they'll continue cooking as they rest.

Recipe FAQ's
Store in an airtight container in the fridge for up to 4 days. Add on top of salads or pasta, or reheat at 350°F for about 10 minutes.
Absolutely! Just be aware that thighs will take longer than breasts to cook through and you want to cook them to 165°F instead.
No! Cooking chicken from frozen is not recommended for this recipe because it won't cook evenly. You can use frozen chicken breasts, just be sure to thaw completely before cooking.
Tips for Success!
For best results I always recommend using weight measurements (especially when baking) because it's the most accurate. Kitchen scales are super affordable and also reduce the number of dishes you have to do! However, all my recipes also include US customary measurements for convince. Use this chart to convert measurements for common ingredients!
Substitutions: In all my recipes, I've included substitutions that I know will work, but I cannot guarantee results if you substitute ingredients that I have not recommended. [For example, granulated sugar and honey are indeed both sweeteners but they have very different properties so they can not always be swapped 1:1. Using honey in a cookie recipe that calls for granulated sugar will yield a giant mess.] In the recipe card you'll find links to the specific ingredients/brands that I use.
A note on salt: I almost exclusively use Diamond Crystal Kosher Salt because it's the best all-purpose salt for cooking and baking. If you're not using kosher salt, consult this handy guide for a conversion chart! When in doubt, if you're using table salt just reduce the amount by half for baked goods. When cooking, I prefer to under-salt because you can always add more! If you've over-salted, adding a little bit of acid (like lemon juice) can help.

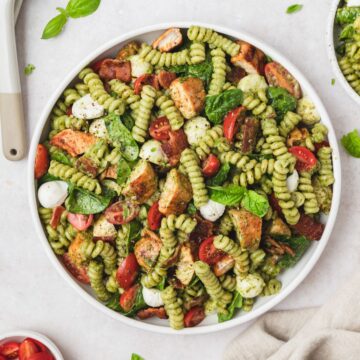
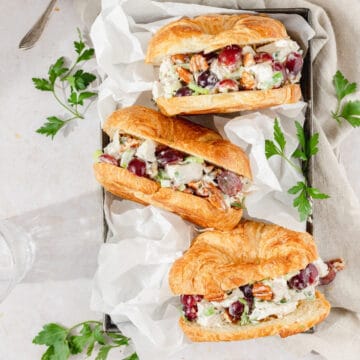
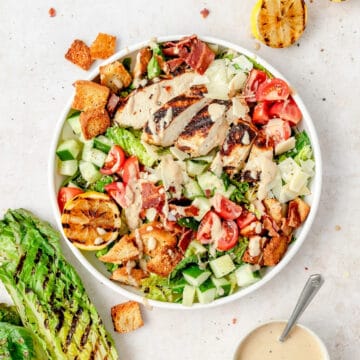
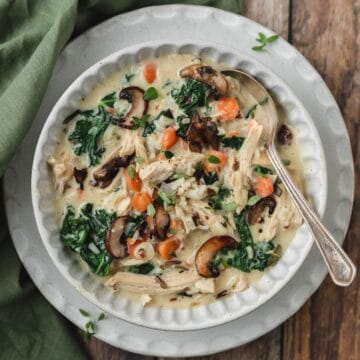
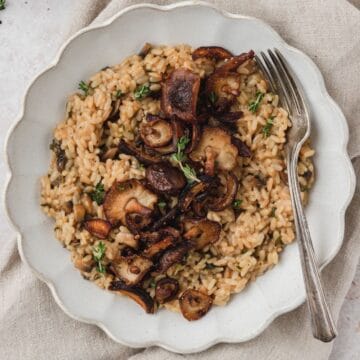
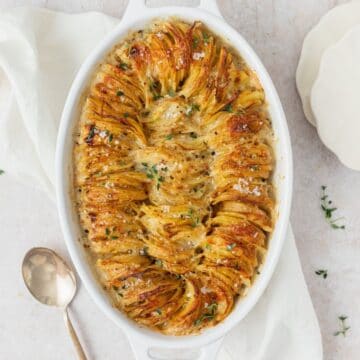
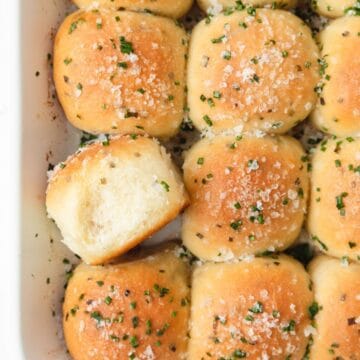
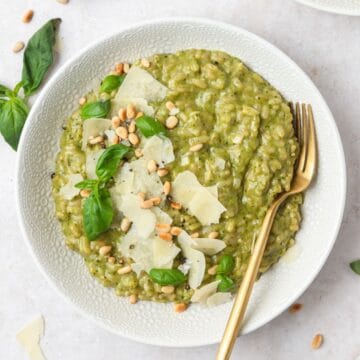
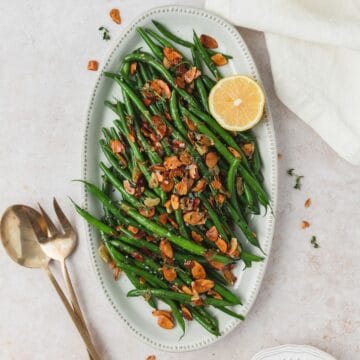
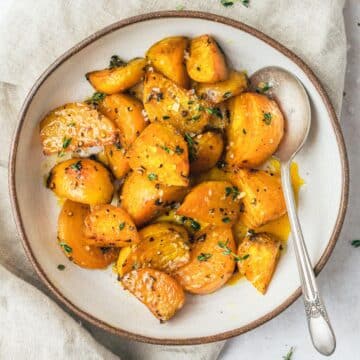
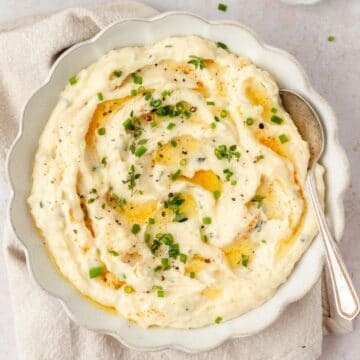
What to Serve with Roast Chicken!

If you love this recipe, please leave a star rating at the bottom of the page! This provides helpful feedback to both me and other readers.
Also be sure to add us as a trusted site on Google so that our recipes show up more in your searches!
For more delicious, scratch-made recipes you can subscribe to my newsletter and follow along on social media!
Recipe Card
Cast Iron Chicken Breasts with Garlic Herb Butter
Special Equipment
Ingredients
Chicken
- 4 medium chicken breasts, about 6 ounces each
- 1 tablespoon olive oil, substitute vegetable oil
- 2 teaspoons kosher salt
- 1 teaspoon black pepper
- 1 teaspoon garlic powder
- 1 teaspoon smoked paprika
- ½ teaspoon cumin, optional
- pinch cayenne pepper, optional
Garlic Herb Butter
- ½ cup unsalted butter, softened
- 4 cloves garlic , minced or pressed
- 1 tablespoon fresh thyme, substitute whatever herbs you prefer
- 1 teaspoon lemon juice
- ¼ teaspoon kosher salt
- ¼ teaspoon black pepper
Instructions
Garlic Herb Butter
- In a bowl, mix together the softened butter, minced garlic, lemon juice, thyme, salt and pepper until fully combined. Set aside. You can store in the fridge for up to 2 weeks!
Chicken
- Preheat the oven to 425°F.
- In a small bowl, mix together the salt, pepper, garlic powder, paprika, cumin, and cayenne.
- Pat the chicken breasts dry with a paper towel and season liberally on both sides with the spice mixture.
- Heat a large cast iron skillet over medium high heat. Add in just enough oil to coat the bottom of the pan (about 1 tablespoon).
- Sear the chicken breasts on one side for 5 minutes. Then flip and immediately transfer the cast iron pan to the preheated oven. Bake at 425°F for 10-15 minutes or until the chicken is fully cooked through. [Smaller, thinner breasts will only have to bake for 5-10 minutes, but thicker breasts will need 15-20 minutes.]
- Use an instant thermometer to check when the chicken is done so that it doesn't get overcooked! Chicken breasts should be cooked to an internal temperature of 165°F, but I like to pull them out around 160-162°F because they'll continue cooking as they rest.
- Remove the chicken from the oven and top each breast about a tablespoon of garlic herb butter.
- Let the chicken rest for at least 5-10 minutes before slicing.
Notes
Nutrition
The nutritional information on this website is only an estimate and is provided for convenience and as a courtesy only. The accuracy of the nutritional information for any recipe on this site is not guaranteed.
NANCY A ENNIS says
I have used this recipe twice now. My kitchen smells amazimg when I cook this. I put the garlic butter on the chicken when I put in the oven so the garlic can cook a bit. I also add some rosemary if I have it.
So easy, juicy and delicious! 10/10. A must try