This super simple cherry cobbler is made with a fresh cherry filling and topped with light, cream biscuits. Top with vanilla ice cream for a classic, southern summer dessert!
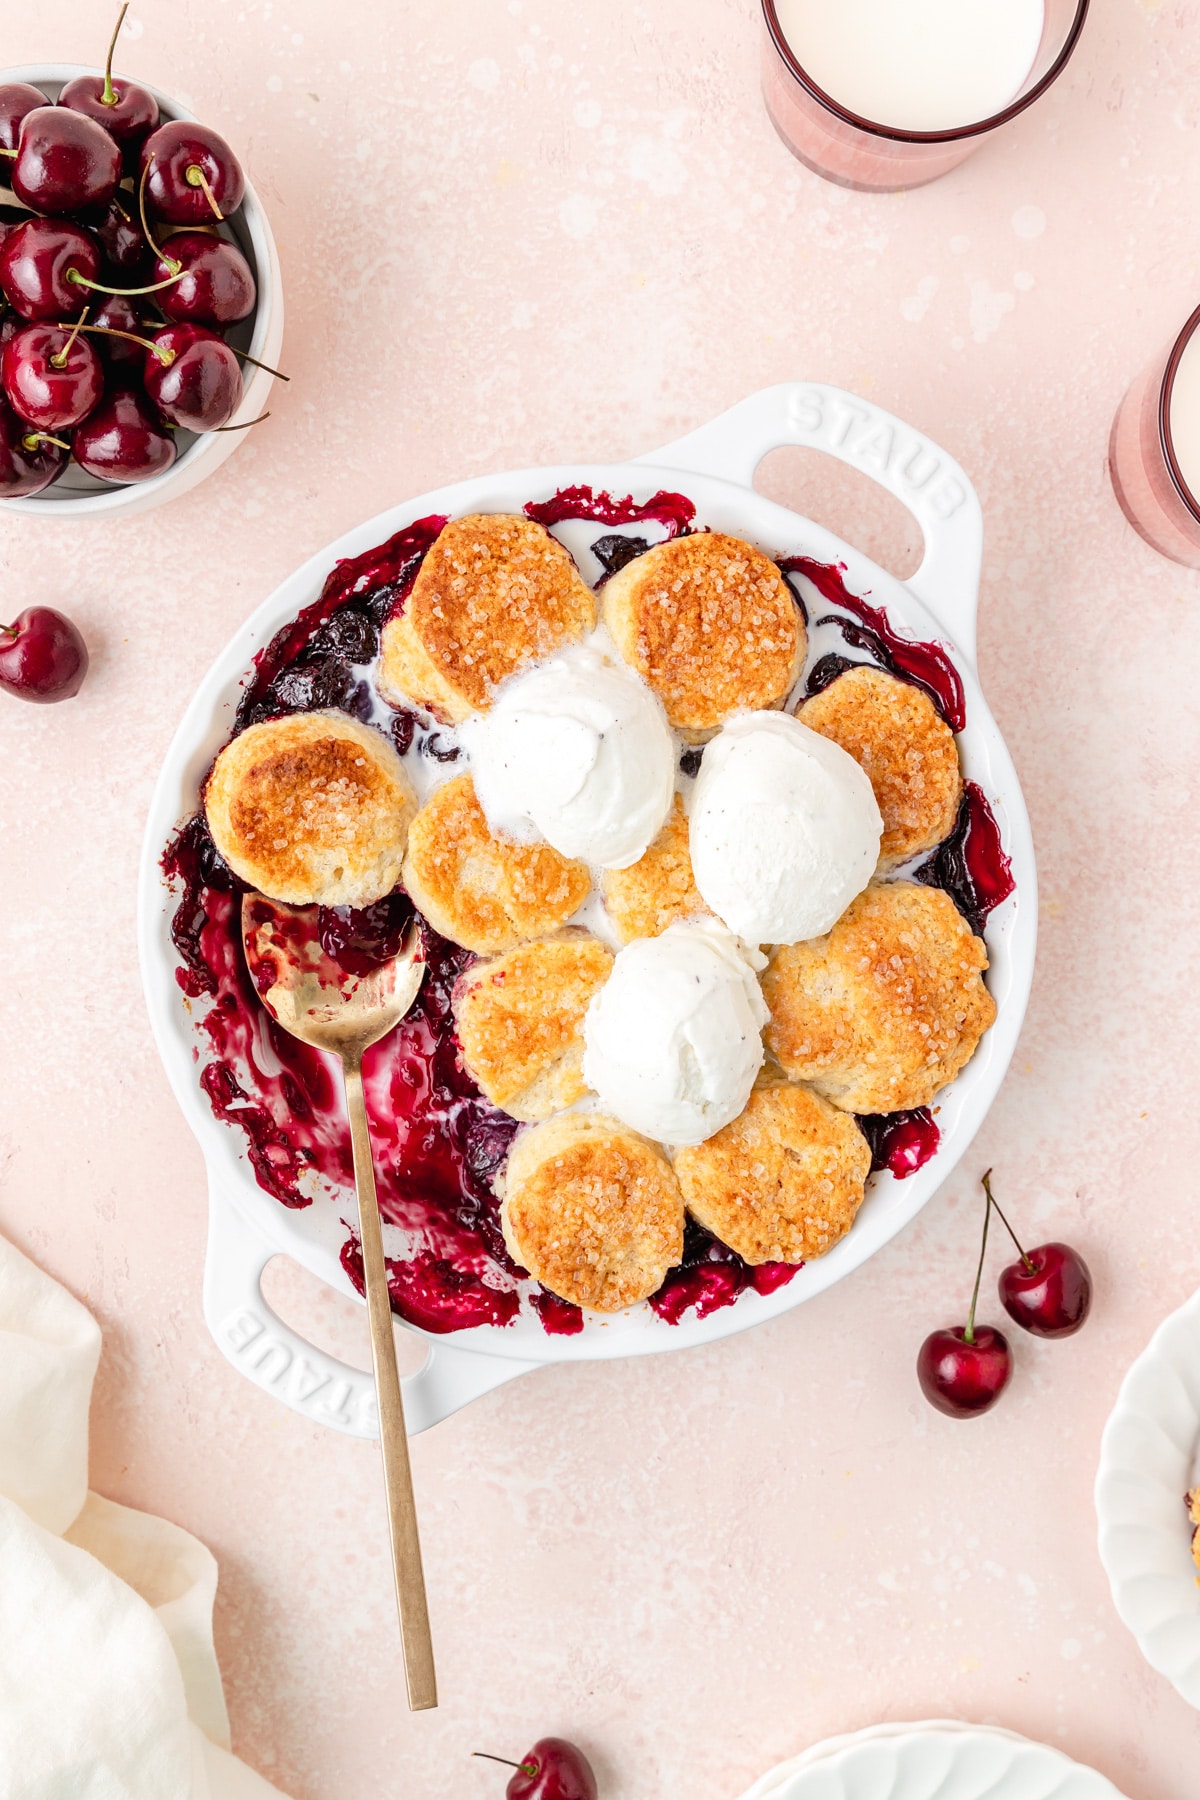
The secret to perfect cherry cobbler is pre-cooking the filling before baking. I've found that in some pies and cobblers, you end up with a soupy filling because the filling wasn't able to cook properly first. This is also helpful if you want to prep the cobbler ahead of time! Just cook the filling in advance and refrigerate until you're ready to bake. Then just whip up the biscuit dough right before baking!
You can cook the filling and bake the cobbler all in one cast iron skillet, or you can cook the filling first in a saucepan and transfer into a pie dish.
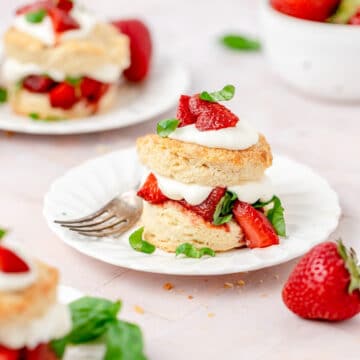
You might also like this classic cherry pie or our strawberry shortcake with biscuits!
Jump to:
Crisp vs Crumble vs Cobber vs Buckle
So what exactly is a cobbler??
Crisps, crumbles, cobblers, and buckles are all very similar but do technically have a few differences. They're all a variation of baked fruit with some kind of topping.
- Crisp - a light topping made with oats that gets super crisp during baking (hence the name).
- Crumble - typically has a streusel topping that gets more cakey during baking.
- Cobbler - usually has a sweet biscuit topping but can also have a cake like batter poured over top. You can also use pie dough for the topping.
- Buckle - a buckle is more like a type of cake. It has a cake-like batter with a lot of fruit mixed in so it gives a "buckled" appearance.
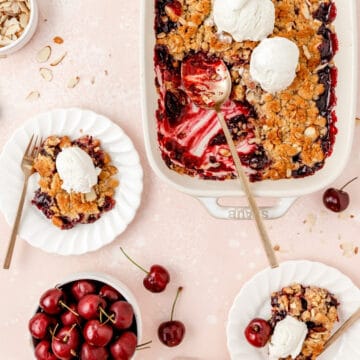
This is a cherry cobbler with a sweet cream biscuit topping, but if you prefer a crisp you'll love this cherry crisp with an oat and almond topping!
Ingredient Notes
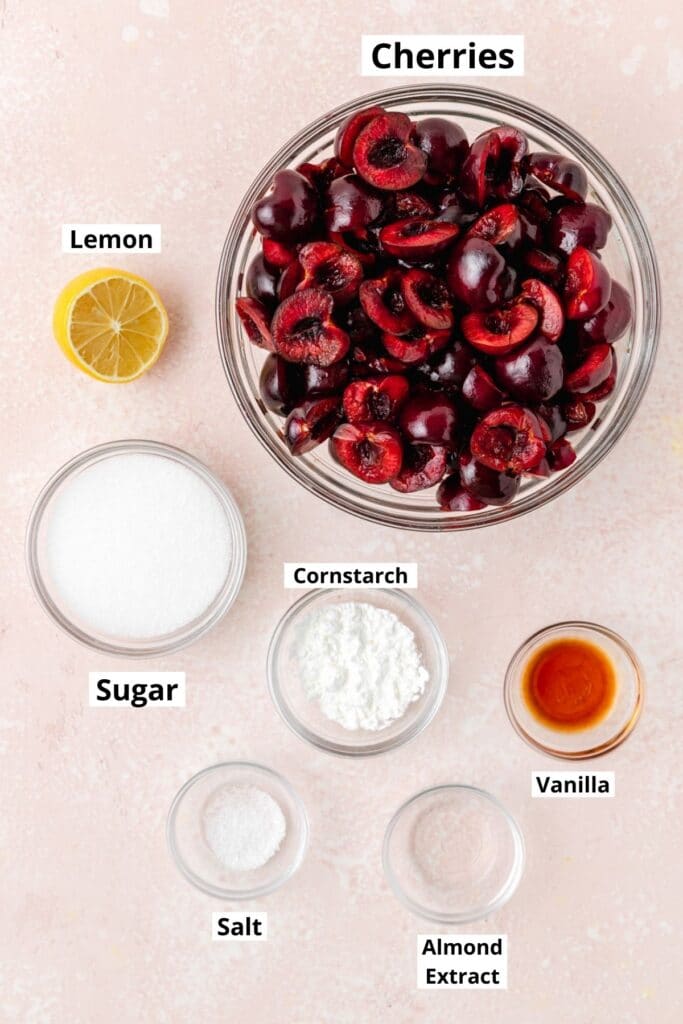
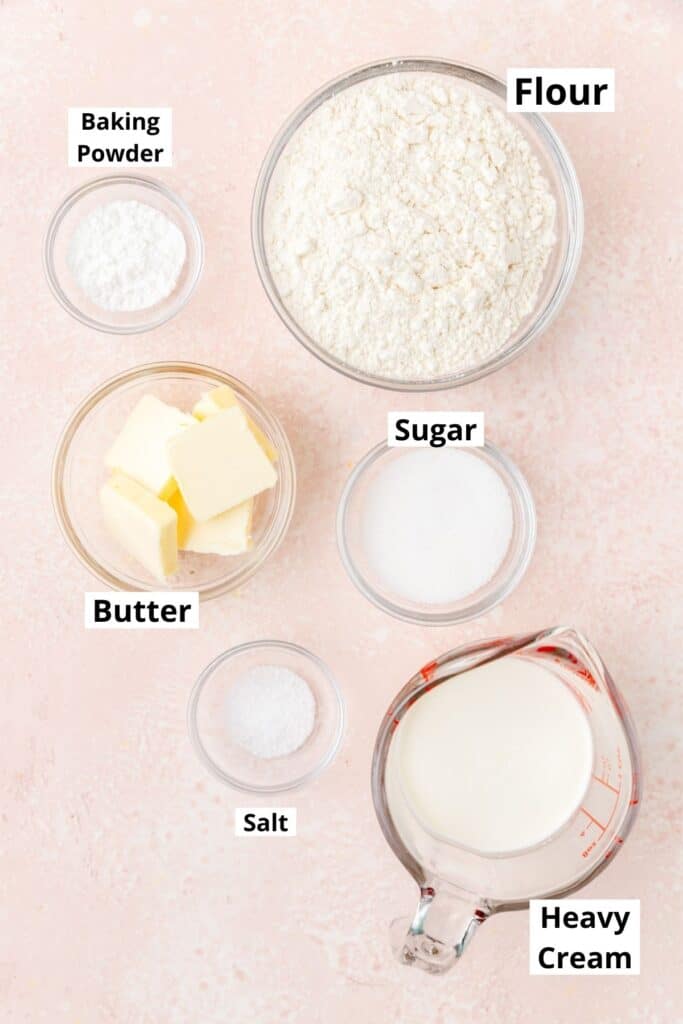
You just need a few simple ingredients to make this southern cherry biscuit cobbler!
- Cherries - I love using fresh cherries for the filling, but frozen work well too! If using fresh cherries, I highly recommend using a cherry pitter to remove the pits.
- Almond Extract - I just love the way the flavor of almond extract compliments the fresh cherries!
- Cornstarch - We use cornstarch to help thicken the filling, but you can also substitute flour or clear jel. This is a great guide for making those substitutions!
- Pastry Flour - I always use pastry flour or cake flour when making biscuits so that they have a super light, tender texture. However, all purpose flour will work great if that's all you have!
- Butter - The most important consideration for making biscuit dough is cold butter!! If the butter gets too warm while you're making the dough, the crust won't be as flaky.
- Heavy Cream - You can't have a cream biscuit topping without the heavy cream! Cream helps keep the biscuits rich and tender!
- Sparkling Sugar - If desired, sprinkle some sparkling sugar on top of the biscuits before baking!
How to Make Cherry Biscuit Cobbler
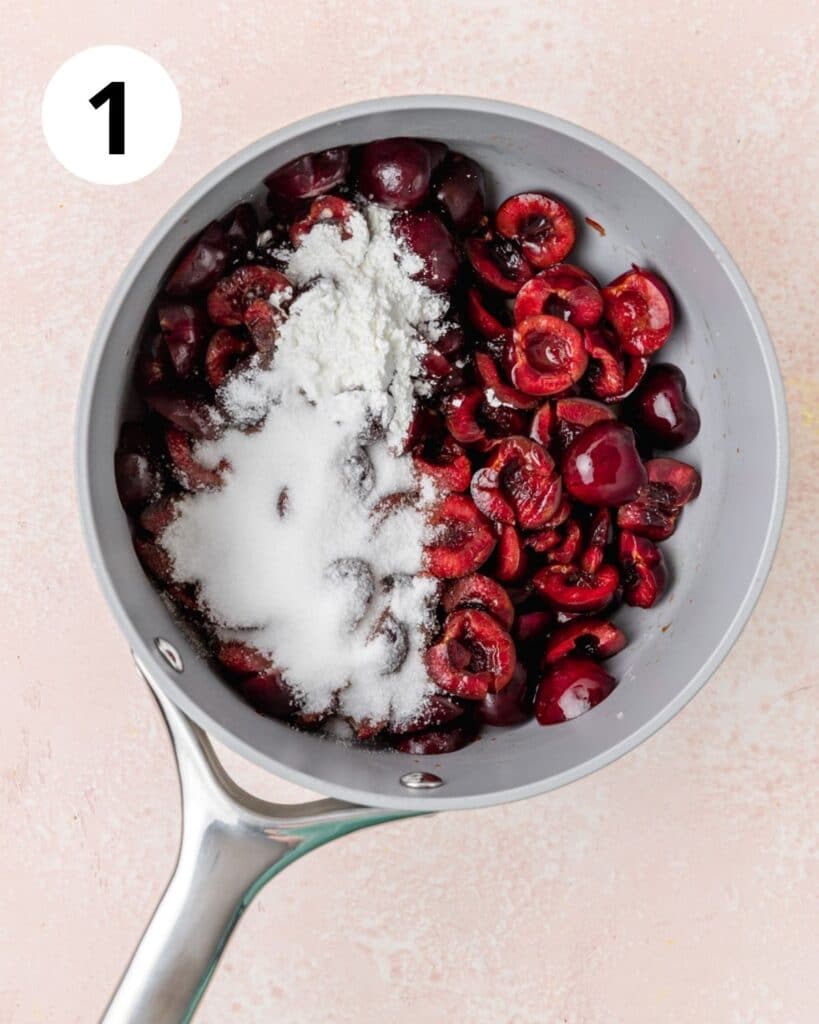
Add the cherries, sugar, cornstarch, lemon juice, vanilla, and almond extract to a large pot.
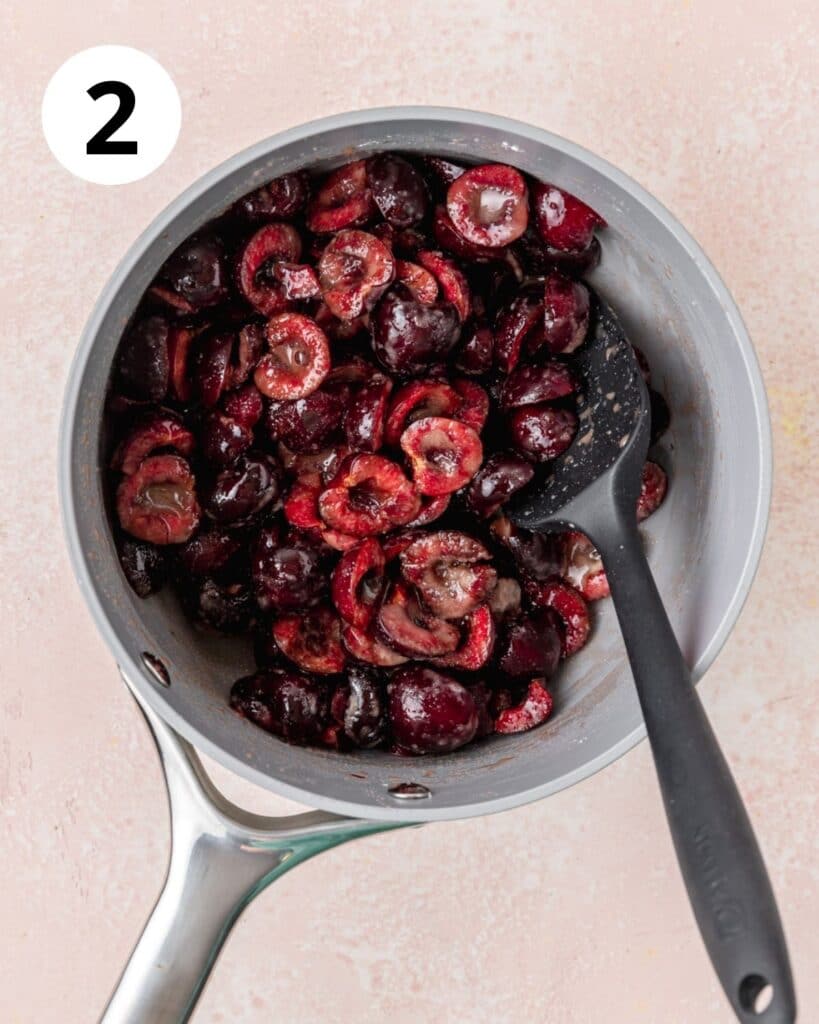
Heat over medium heat until the cherries begin to break down and the filling thickens, about 10-15 minutes. Then set aside.
In a large bowl, whisk together the flour, sugar, baking powder, and salt.
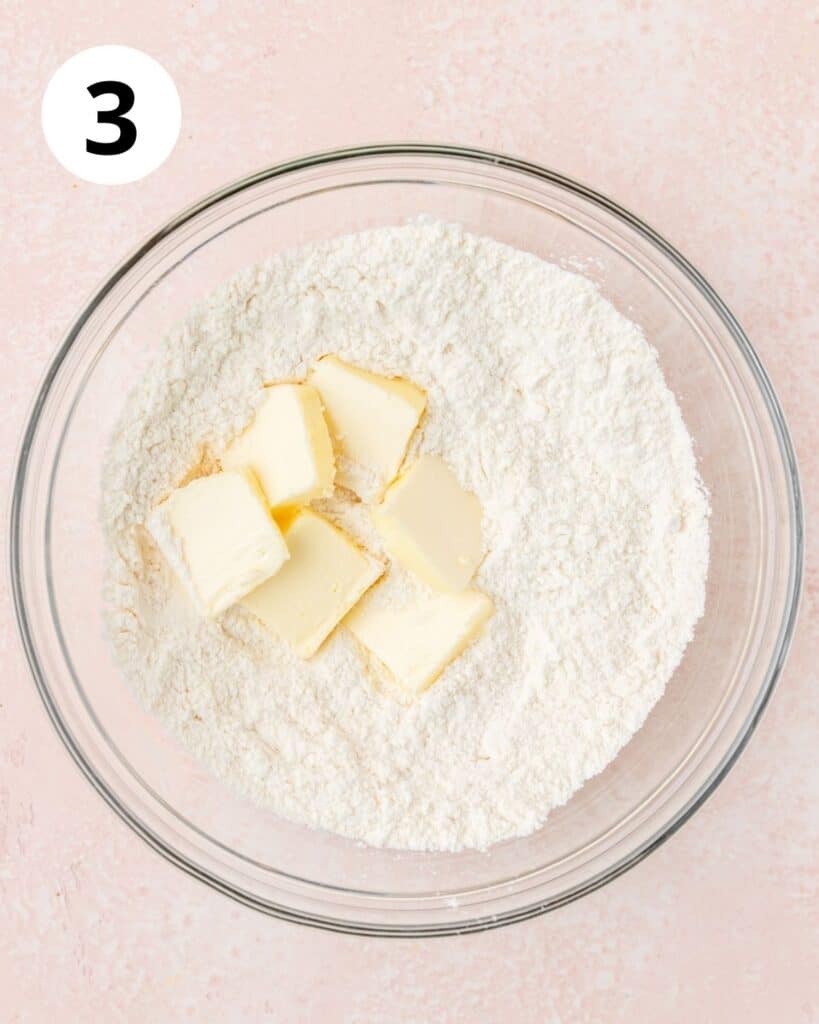
Cut the cold butter into the dry ingredients by flattening the cubes into disks. You want the butter to remain in relatively large chunks (about quarter sized).
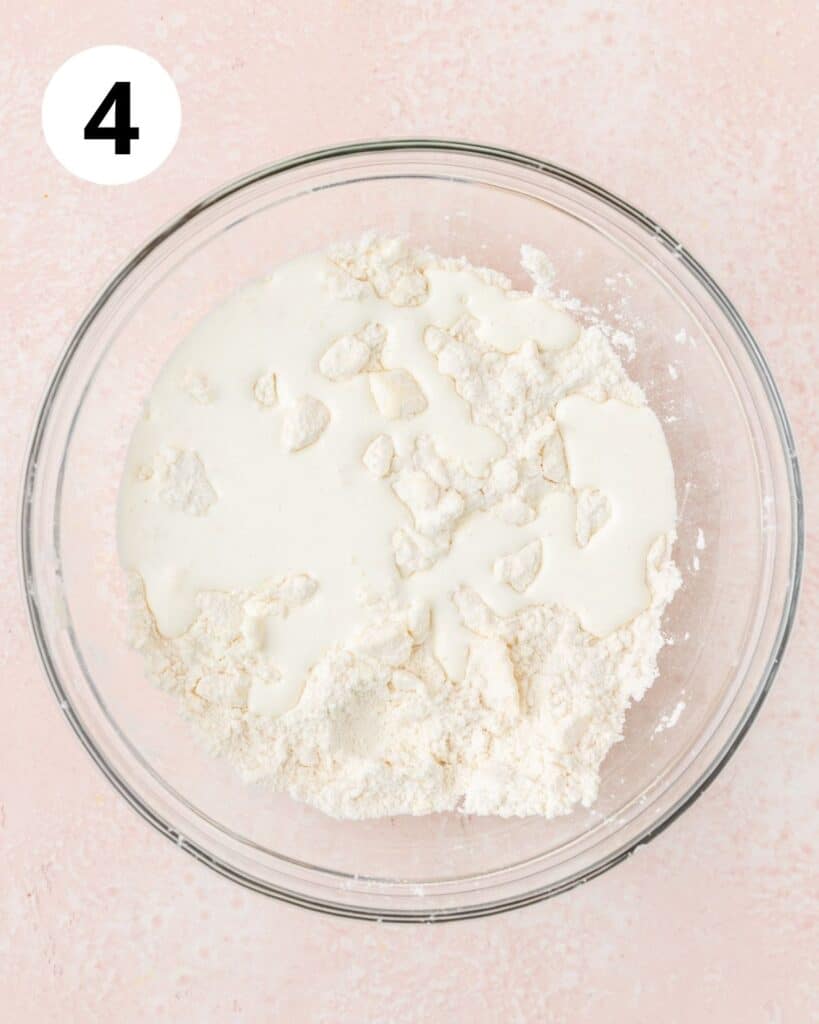
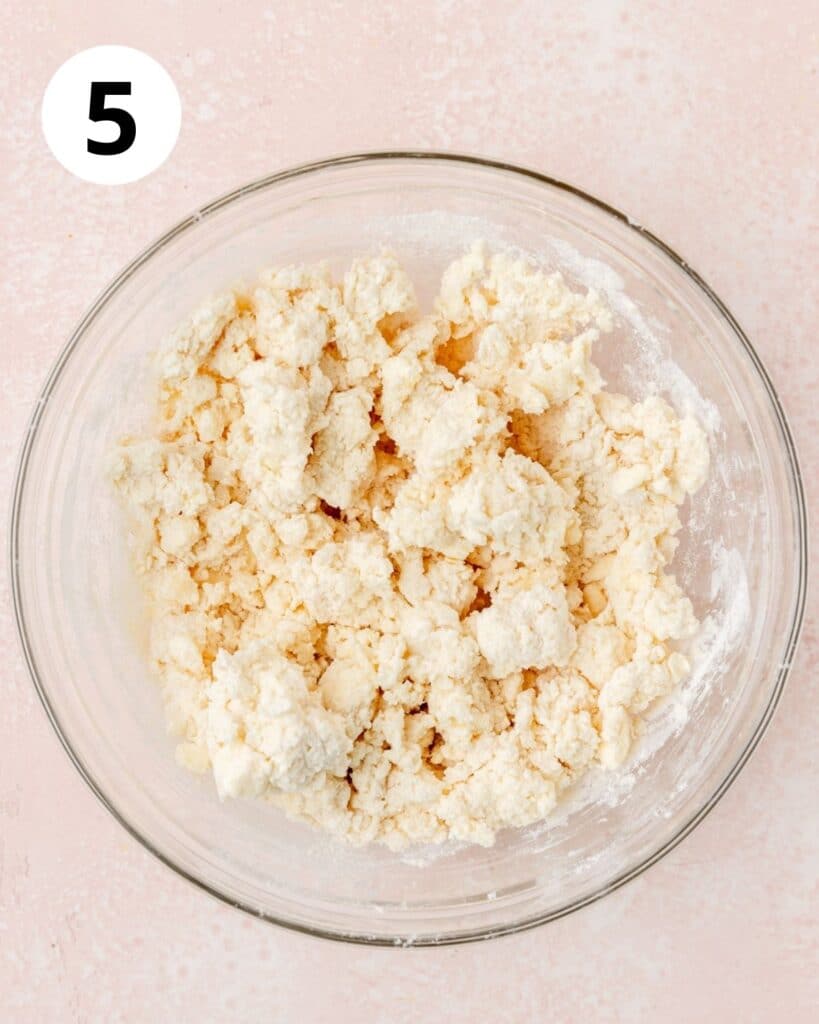
Slowly drizzle the heavy cream over top, combining with a fork as you go. Using a spatula or bowl scraper, fold the dough over onto itself a few times in the bowl until it comes together into a wet and sticky dough.
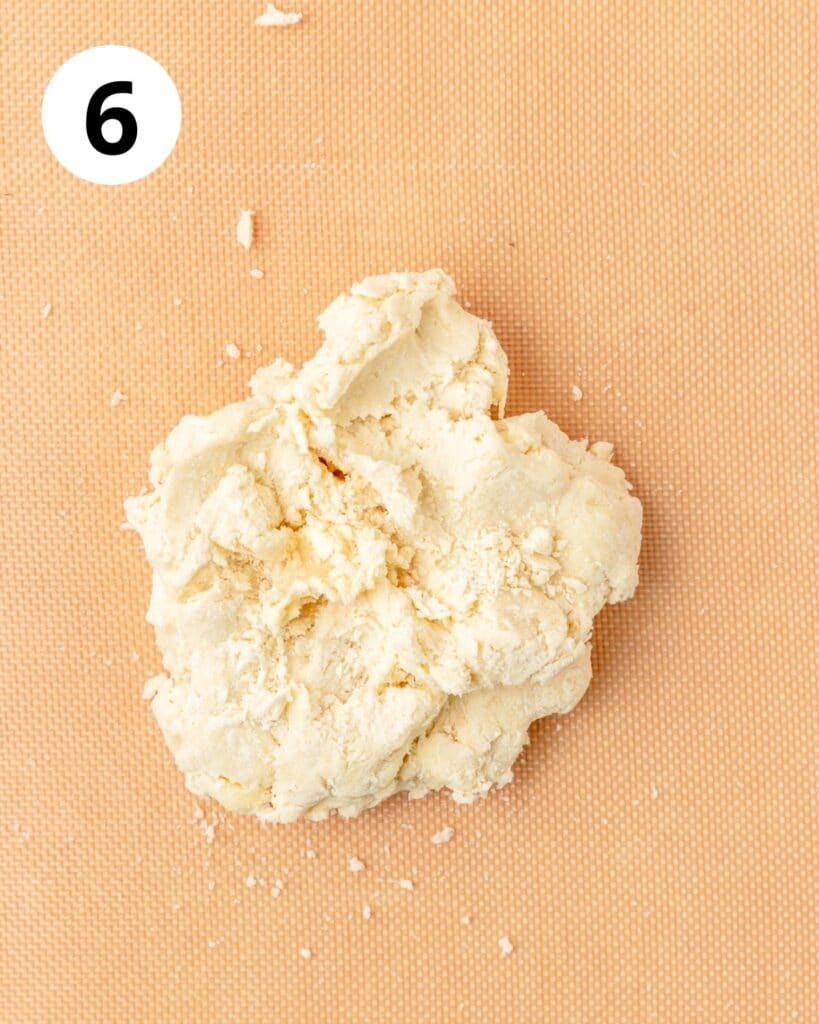
Turn the dough out onto a lightly floured surface and pat into a circle that's between ½ and 1 inch thick.
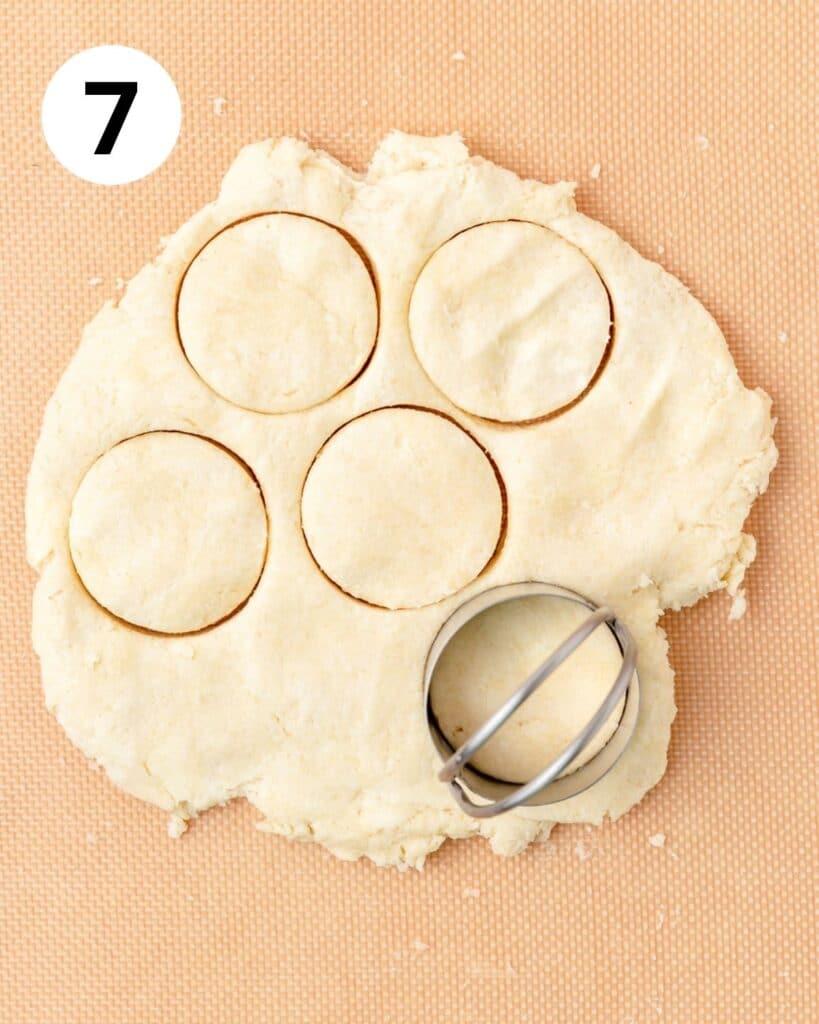
Using a small biscuit cutter, stamp out about 12-15 round biscuits (re-roll the scraps if needed).
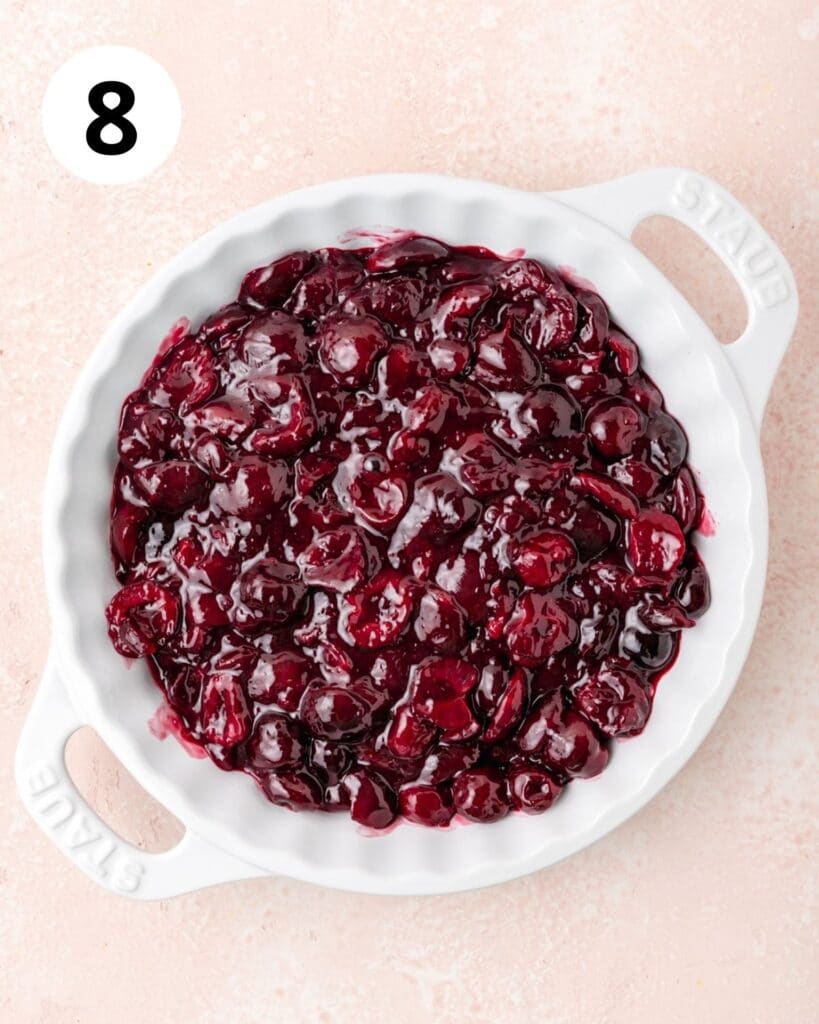
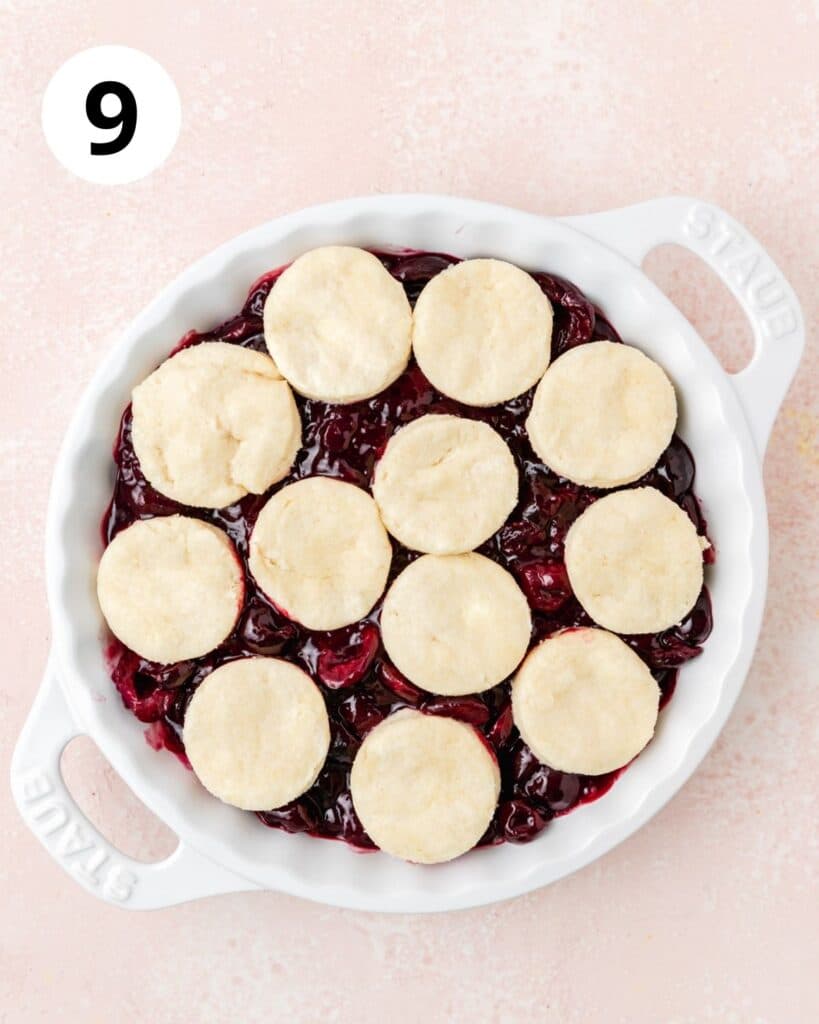
Pour the cherry filling into a pie dish and arrange the biscuits on top.
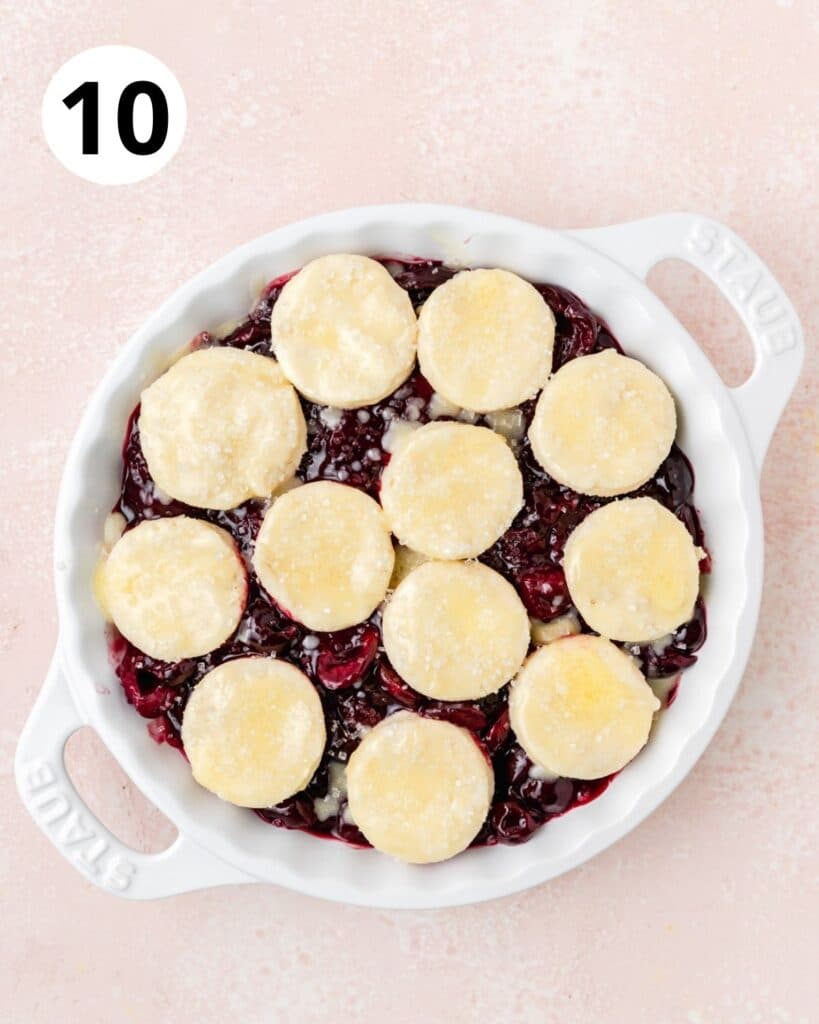
Before baking, lightly brush the top of the biscuits with melted butter and sprinkle with sparkling sugar if desired.
Bake at 400°F for 10 minutes.
Then reduce the heat to 350°F and bake for 30-40 minutes until the filling is bubbly and the tops of the biscuits are golden brown.
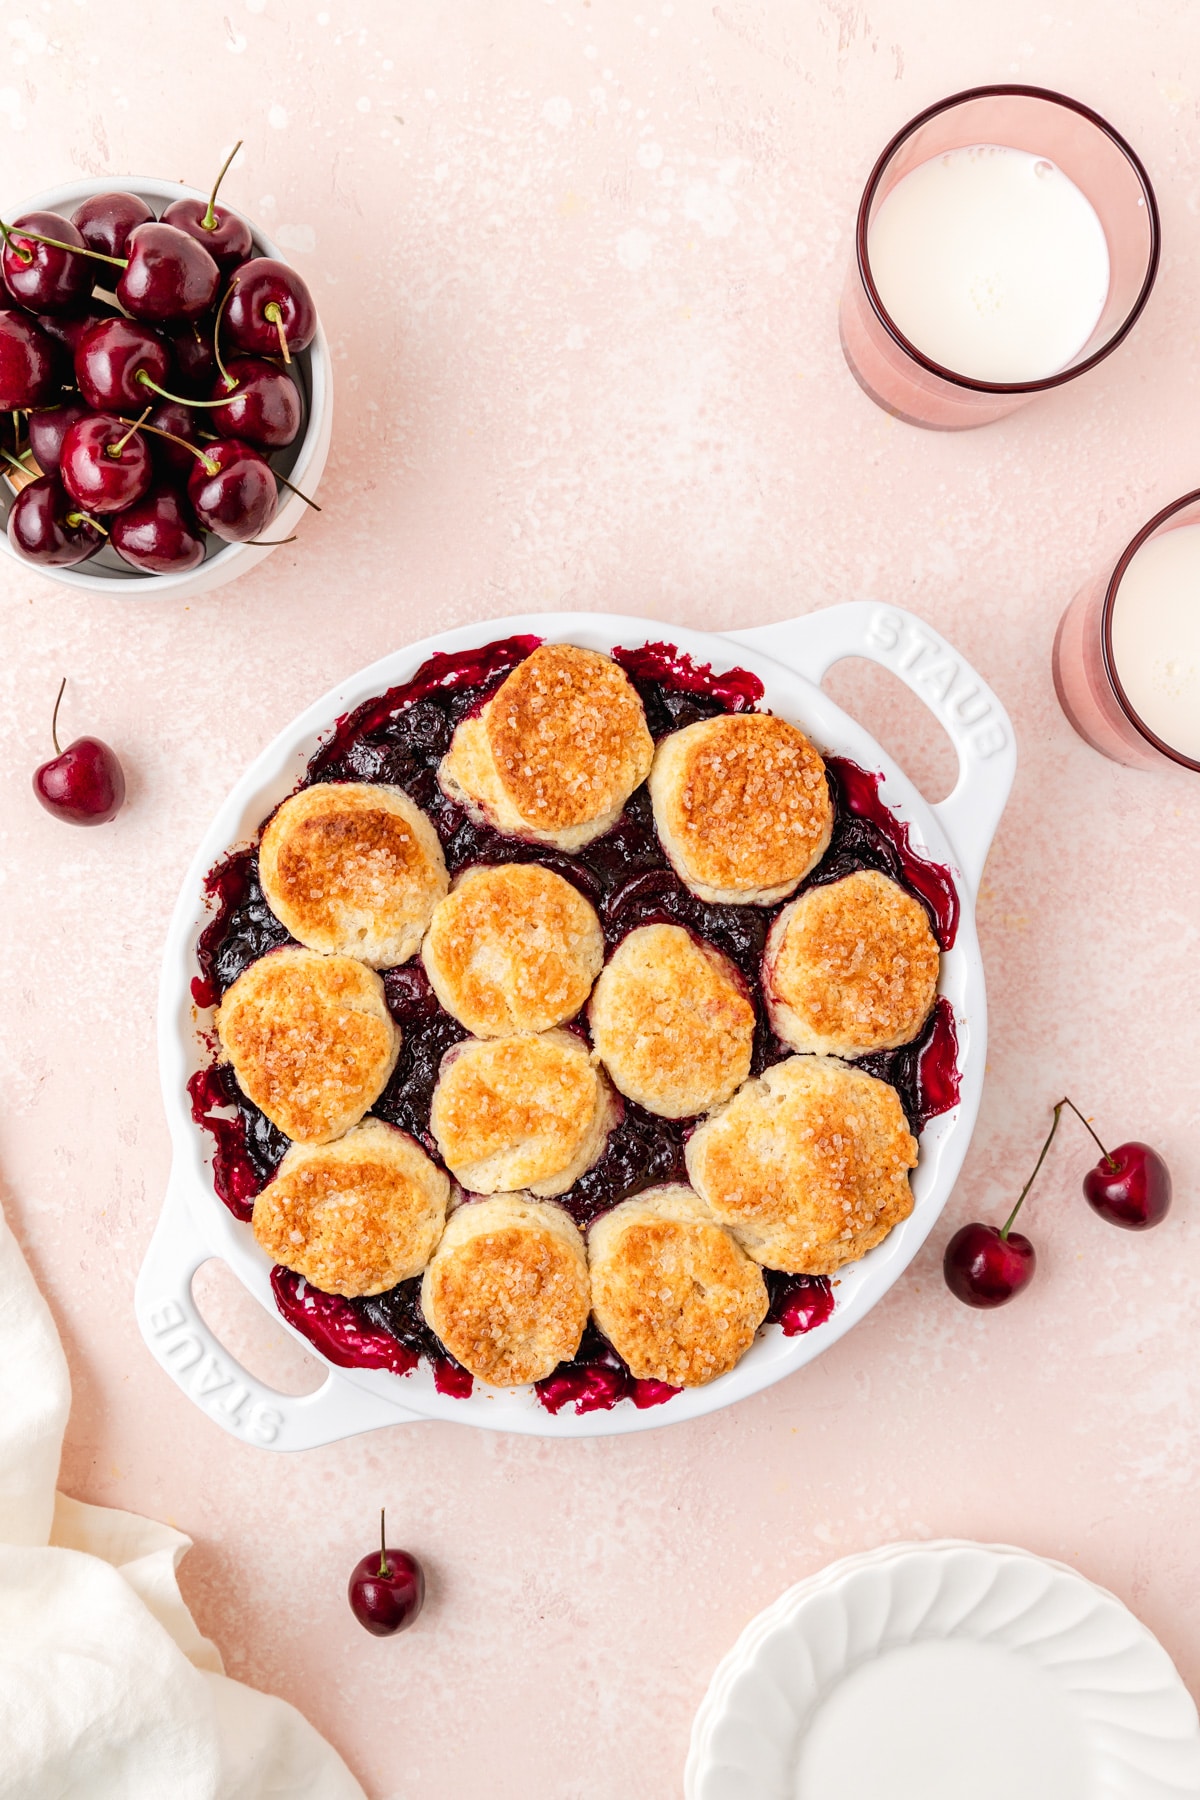
Serve cherry cobbler warm with homemade whipped cream or vanilla ice cream!
Tips for the Best Baked Goods
Use room temperature ingredients! Always make sure ingredients like butter, eggs, milk, yogurt, etc. are at room temperature before baking (unless the recipe indicates otherwise)! This ensures they'll incorporate into the batter more easily and leads to overall better texture. Remove all ingredients from the fridge 30 minutes to an hour before baking for best results.
Measure your flour correctly! It's most accurate to use a kitchen scale, but if you're measuring by volume you want to spoon and level! Fluff up the flour a bit with a spoon, and then spoon flour into the measuring cup. Once it's overflowing, use the back of a knife to level it off. Don't ever pack flour into the measuring cup or you'll end up with way too much! Improperly measured flour can lead to dry, dense baked goods. [Measure cocoa powder the same way!]
Use an oven thermometer! Just because your oven says it's 350, doesn't mean it is! If you oven hasn't been calibrated recently, it can be as much as 30 degrees off, which will negatively affect all baked goods from cakes to macarons! An oven thermometer is the easiest/cheapest way to ensure your oven is always at the proper temperature.
Make sure you baking powder is fresh! Baking powder is important for helping baked goods rise properly, but it has a relatively short shelf life once opened, so it's one of the few items I never buy in bulk! To test if your baking powder is still fresh, add a small amount to boiling water. If it bubbles it's still good to use, but if not it's time to toss it!
Cobbler Serving Tips
I love using a pretty ceramic pie plate to serve this fresh cherry cobbler, but you could also use a cast iron pan or skillet to skip a step! Just cook the cherries down in the cast iron pan, then top with biscuits and bake!
No need to feel limited to a round pie plate either! Any baking dish works great!
Recipe FAQ's
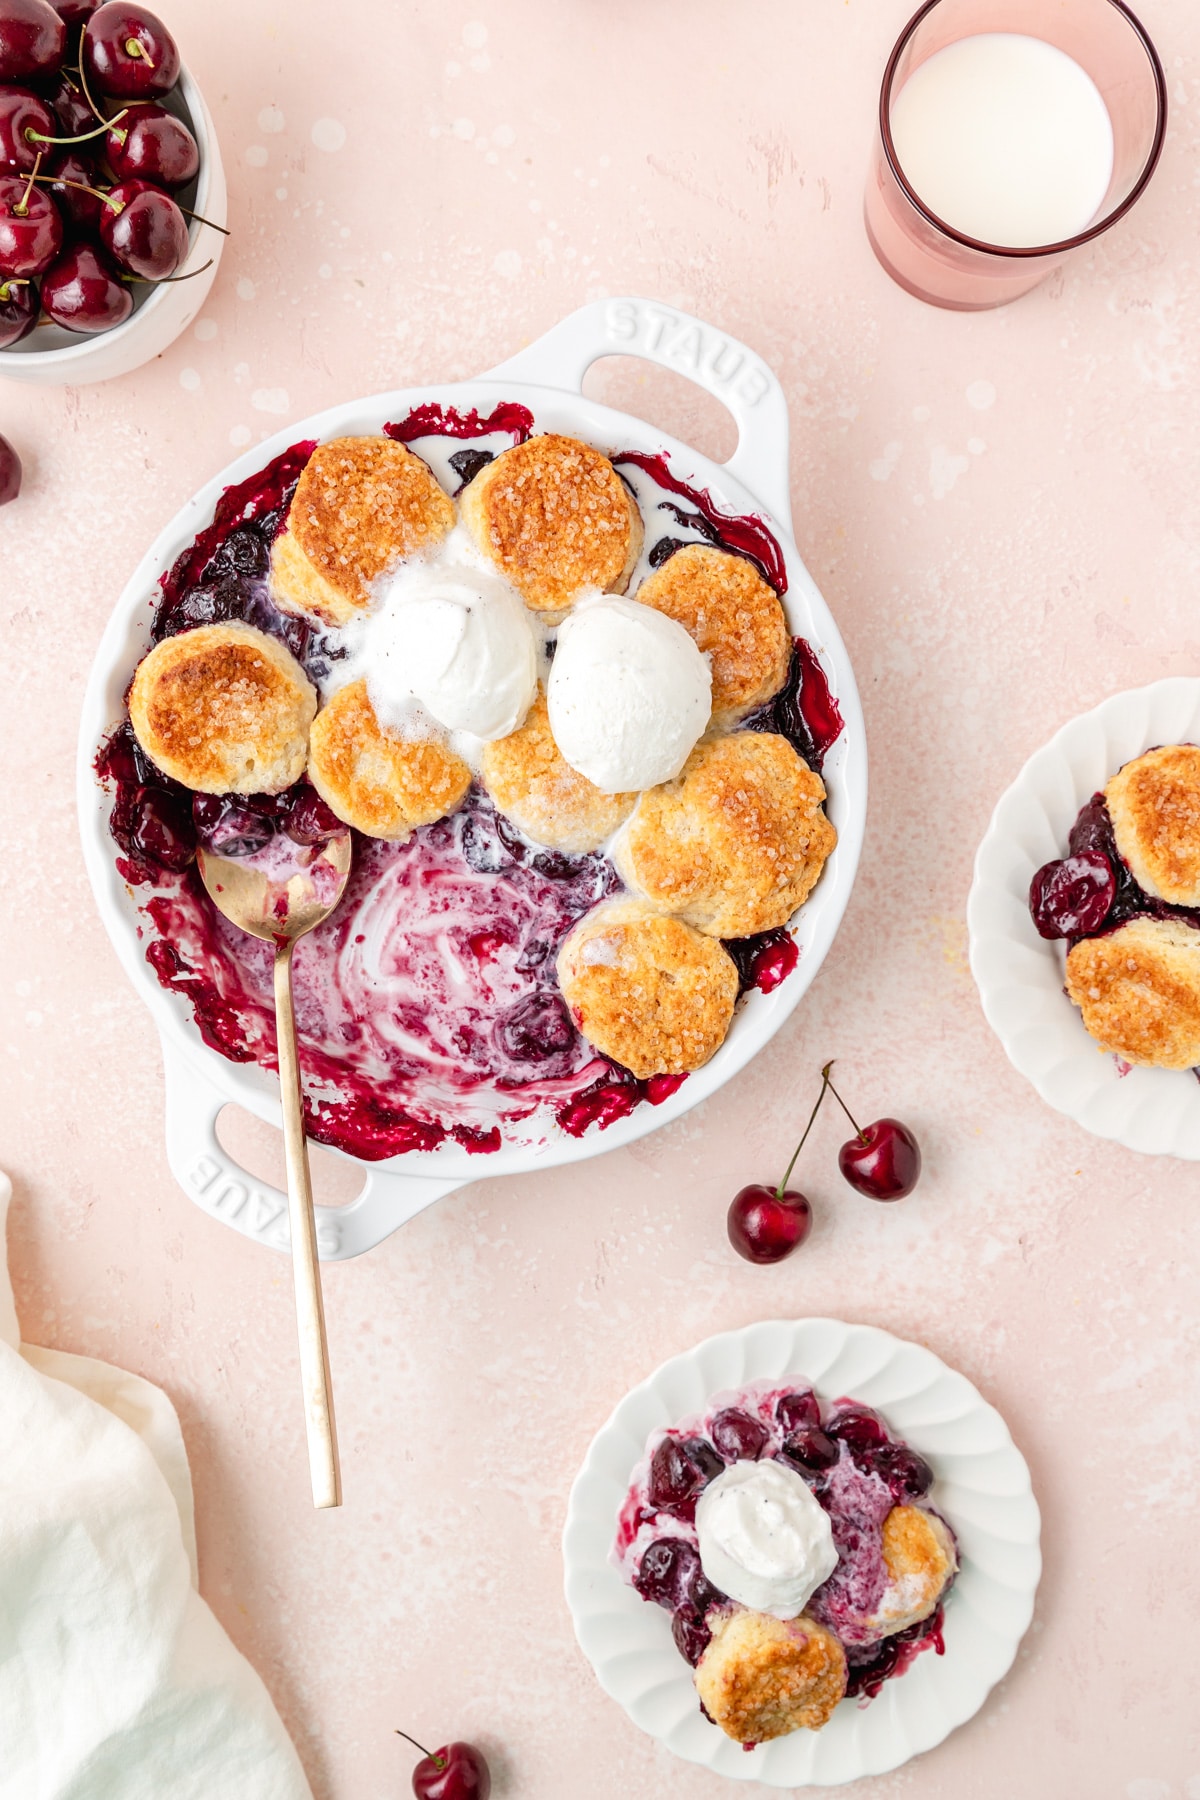
Cobbler is best served warm with either vanilla ice cream or homemade whipped cream!
This cobbler is best eaten the same day but will keep covered in the fridge for up to 3 days.
Yes! I prefer using fresh cherries, but frozen cherries will work great too!
Tips for Success!
For best results I always recommend using weight measurements (especially when baking) because it's the most accurate. Kitchen scales are super affordable and also reduce the number of dishes you have to do! However, all my recipes also include US customary measurements for convince. Use this chart to convert measurements for common ingredients!
Substitutions: In all my recipes, I've included substitutions that I know will work, but I cannot guarantee results if you substitute ingredients that I have not recommended. [For example, granulated sugar and honey are indeed both sweeteners but they have very different properties so they can not always be swapped 1:1. Using honey in a cookie recipe that calls for granulated sugar will yield a giant mess.] In the recipe card you'll find links to the specific ingredients/brands that I use.
A note on salt: I almost exclusively use Diamond Crystal Kosher Salt because it's the best all-purpose salt for cooking and baking. If you're not using kosher salt, consult this handy guide for a conversion chart! When in doubt, if you're using table salt just reduce the amount by half for baked goods. When cooking, I prefer to under-salt because you can always add more! If you've over-salted, adding a little bit of acid (like lemon juice) can help.
More Recipes You Might Like
If you make this recipe, please leave a star rating at the bottom of the page! This provides helpful feedback to both me and other readers. And if you want more delicious, scratch-made recipes you can subscribe to my newsletter and follow along on Instagram, Pinterest, and Facebook!
Recipe Card
Cherry Cobbler with Biscuit Topping
Special Equipment
Ingredients
Cherry Filling
- 5 cups fresh cherries, pitted and halved
- ⅓ cup granulated sugar
- 1 tablespoon cornstarch
- 1 tablespoon lemon juice
- ½ teaspoon vanilla extract
- ½ teaspoon almond extract
- ¼ teaspoon kosher salt
Biscuit Topping
- ¼ cup cold unsalted butter, cubed
- 1 cup pastry flour, substitute all purpose flour
- 2 tablespoons granulated sugar
- 1 ½ teaspoons baking powder
- ¼ teaspoon kosher salt
- ½ cup heavy cream
Topping
- 1 tablespoon unsalted butter, melted
- sparkling sugar, optional
Instructions
Cherry Filling
- Add the cherries, sugar, cornstarch, lemon juice, vanilla, and almond extract to a large pot.
- Heat over medium heat until the cherries begin to break down and the filling thickens, about 10-15 minutes.
- Pour the cherry filling into the bottom of a baking dish and set aside.
Biscuit Topping
- Cut the butter into small cubes and place back in the fridge to firm up.
- Preheat the oven to 400°F.
- In a large bowl, whisk together the flour, sugar, baking powder, and salt.
- Cut the cold butter into the dry ingredients by flattening the cubes into disks. You want the butter to remain in relatively large chunks (about quarter sized).
- Slowly drizzle the heavy cream over top, combining with a fork as you go. Using a spatula or bowl scraper, fold the dough over onto itself a few times in the bowl until it comes together into a wet and sticky dough.
- Turn the dough out onto a lightly floured surface and pat into a circle that's between ½ and 1 inch thick.
- Using a small biscuit cutter, stamp out about 12-15 round biscuits (re-roll the scraps if needed).
- Arrange the biscuits on top of the cherry filling. Lightly brush the tops of the biscuits with a melted butter and sprinkle with sparkling sugar if desired.
- Bake at 400°F for 10 minutes.
- Then reduce the heat to 350°F and bake for 30-40 minutes until the filling is bubbly and the tops of the biscuits are golden brown.
- Serve warm with homemade whipped cream or vanilla ice cream!
Notes
Nutrition
The nutritional information on this website is only an estimate and is provided for convenience and as a courtesy only. The accuracy of the nutritional information for any recipe on this site is not guaranteed.
Browse more southern recipes →



Comments
No Comments